
Table of contents:
- Author Bailey Albertson albertson@usefultipsdiy.com.
- Public 2023-12-17 12:53.
- Last modified 2025-01-23 12:41.
Do-it-yourself wall cladding with ceramic tiles in the bathroom

Hello dear friends
Continuing the theme of overhaul in the bathroom, in this article I want to highlight in detail the issue of how to install tiles on the wall with your own hands.
Content
-
1 What to consider and what materials to purchase
1.1 Tools
-
2 Step-by-step instructions for cladding walls with ceramic tiles with your own hands
- 2.1 Preparing the surface
- 2.2 Determining the location of the horizontal rows
- 2.3 Determining the location of the vertical rows
- 2.4 Laying tiles on the wall
What to consider and what materials to purchase
We will proceed from the fact that we have decided on the design of the bathroom - we have chosen the color and size of the tiles, calculated the number of the main tiles, decorative elements and borders.
We decided on the arrangement of furniture and plumbing fixtures (bathroom, toilet, sink, etc.). We hid all communications for the supply of hot and cold water in the wall, planned the places for installing the bathroom mixer and water outlets to the sink and toilet. Our walls are even and vertical, or at least deviations are within acceptable limits and can be corrected with a thickness of glue.
We bought a tile on the wall and glue for gluing it. You can start laying ceramic tiles on the wall.
Tools
For work, we need the following tools: notched trowel, small straight trowel, 2 levels (long and short), a tool for cutting tiles, plastic corners for joining seams, a square, a ruler, a pencil.
DIY step-by-step instructions for wall cladding with ceramic tiles
Preparing the surface
This issue must be approached very responsibly. The final result will depend on how well our surface is prepared.
The surface must be clean, free from dust, dirt and oil stains. If, for example, like mine, the tile will fit on the painted surface, it is imperative to make notches over the entire painted surface. It is imperative to cover the walls with coarse-grained concrete contact soil for better adhesion of the tile to the surface. As a result, the wall will look something like the photo below.

All peeling plaster, peeling paint, loose wall pieces, whitewash and polymer-based filler must be removed.
Determining the location of the horizontal rows
If you already have a high-quality horizontal finishing floor, you can tie to it, and the first row of ceramics will start from the floor. This is the most preferred option, following which the rows will go very evenly and horizontally. The first row is placed on the floor with a certain gap equal to the thickness of the joints between the tiles.
Unfortunately, it is not always possible to apply this option, most often you have to start laying from 2 rows or even from 3 rows. This is due to the fact that:
- sometimes only the walls are faced, and the floor remains intact and is rarely perfectly horizontal.
- below, along the wall there are external communications that must be bypassed.
- and most importantly: when planning horizontal rows, it is imperative to calculate how many whole tiles fit in a vertical row and, if necessary, either slightly raise or lower the level of the first support row so that in the last, topmost row there are all whole tiles, and they fit exactly to the ceiling with a gap of 3-5 mm.
If this is not done, it may turn out that going up to the ceiling it will be found that it is necessary to put a strip in the uppermost row, for example 2-4 cm. Cutting off such a strip is very difficult, and it will look bad at the top.
It is best to start the calculation from above, immediately marking the location of the horizontal rows and not forgetting to take into account the distance equal to the size of the seam between the rows. So, moving from top to bottom, we get the level at which the second horizontal (support) row will be located and the size of the first row, which will be trimmed.
Using this technique, the top, most prominent row is guaranteed to consist of whole uncut tiles, and all the trimming falls on the first row, located near the floor and unobtrusive.
After deciding on the location of the bottom line of the reference row, using the hydraulic level, we transfer this mark around the entire perimeter of the room. We connect our marks, draw the reference line of the horizon and fasten the supports that will support our row. It is very convenient to use a galvanized profile as a support for the first row for mounting gypsum plasterboard sheets measuring 27 * 28 mm. It is very flat, unlike wooden slats, it is easy to attach to the wall and has a very low price.
When lining the walls with glazed ceramics in my bathroom, I tied to the level of the already installed bath.

This was due to the following considerations. Firstly, from this level, taking into account the size of the seams between the horizontal rows, I clearly approached the ceiling with a whole tile. Secondly, along the wall I have a drainage pipe Ø 100 mm, which prevents me from pushing myself off the floor. Thirdly, this row adjoins the bathroom very well and the issue of waterproofing the gap between the bathroom and the wall disappears. And, fourthly, behind the bathroom, I did not lay out the facing ceramics at all, which is also a kind of economy.
Of course, there is a certain disadvantage - I had to make additional support for the second row from the bottom when laying it out. But, I thought that in comparison with the amount of advantages that I get, I can make such a sacrifice.
Determining the location of the vertical rows
This operation must be done for each wall of the bathroom separately and be creative.
We calculate how many whole tiles fit in a horizontal row on the wall, taking into account the width of the joints. Most often it turns out that one tile will have to be cut. If you get a very narrow insert in the corner, then you can use the following techniques:
- shift all the rows and cut the tiles in one and the other corner so that they are the same width. In the photo below you can see how I solved this problem on my wall.

This technique will give the symmetry of the arrangement of elements in a row and, accordingly, the wall will look better. When using decorative elements, they will also be nice and symmetrical.
- position the vertical row to be trimmed in a place where it will be least noticeable. For example, in a corner that is not conspicuous when entering the bathroom. Or in the corner where the shower stall will be.
Having solved the problem with the arrangement of vertical rows, we draw vertical lines in the corners with the help of a plumb line or level, where the whole tile does not require trimming.

Compliance with the drawn square formed by the lower reference line of the first laid horizontal row and 2 vertical lines in the corners will not allow the rows to deviate, both vertically and horizontally.
Having made clear markings on all walls of the room, you can start laying ceramics on the wall.
We lay the tiles on the wall
Step 1. On the support attached to the wall, we lay the first support row in accordance with our marking of the verticality of the rows. All tiles should be laid, with the exception of the extreme ones in the row that require cutting. The horizontal position of the row is ensured by our support bar, the verticality of the element is controlled by means of a level, placing it vertically to the tiles being laid.

After laying 3-4 tiles, it is necessary to check the flatness of the row. We apply the level edge to the row, as in the photo below, and see how the tool adjoins the plane formed by the face layer. If a gap is visible somewhere, we achieve flatness by slightly adjusting the tiles located next to the gap and slightly protruding.

When laying, do not forget to insert seam crosses for uniform seam width in the vertical row.
Having put the entire row of one wall, we finally check the verticality, horizontalness and flatness of the row using a long level.
We mark the outermost tiles in a horizontal row, cut them with a tile cutter to the required width and put them in place. The row is completely ready, go to the next wall and repeat all operations. We do the same around the entire perimeter of the room. As a result, we get a reference horizontal row along the entire perimeter of the room as in the photo below.

Step 2. Move on to laying the next row. We start on either side (right or left edge) of our vertically drawn line.
We apply glue to the wall from the support row to a height slightly greater than the length of the tile. In width, you can capture 3 tiles at once.
We apply glue to the ceramic itself to be laid. Moreover, I apply the glue on the wall and on the ceramics in different directions, so that when the strips come into contact with the comb spatula, they form squares (see photo below).

We do not touch the last tile to be cut, we will lay it last, after laying the entire row of the wall.
Place the element in place, aligning the vertical reference line and the end of the tile. We insert seam crosses between the lower support row and our tile to ensure a seam between the rows. We apply a level vertically to our first tile in the row, and set the verticality of the row. We get this picture.

On the left, a vertical reference line is visible running parallel to the adjoining wall.
We lay out all the elements of the row, controlling the verticality, horizontal and flatness of the row using the level. The plane must be controlled both along the laid tiles of the row and in the vertical direction, aligning the laid row with the lower row.
In conclusion, as in the previous horizontal row, we lay the trimmed edge elements of the row.

We pass to the next wall, repeat all procedures and close the row around the entire perimeter of the room.

Similarly, we go to the next row, repeat all the operations and reach the ceiling. Do not forget to insert decorative elements and borders according to our tile layout plan.

Step 3. In conclusion, it remains to put the lowest horizontal row. We mark the length of the tiles and cut them. For convenience, I numbered all the places of the tiles around the perimeter and numbered the trimmed elements so as not to make mistakes when laying.
If necessary, we adjust and insert the element to the sewer pipes, hot and cold water outlets.

To make beautiful holes in ceramic tiles, we use various ceramic drills, circular drills and crowns. Having cut and adjusted all the elements, you can dilute the glue and start laying the final row. We control the row for verticality and compliance with the surface plane, both in the vertical and horizontal directions.
In this way, tiles are laid on the wall in the bathroom and the whole room is tiled. This is, of course, more than one day's work, so every time you complete the work, do not forget to clean the joints between the tiles and wipe the tiles themselves from excess glue. In the future, this will facilitate grouting and make them more aesthetic.
That's all for me. All easy repairs. See you.
Recommended:
How To Clean Silicone Sealant From Baths, Hands, Tiles, Tiles, Clothes, Glass And Other Surfaces

Mechanical and chemical methods for removing sealant stains. Features for different surfaces. Video Tips
How And What To Clean The Tiles In The Bathroom From Plaque At Home: Rules For Effective Cleaning Of Tiles
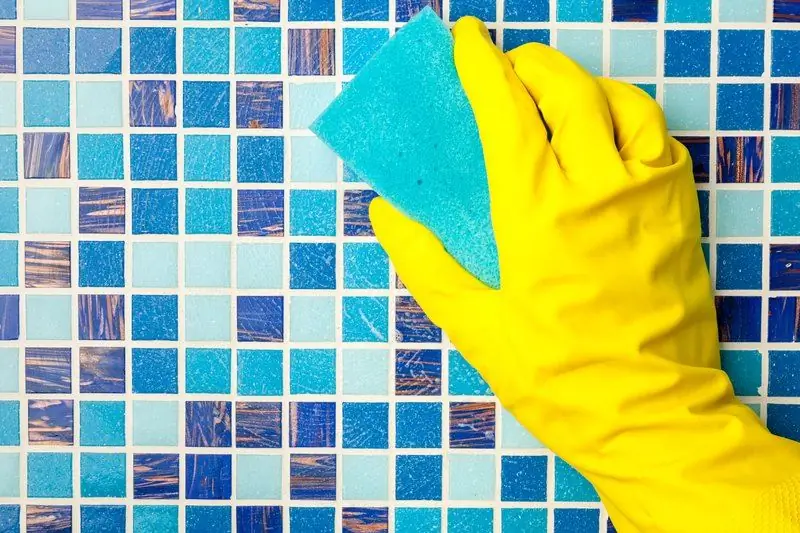
How to effectively clean the tiles in the bathroom. How to remove plaque from tiles and give them shine. Effective means, tips, instructions
Laying Tiles On An Apron In The Kitchen: How To Lay It Out With Your Own Hands, Step-by-step Instructions With A Photo, Video
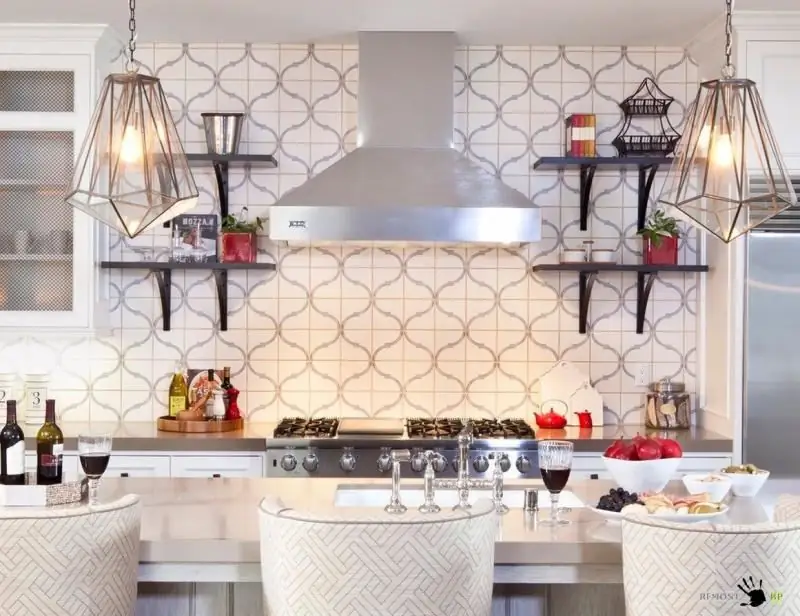
Tile kitchen apron: what materials and tools are needed for masonry. How to make an apron with your own hands, step-by-step instructions and professional advice
Roofing Made Of Flexible Tiles (soft, Bituminous), Characteristics And Reviews, As Well As Features Of The Device And Technology Of Laying The Material
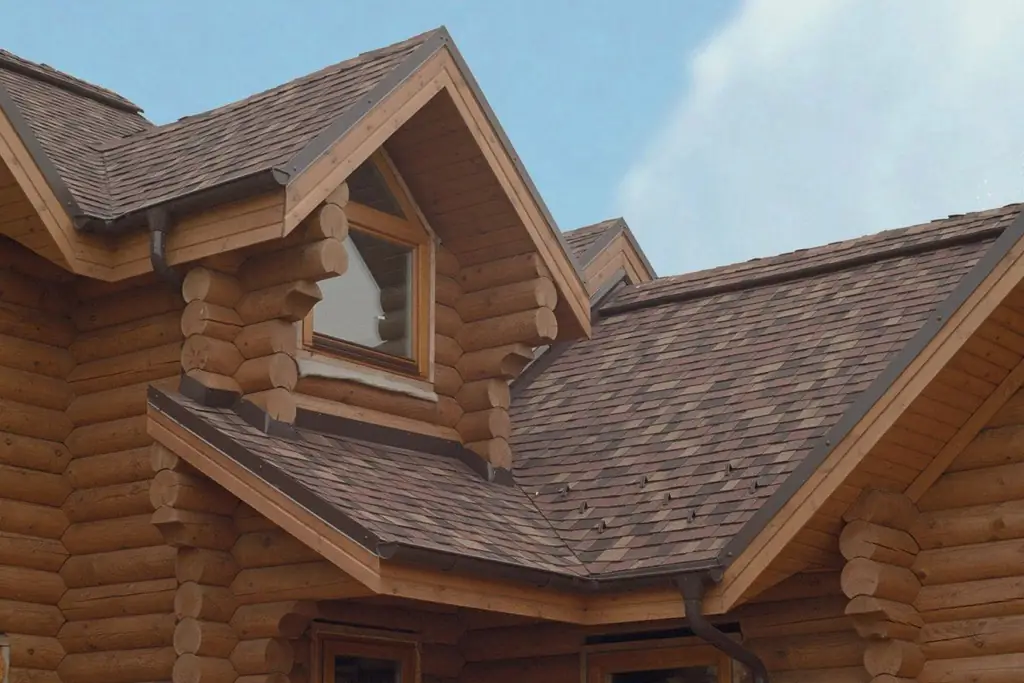
What is a bituminous tile roofing, what are its pros and cons. Features of the technology of arranging a soft roof, recommendations for care and repair
Tiling The Bathroom Floor - How To Lay Tiles On The Floor When Renovating A Bathroom
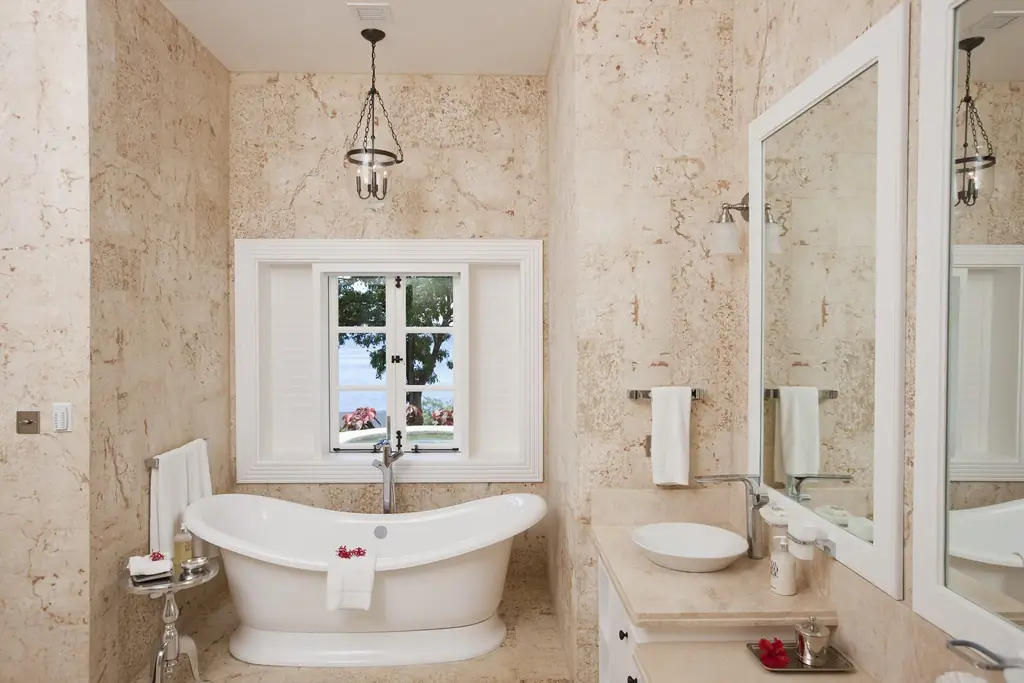
Laying tiles on the bathroom floor professionally with your own hands | Step-by-step instructions on how to lay tiles on the floor when renovating a bathroom
