Table of contents:
- Why invite masters? We install the stretch ceiling ourselves
- Pros and cons of stretch ceilings
- Functionality and distinctive features of stretch ceilings
- Do-it-yourself stretch ceiling: starting the process, fixing the profile
- Installation of stretch ceilings: the most difficult, but no less interesting
- Finishing touches in the installation of stretch ceilings
- Video about installing stretch ceilings
- Author Bailey Albertson [email protected].
- Public 2023-12-17 12:53.
- Last modified 2025-01-23 12:41.
Why invite masters? We install the stretch ceiling ourselves

It is already getting colder, and there is very little time left to complete the renovation begun or to insulate your home. And the arrangement of ceilings plays an important role in this process. Therefore, today we will talk about such an option as stretch ceilings, and in particular, what they are and what are their advantages. And of course, we will master the installation of a stretch ceiling with our own hands.
At first it may seem that this design is very simple, especially if you are looking at the finished work. In fact, the process of installing stretch ceilings is complicated and requires special attention.
Let's consider all the features of stretch ceilings and the subtleties of their installation in all details.
Content
- 1 Pros and cons of stretch ceilings
- 2 Functionality and distinctive features of stretch ceilings
- 3 Do-it-yourself stretch ceiling: start the process, fix the profile
- 4 Installation of stretch ceilings: the most difficult, but no less interesting
- 5 Finishing touches in the installation of stretch ceilings
- 6 Video about the installation of stretch ceilings
Pros and cons of stretch ceilings
First, decide for yourself whether you really want to install this type of ceiling, moreover, with your own hands.
Consider the advantages of stretch ceilings, the pros and cons, compared to the usual surfaces.

- First of all, thanks to stretch ceilings, you are guaranteed to get an absolutely flat surface. Installation work, for example, a suspended ceiling, includes the elimination and correction of all defects, that is, filling cracks, seams, putty, level installation of plates. It is difficult to get a flat surface with so many jobs. A stretch ceiling is a continuous canvas without joints.
- One might argue that even such a canvas consists of several parts welded together. If improperly installed and used, such soldering points become the weak link. But now more and more often used stretch ceilings without seams, which greatly facilitates the use.
- Installation of stretch ceilings, in comparison with the installation of suspended ceilings, for example, from plasterboard, does not set additional hassle. You will not need to remove dust, debris, trimmings. All you need to do is remove the furniture from the room and warm up the air in the room to the required level.
- On the other hand, it is not always easy to clear a room of all furniture. This can become a rather inconvenient factor: heavy walls, cabinets, large electrical items are inconvenient to carry from place to place. But this is easily compensated by the speed of installing the stretch ceiling with your own hands, the absence of the need for putty and painting.
Like any material, stretch ceilings have certain disadvantages. These include the following:
- The stretch ceiling is easily damaged by sharp objects;
- The material is quite expensive;
- Installation of stretch ceilings is quite complicated and requires special equipment.
Functionality and distinctive features of stretch ceilings
Of course, any work with any material has its own certain difficulties. But a person who has decided to learn how to make repairs on their own can do any task.
In addition, no one is safe from negligent neighbors upstairs who can flood your apartment. Unlike other structures, which immediately become completely unusable in such cases, stretch ceilings can significantly bend under the mass of water, but will not break. Manufacturers declare the strength of the used canvas in the amount of 100 kg per 1 sq. The water that has collected can be pumped out, and the stretch ceiling will become the same as it was.

- Stretch ceilings are not afraid of high humidity: they do not collect condensation;
- Thanks to ceilings of this type, it is very easy to hide noise and heat insulation;
- Stretch ceilings are fireproof, so they are great for the kitchen;
- It is easy to install any lighting fixtures into the stretch ceiling.
The functional features of stretch ceilings are not their main advantage. Beautiful appearance and a variety of design options are attracting more and more buyers. The colors used in the production do not fade or fade, the surface can be either matte or glossy, and the texture imitates materials such as metallic, wood, stone or marble.
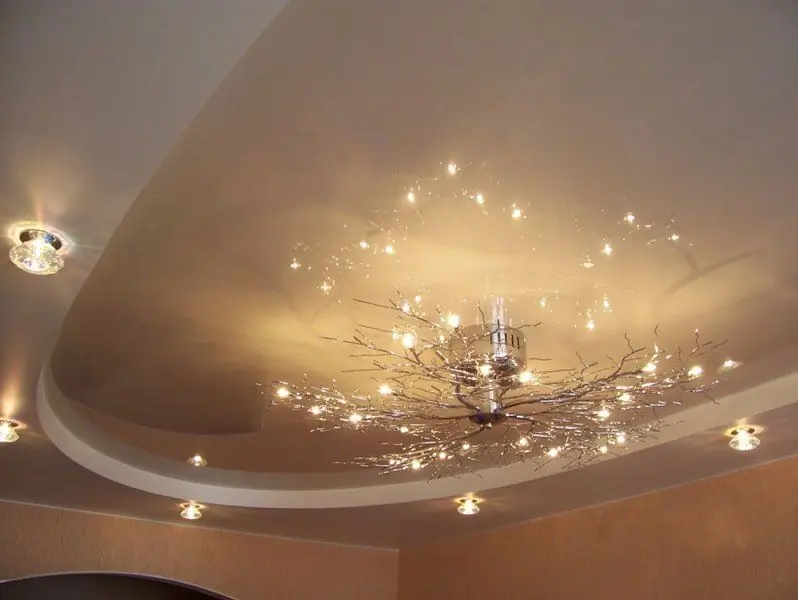
Nowadays such effect of stretch ceiling decoration as "starry sky" is very widespread. It is achieved either by LEDs or by light guides and a generator. In more expensive versions, Swarovski crystals are attached to the fibers. The LED "starry sky" has the function of creating dynamic pictures: volume, movement, flicker.
Do-it-yourself stretch ceiling: starting the process, fixing the profile
Before starting the installation of stretch ceilings, consider two main criteria:
• The ceiling can be made of fabric or PVC film;
• Use luminaires with a power not exceeding 50 W, otherwise the ceiling may lose its elasticity from overheating.
In order to fix the film, we will use a baguette - a profile specially designed for such work.

- First, using the hydro level, determine the lower corner of the room, step back a few centimeters from it so that it is convenient to attach the profile, and make a mark. Similarly, apply a zero angle around the entire perimeter of the walls.
- Now you need to measure the corners of the room. This will be needed so that the profile in the corners joins as smoothly as possible. In this case, you will need a folding protractor.
- After you have outlined the zero level and measured the corners of the room, proceed to fixing the profile. Prepare the profile rail in advance. It can be either longer or shorter than the width of the room. In the first version, the edges of the rail are sawn at an angle that is less than the angle of the room, by half. The second option involves washing down one corner of the floor 50% of the corner of the room, and the other at 90 degrees.
- Take the missing part of the profile and bevel in the same way for the opposite corner. Glue both parts. Fix the profile to the wall with dowels or self-tapping screws at the marked level.
So, now a profile is attached to the perimeter of the room. The work has begun, and the next step is to stretch the canvas of our ceiling.
Installation of stretch ceilings: the most difficult, but no less interesting
When purchasing accessories for stretch ceilings, take care of the heat gun or fan heater in advance. This is a rather expensive item and it doesn't make sense to buy it. Find out where you can rent a device.
Use a heat gun to warm up the room so that the temperature is over 40 degrees. Now begin to carefully unwind the film so that it is not too close to the fan heater.
Now start stretching the canvas.
When all 4 corners are secured, attach the sides to the profile from the corners to the center. Before starting the tension, the film must be warmed up to about 60 degrees.
In this order, you need to install ceilings based on PVC film. If you are using a fabric based material, then first fasten the sides, and then the corners.

On the types of fasteners used when installing stretch ceilings, you should dwell separately.
- The first type is harpoon fasteners. It is used for PVC film-based ceilings. The fastener on the film looks like a harpoon. An aluminum profile is used as a baguette.
- As a cheaper analogue, you can use glazing bead fasteners. In this case, a U-shaped aluminum profile and a wooden glazing bead clamping the canvas are used.
- Clip type fasteners are usually used to mount a fabric ceiling using plastic baguettes.
Finishing touches in the installation of stretch ceilings
After the completion of the installation work, you will only have to insert decorative plugs that hide the fasteners and install lighting fixtures. In order to fix a chandelier on a stretch ceiling, prepare a plastic ring in advance. Its outer diameter should be slightly less than the decorative cover of the chandelier in order to be completely hidden. Glue the ring to the surface of the canvas so that its center coincides with the attachment point. After the glue is completely dry, make a hole and attach the chandelier to the hook in the ceiling.

We considered the simplest installation option on a flat surface without protruding communications. If your room has a more complex ceiling structure, it will be better to seek help from specialists, since such work may not be possible for a beginner.
Video about installing stretch ceilings
We are sure that our article will help you understand how to install stretch ceilings yourself. We are waiting for your questions, suggestions and comments in the comments. Good luck in your useful endeavors!
Recommended:
How To Hang A Chandelier On A Stretch Ceiling + Video
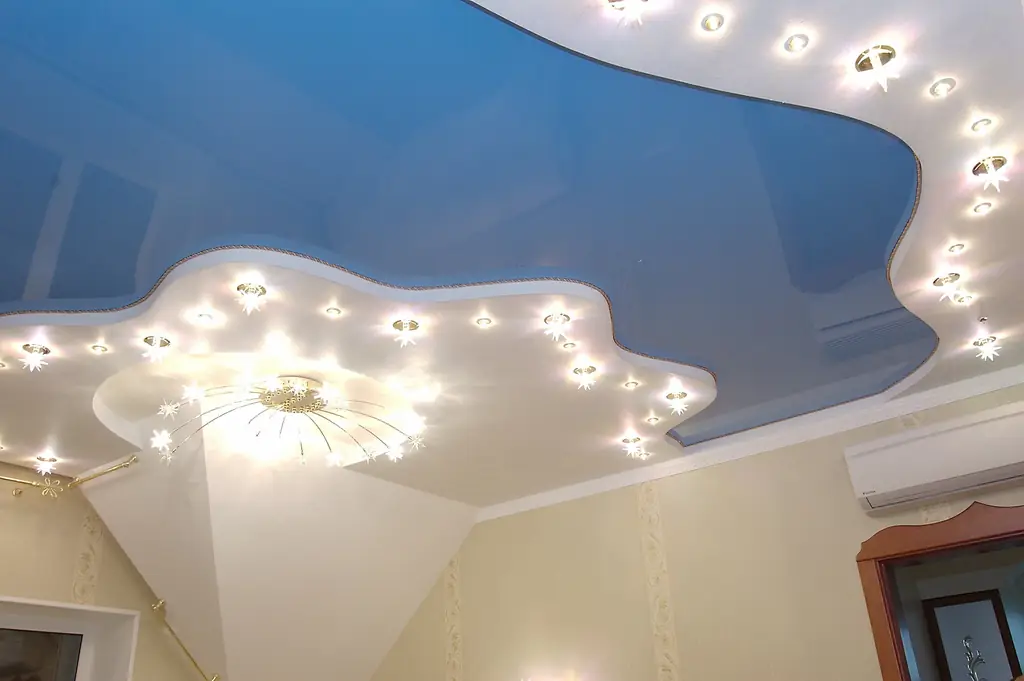
Features of fixing a chandelier to a stretch ceiling. Choosing a chandelier design, a step-by-step description of the installation process
Step-by-step Instructions For Replacing The Lock On The Door: Tools And Work Steps, Expert Advice And Recommendations
Types and types of door locks. How to determine the type of lock yourself. How to replace the lock in case of breakage. Required tools and materials. Work order
How And What To Wash A Stretch Glossy Ceiling Without Streaks, How To Care + Video
How to properly wash stretch ceilings, what means it is fashionable to use for this. Maintenance rules for such ceilings
Step-by-step Instructions For Replacing The Lock Cylinder: Tools And Stages Of Work, Advice And Recommendations From Specialists
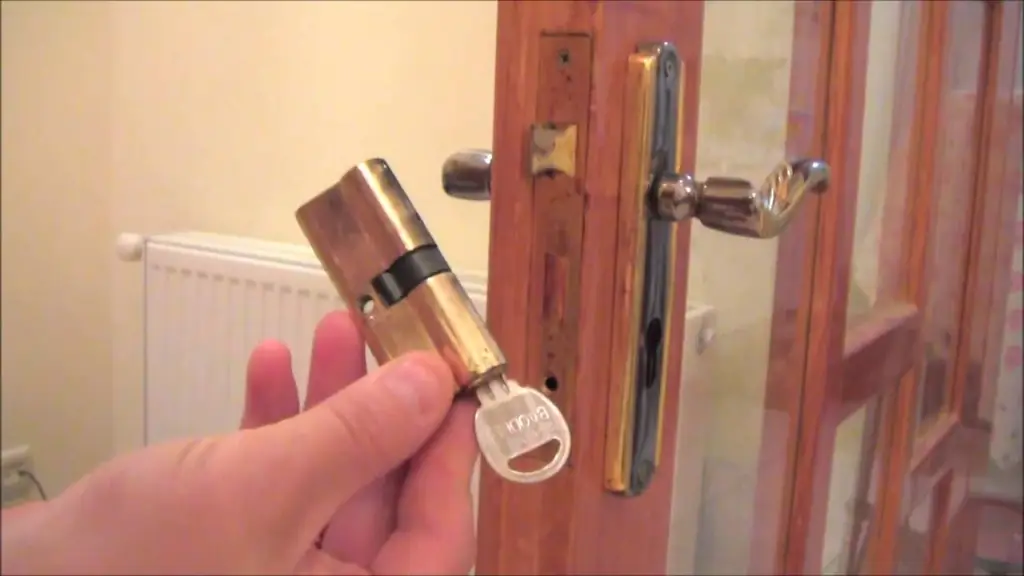
Varieties of larvae depending on the type of castle. In what cases the larva is changed. Stages of work, required tools. Specialist tips for lock maintenance
A Simple Way To Redecorate The Ceiling: How To Properly Glue The Ceiling Tiles, Step-by-step Recommendations + Photos And Videos
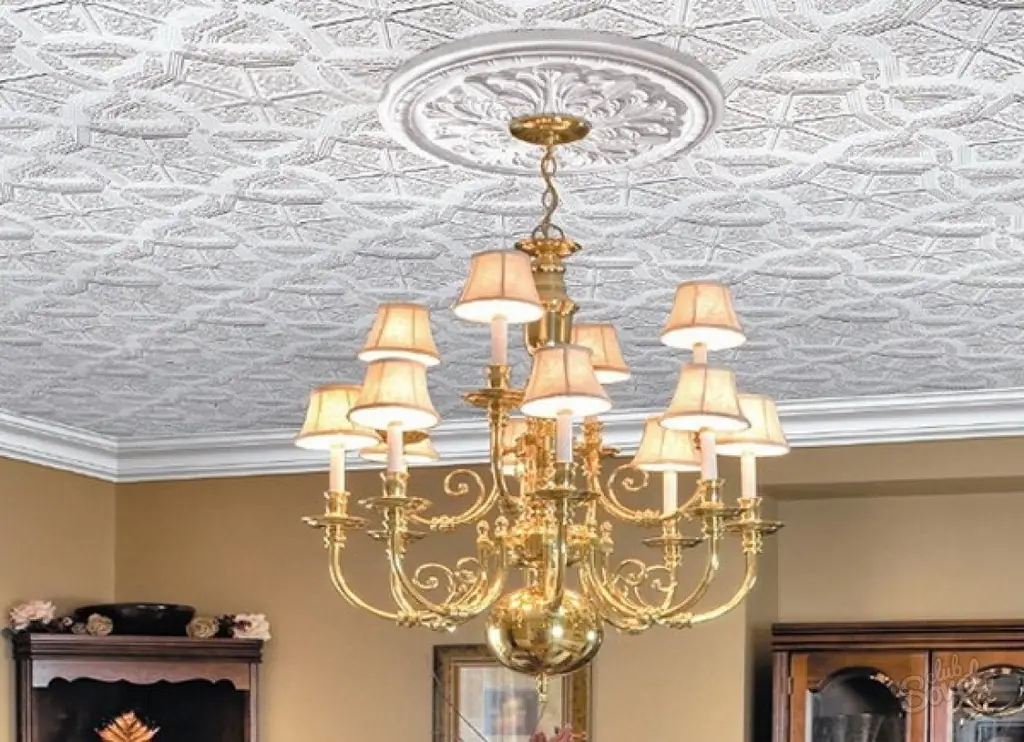
Practical advice on ceiling renovation with ceiling tiles. How to choose the right tile, glue. Tile installation methods
