Table of contents:
- Author Bailey Albertson albertson@usefultipsdiy.com.
- Public 2024-01-17 22:26.
- Last modified 2025-06-01 07:32.
How to grow mango from seed at home
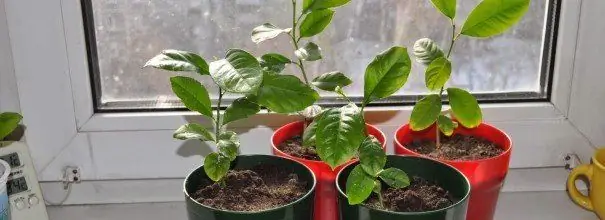
Aromatic, soft and juicy mango is highly valued by the inhabitants of our planet: it is considered the number one fruit in the world. And deservedly so. A rare tropical fruit has such a bright taste and richness of vitamins, and causes allergies only in the most rare cases. It tastes like a kind of mix of peach, pineapple and orange. And if at home in India mango is considered a familiar element of the diet, in our country it is still rare, exotic and expensive. Let's try to grow a mango tree at home directly from the seed.
Is exoticism on the windowsill real?
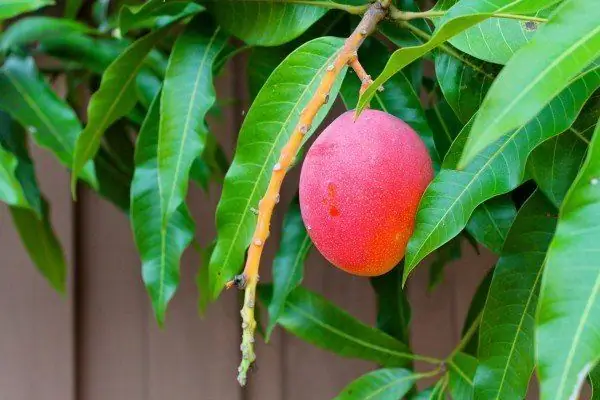
Mango
Mango is an evergreen tree, its fruits are colored in yellow, green, red shades or combinations thereof, the flesh is yellow or orange.
If you are going to grow a mango on your windowsill, immediately accept that the plant will be only decorative. For fruits to suddenly appear in your pot, a miracle must happen. Mango bears fruit only outdoors and under frost-free climatic conditions. Even a short cold snap to + 5 С ° leads to the death of flowers and fruits of the plant. A stable hot climate with moderate humidity is a suitable environment for growing mangoes. Therefore, it grows abundantly in India, Malaysia, East Africa and Asia, the Philippines and California (USA). In Europe, the fruit is cultivated in the Canary Islands (in Spain).
On the windowsill, you will grow a perennial exotic plant with bright green oblong leaves. With proper care, you can wait to bloom. Mango flowers are arranged in the form of panicles, have a light yellow or pink hue and smell nice.
Mango in the photo
-

Mango - Mango fruit
-

Mango tree - Mango tree with fruits
-

Mango flowers - Mango flowers
-

Potted mango - Mango at home
Preparing for landing
If you are going to plant a mango at home, you will need, first of all, the mango itself. Soft, ripe, even overripe, but not stale and without damage - such a fruit is ideally ready to sprout.
You will also need:
- a small pot with drainage holes;
- special soil;
- knife;
- water;
- plastic bottle.
For the initial planting, select a small pot, slightly larger than a glass. Buy soil in specialized stores or flower departments, it is preferable to contain peat and sand in its composition. A light soil for succulents with an admixture of expanded clay or pebbles is a suitable option.
Planting process
- We extract the stone from the ripe fruit. To do this, cut it in half, take out the bone and clean it from the remnants of the pulp.
- If the fruit is well ripe, the seed may have already opened. Otherwise, you will need to open it yourself with a knife. This is done so that the sprout easily and without hindrance penetrates the ground and quickly begins to develop. Remove the seed from the shell carefully so as not to damage it. If the bone is very dense and you cannot split it, leave it to ripen. To do this, wrap the bone with a wet napkin and put it in a warm place. Remember to add water periodically to keep the napkin moist at all times. It can take up to two weeks for a seed to germinate.
- Pour a 2 cm layer of pebble drainage into the bottom of the pot. Fill the pot with soil. Dig a hole in the center up to 3 cm deep, pour warm water and place the seed in the ground with its sharp end down so that a quarter of it remains above the ground. You do not need to fill up this part. If you position the seed correctly, then its root will be below, and ¼ part of it will be on the surface. Now water the planting thoroughly.
- We build a mini-greenhouse over the pot. To do this, cut off the plastic bottle and put the top with a lid on the pot. Now place the pot in a warm, well-lit place and wait for the shoots to emerge. Open the bottle cap periodically to allow air to flow. The bottle can be replaced with cling film stretched over the surface of the pot.
- The first shoots appear after about 3-4 weeks. All this time, do not forget to maintain moderate humidity and ensure a consistently high temperature (not lower than 22-25 C °).
- Young shoots need light, warmth and moisture. In addition to regular watering, spray the seedling.
- The grown, matured seedling is planted in a more spacious pot filled with fertile soil.
Step by step process in the photo
-

Mango seedling -
The strengthened seedling is transplanted into a larger pot
-

Mango sprout - The first shoots will appear in a few weeks
-

Mango in pots - Place the mango in a well-lit area
-

Mango seed - Free the seed from the shell
-

Mango seed - Remove the pulp from the bone
-

Mango seed in a pot - Place the seed in the soil with the sprout down, leaving 1/4 of it on the surface
Follow-up care
After 1-1.5 months after germination, add micronutrient fertilizer to the soil. It is recommended to add organic fertilizers to the soil a couple of times a month. In the summer, apply nitrogen-containing dressings once a week; by winter, reduce their amount to one per month.
Water and spray the plant regularly. If necessary, provide additional lighting and heating from artificial sources. Mango does not like cold, darkness and tightness.
Mango blooms in the sixth year of life, but in our latitudes this holiday may not come at all
Don't be alarmed if your mango leaves turn reddish - this is normal for young shoots. Over time, they will change color to dark green. A healthy plant has leathery lanceolate leaves with slightly wavy edges.
Video: how to grow mango from seed at home
Growing a mango from a fruit seed is not difficult. The planting algorithm is simple, the leaving process is also simple. One should not expect fruits from the miracle tree. Waiting for the flowering time is already good. But getting an evergreen exotic plant that pleases the eye, decorates the interior and reminds of warm regions, where it is always summer, is already a lot.
Recommended:
How To Grow A Peach From A Stone In The Country Or At Home + Video
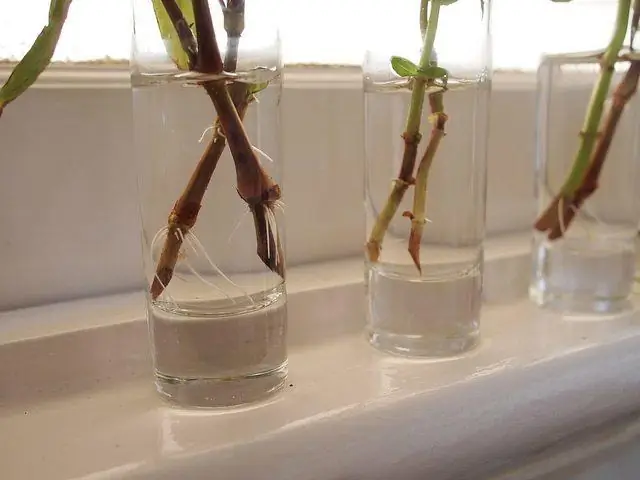
Growing a peach from a stone at home. Step-by-step descriptions of growing and transplanting methods. Plant care
How To Properly Grow A Crystal From Sugar At Home: Recipe + Video

Ways to grow sugar crystals at home. Necessary materials and tools, a detailed description of how to grow on a stick, string
How To Grow Plumeria From Seeds At Home: Step-by-step Instructions With Photos And Videos, Further Care Of The Plant

Growing plumeria seeds at home. Germination and planting tips. Required care: watering, fertilizing, etc. Pests and the fight against them
How To Grow Kiwi (at Home From Seeds, Seeds, Etc.) + Video And Photos
Step by step instructions for growing kiwi at home. Growing from seeds and seeds, taking care of seedlings and plants during the growth period
How To Grow An Avocado From A Seed At Home: Step-by-step Instructions With Photos And Videos
Ways to grow an avocado from a seed at home. What conditions are necessary for the successful growth of a tree. Possible problems. Growing tips
