Table of contents:
- Author Bailey Albertson albertson@usefultipsdiy.com.
- Public 2023-12-17 12:53.
- Last modified 2025-01-23 12:41.
DIY interior sliding partitions

Sliding partitions solve the problem of dividing living and industrial space into the desired zones. Ease of manufacture and assembly allows you to separate the desired area in the shortest possible time. Installation work does not require any special tools or any professional skills. By observing the simple general building codes, which we list below, you can quickly change the layout in any household, office or warehouse.
Content
-
1 Types of designs for sliding interior partitions
1.1 Video: zoning techniques
- 2 What materials can you make a sliding partition
-
3 Making and installing sliding partitions with your own hands
- 3.1 Required tools
- 3.2 Material selection
- 3.3 Fittings
-
3.4 Installation procedure
3.4.1 Video: installation of an interior sliding partition
- 4 Reviews
Types of designs for sliding interior partitions
Lightweight partitions, with the help of which the interior of the room changes quickly and easily, have been used for a long time in the countries of the East and Asia. The characteristic Japanese home consists of large rooms, separated as needed by mobile framed “walls” draped with fabric or bamboo. Fusuma, as they are called in Japan, traditionally consists of wooden slats upholstered with translucent rice paper or cloth. Gradually, the fashion for this kind of partitions reached Europe, and then came to Russia. True, at the same time, the design has changed somewhat and overgrown with more durable materials. A metal or wood frame is used instead of wooden slats, and paper is replaced with glass, wood paneling or plastic plates. The technology quickly found its fans. Compared to partitions made of bricks or drywall,sliding structures:
- mobile, quickly and without garbage can be assembled within a few days;
- save space, take up very little space;
- easy to maintain;
- do not require approval and permits in government agencies (they are lightweight and do not burden the capital overlaps of the building).
Various types of sliding interior partitions are produced today. They are classified depending on the design and type of attachment.
-
Floor fixing. The movement of the partition is carried out along a monorail built into the floor (according to the principle of a sliding door). The advantage of such a device is that the web rests on a reliable support, does not swing during movement. The disadvantage is increased requirements for the flooring, the formation of a threshold through which you need to step over. In addition, debris and dust accumulate in the guide mechanism, which must be removed regularly.

Floor sliding partitions The threshold does not allow the septum to swing, but requires regular maintenance
-
Ceiling mounted canvases. It differs favorably from the first option in that the mechanical part is installed on the ceiling. In this case, there is no floor threshold. The disadvantage is the swinging of the flaps during movement (partly compensated by the installation of special flags that prevent lateral vibrations).

Ceiling sliding partitions No threshold has hygienic benefits
-
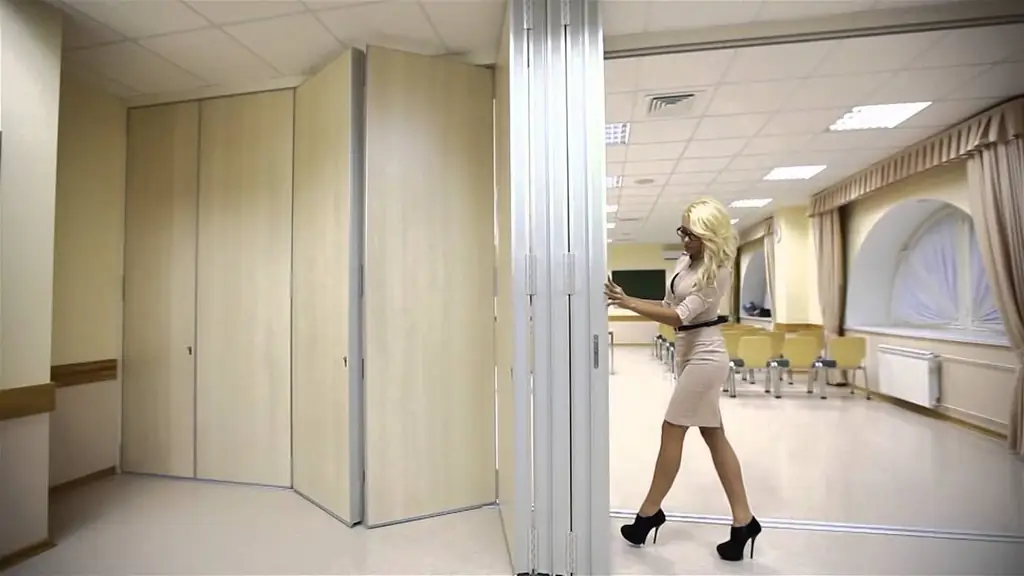
Partitions in the form of an accordion (or book). The canvases do not roll along the rail, but fold according to the "accordion" principle. Due to the fact that the sashes are connected with hinges, the partition folds into one plane against the wall. The advantage of this model is the fact that when folded, the mobile wall takes up very little space.

Sliding partition-book Book partitions are installed in small apartments in order to save space
- Tilt-and-slide mechanism. A good example of such a partition is the side door in Gazelle cars. In order to open the passage, it is necessary to push the door away from you (or towards yourself), and then push it as far as it will go. Compared to other types, tilting-sliding partitions are distinguished by good sound-insulating properties, since the fit of the sash when closed can be almost airtight. But they are rarely used in residential premises, the scope of such partitions is warehouses and storage of fuels and lubricants.
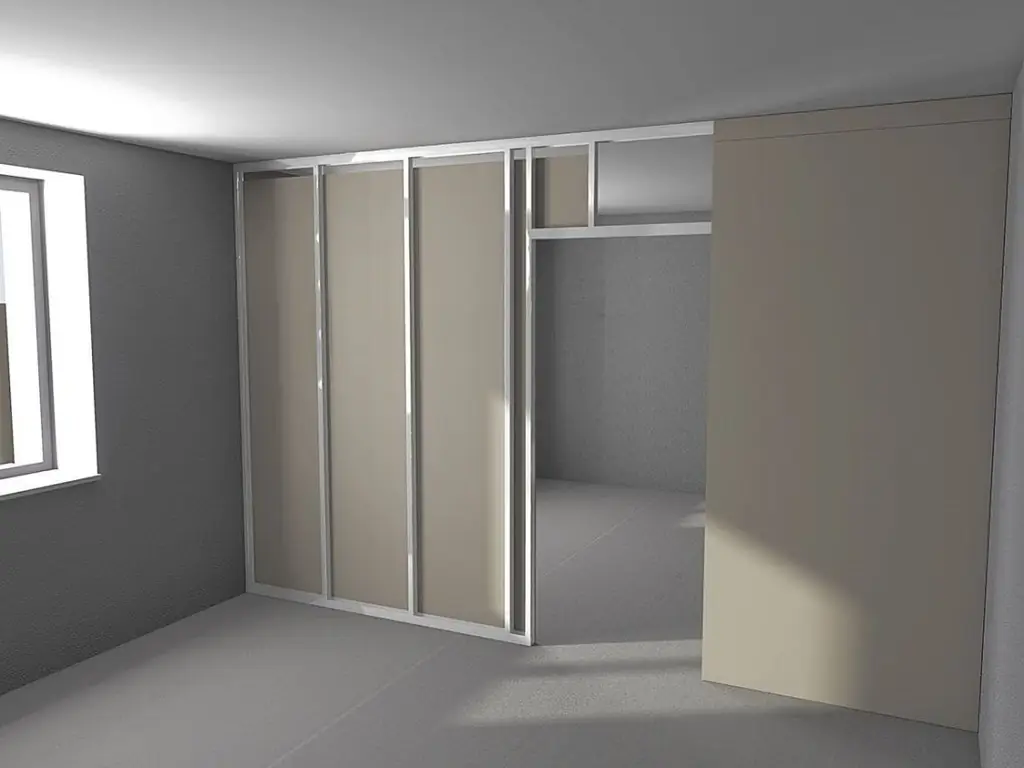
In a separate type of sliding room partitions, experts distinguish the so-called pencil case partitions. Their difference lies not in the suspension mechanism, but in the fact that a false wall (pencil case), erected specifically for this purpose, is used to hide the doors.

Cabinet for sliding partitions is mounted from plasterboard
Video: zoning techniques
What materials can you make a sliding partition
The most common material for the manufacture of partitions today is glass. The doors are also made of plastic, wood or even metal (light aluminum alloys). The popularity of glass is due to the fact that they provide good natural light in a fenced-off space and at the same time isolate the place from air circulation (odors) and sounds. Structures made of wood (plywood, MDF, fiberboard and other types) significantly darken the room and, in addition, are quite heavy, conduct sound waves well.

Corrugated frosted glass is used for sliding partitions in offices
Metal partitions are used only when there is a need for it:
- in fire breaks;
- in a protected area;
- in production associated with aggressive chemicals.
When choosing a partition for a living space, you should pay attention to the material from which the supporting frame is made. The performance of the device and its durability depend on this.
-
Wooden frames. Wood is an excellent material for any frame, including door and window frames. Strength and lightness are considered a distinctive feature. But there is one drawback that should always be remembered - under the influence of moisture, natural wood is deformed. Since two or three canvases are used in partitions, this can lead to the fact that the sashes begin to rub against each other. To avoid such consequences, most manufacturers produce frames from glued laminated timber or MDF, finished with natural veneer. Both materials are "indifferent" to humidity and temperature changes. At the same time, the price is quite democratic. Wooden frames do not require special maintenance and fit perfectly into any interior.

Wooden frame for sliding partition Wooden frames for partitions have a very aesthetic appearance and do not require special maintenance
-
Aluminum frames. The aluminum profile is a modern solution that gives the partition a modern style. The frame is characterized by unlimited service life, low weight and high strength. Most often used in combination with glass, inlaid in all sorts of ways - from embossing and embossing to veneering and simply painting in different colors. Looks presentable both in a residential building and in an office. The metal is not subject to oxidation, decay, "it does not burn in fire and does not sink in water." Today it is an ideal option for interior sliding partitions, which is used everywhere. The price depends on the size and finish of the profile, but in general it is far from transcendental.

Aluminum frame for sliding partition Aluminum is a very practical and inexpensive material for the production of partition frames
-
PVC frames. Plastic and metal-plastic have become part of everyday life. The low price combined with good performance makes PVC frames attractive to the consumer. These products fit organically and stylishly into rooms with plastic windows and doors. They are excellent at absorbing noise and thermal insulation.

Plastic frame for sliding partition PVC frames use standard fittings for doors and windows
There are also frameless sliding partitions. Their design is based on the use of tempered glass display cases (with a thickness of 8 mm and more). Since the weight of such sashes is considerable, the supporting elements are made of stainless steel. The work of the frameless partition is distinguished by the quiet movement of the canvases along the hinged suspension - the glasses do not rub against each other and do not emit additional sounds. Such designs are often used to separate the bathroom and the bathroom. In this case, matte or corrugated glasses are installed.

The display glass used for the sliding partition does not require an additional frame
A common disadvantage for all glass partitions is that they are not suitable for repair: in case of cracks or chips, the canvas must be completely changed
DIY manufacturing and installation of sliding partitions
In order for the partition to serve for a long time and regularly and at the same time please its owner, you need to prepare all the necessary tools and choose the right material for the paintings.
Required tools
For self-manufacturing and installation of sliding partitions, you should stock up on the following tools:
-
puncher;

Drilling a concrete ceiling The hammer drill uses concrete drills with a victorious tip
- screwdriver;
-
drill with a set of drills and nozzles;

Drill with a set of drills and attachments Using a drill, they not only drill holes, but also tighten screws of various configurations
-
a set of locksmith tools - a hammer, pliers, files, screwdrivers, etc.;

Locksmith tool set A set of locksmith tools is required for the installation of sliding partitions
- measuring instruments - tape measure, square, vernier caliper;
- pencil or marker (for working with glass);
-
hydraulic level or construction laser level;

Laser level The markings made with a laser level are accurate and fast
- set of open-end wrenches.
Partition fittings sold at hardware stores are designed to be assembled at home. And therefore, the necessary tool, as a rule, is in the arsenal of any master (or amateur).
It is advisable to think over all the technical details in advance, carefully measure the installation site of the mobile partition and draw up an accurate drawing that reflects all dimensions.

The drawing must necessarily reflect the location and real dimensions of the walls and ceiling
Material selection
Next, you need to decide on the materials and the supporting structure. To do this, you need to examine the floor for communications. If there is a suspicion that power lines or other engineering networks (water, sewage, gas) pass under the floor covering, the floor version will have to be abandoned. Installation of the support rail involves rigid fastening with anchors or dowel-nails, which can damage cables and pipes. You need to be especially careful about this in private buildings, which were designed in an artisanal way, without observing architectural norms. It happens that in such houses, sewer pipes are walled up in the most unexpected places. The same thing happens with electrical cables. Even in apartment buildings, such as "Khrushchevs", lighting wires on the first floor were led through the second floor. By accidentally driving a nail into a wooden floor, you can deprive the neighbors of the light below, after which they will look for the cause of what happened for a long time.
Of course, you can purchase a finished product, but it is quite possible to assemble the sashes yourself. It will not be possible to make a glass block at home, but any master can sew wooden slats, plywood or MDF panels into a shield that will serve as a movable partition. Any material can be used, including laminated chipboard, inexpensive laminate flooring, and even heavyweight paper or fabric stretched over a frame. It all depends on the imagination and capabilities of the performer. Small format glass inserts can be used. Fastening is carried out in the classical way, using glazing beads or metal corners.

For installation of window inserts into the sliding partition, use wooden or plastic glazing beads
Fittings
After all issues with the material of the sliding partition have been resolved, it is necessary to choose the right fittings. The choice is made according to the following criteria:
-
Load on the rocker mechanism. It is expressed in kilograms and means the total weight of the moving belt:
- lightweight partitions - canvas weight up to 40 kg;
- medium loads - sash weight from 40 to 80 kg;
- heavy sashes - from 80 to 120 kg.
-
Suspension and support mechanism fastening method:
- upper - the suspension is located above the flaps;
- bottom - the canvas moves along the floor, leaning on the guide rail;
- combined - guides are located both on the floor and on the ceiling.
- The thickness of the partition wall. As a rule, fittings are designed for a standard thickness of 22 mm and above.
- Manufacturer. It is preferable to choose accessories from well-known companies with a good reputation. For example: Amig (Spain), Armadillo (Italy) or "Bastion" (Russia).
The product kit must include:
- guide profiles;
-
rocker mechanism (wheels and suspension) plus fasteners to it;

Suspension device All suspension elements and assembly diagram are displayed in the technical documentation
- technical certificate;
- installation instructions.
Installation procedure
Let's describe the assembly algorithm for a sliding room partition using an example. At the preparatory stage, you need to evaluate the load-bearing characteristics of the ceiling (to which the guides will be attached). If it is a concrete floor covered with plaster, there is no problem. But if the ceiling is suspended, say, rack or plasterboard, then before attaching the partition profile to it, you need to install an additional support.

A planed wooden beam is used as an additional support
It can be a wooden or metal beam supported at the ends against the walls. Sometimes two thick (from 50 mm and more) boards are used, fixed in parallel. But if the distance between the walls is more than 6 meters, it will be difficult to find such boards. It is also desirable to firmly connect the support to the ceiling, in this case the structure will be reliable and will last a long time. In the case of plasterboard ceilings, fixation is made to the metal ceiling profiles.
If the ceiling is concrete, everything is simple:
-
We fix the guide profile. To do this, we make markings and beat off the contour of the future partition along the ceiling and adjacent walls. The use of a building level greatly simplifies the task, but if there is none, we draw vertical lines on the walls and connect them along the plane of the ceiling. Do not use dowel-nails with a plastic expander, this is prohibited by fire safety rules (in case of fire, the plastic will melt under the influence of fire and the partition will collapse downward). Only anchor, fully metal, clamps are used.

Anchor nail Installation of the guide profile is carried out only with metal anchors
-
We carefully study the instructions for assembling the rocker mechanism and mount the suspension system in the cavity of the guide profile (or - profiles, if there are several). There are various suspension models, therefore, in each specific case, the technical documentation from the manufacturer serves as the main installation guide.

Suspension mounting diagram The technical documentation contains a detailed description of the rocker mechanism assembly
-
If a lower guide track is provided, we connect the edges of the vertical lines on the walls and mount the floor threshold. Here, the use of dowel nails with plastic is allowed. It is advisable to use fasteners no more than 3.5 cm long and 2.5 mm in diameter. If the flooring allows (ceramic tiles, laminate, linoleum), we use self-adhesive profiles.

Self-adhesive profiles Self-adhesive metal profiles can only be used on a perfectly flat surface
- We install and fix the partitions in the working position. We check the free play, make sure that the installation standards are observed: the size of the gaps is within the allowable range (2-3 mm), the deviation from the vertical axis is no more than 1 mm per linear meter.
-
We mount additional devices - seals, shock-absorbing tapes on the sides of the leaf, sash position clamps (positioners), magnetic latches, etc.

Installation of fittings on sliding partitions At the end of the installation, limit plugs are installed at the ends of the guide profiles
- We carry out finishing work. Basically, this paragraph applies to those cases when the support beam is mounted independently from bars. To give an aesthetic appearance, it is painted or pasted over with wallpaper, veneer, PVC film.
Video: installation of an interior sliding partition
Reviews
With the help of sliding interior partitions, you can easily change the interior of the room. Owners of apartments, houses and offices tired of redevelopment will be pleased to know that most of the problems disappear if mobile partitions are used correctly and thoughtfully. If necessary, the entire structure can be dismantled and moved to another place. Moreover, no traces will remain at the previous installation site. The use of this technology clearly has a great future.
Recommended:
Screens-partitions For Zoning Space In The Room: Varieties And Design Features, Manufacturing And Installation By Hand
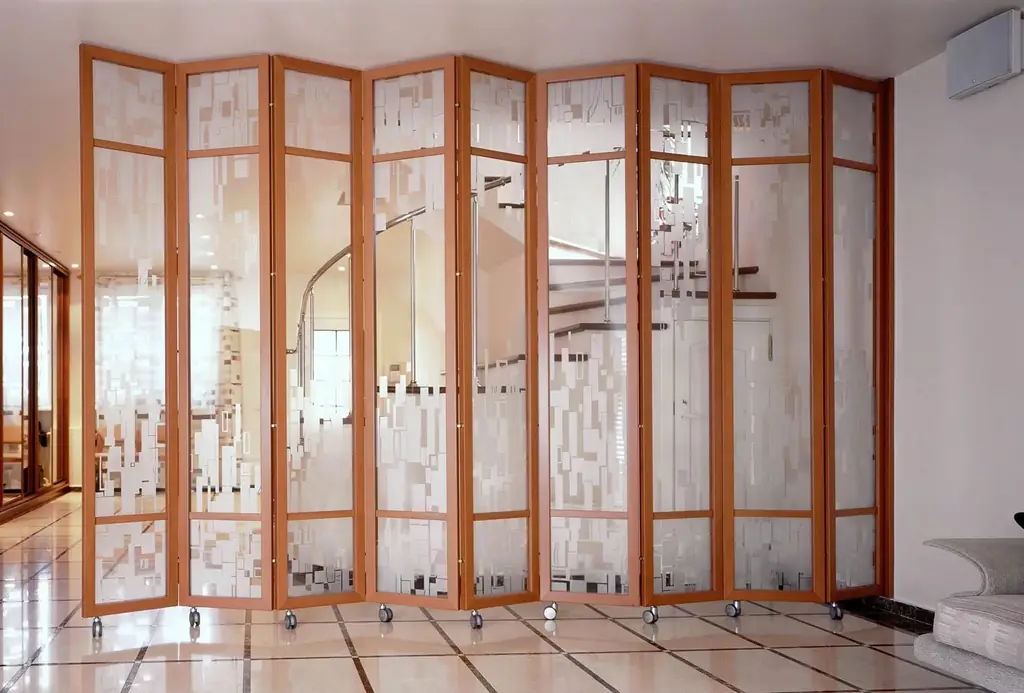
What is a partition-screen. What are the types of screens, their features, advantages and disadvantages. How to make a partition screen yourself
Rack-partitions For Zoning Space In A Room: Varieties And Design Features, Installation Stages, Photo
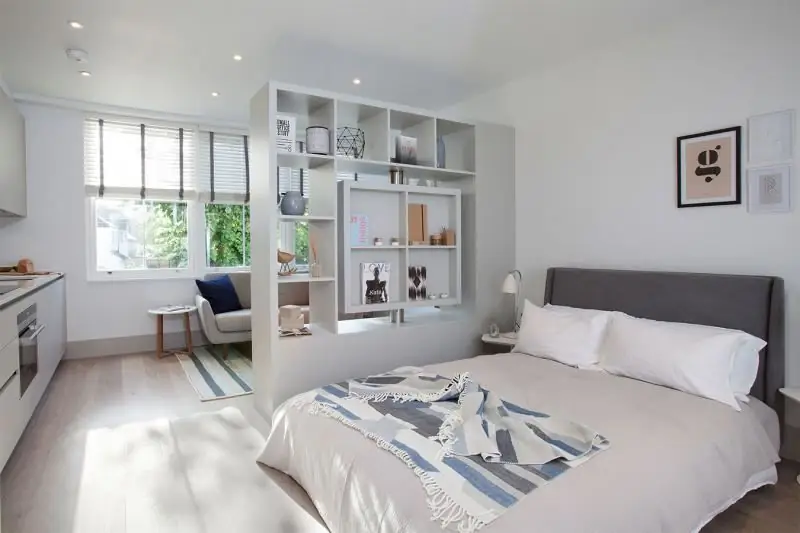
Rack-partition: advantages and disadvantages, varieties. DIY selection and installation of multifunctional furniture
Glass Partitions In An Apartment: Design Features, Pros And Cons, As Well As Installation Nuances

Purpose and types of glass partitions in the apartment. Features of DIY installation. Methods for decorating glass partitions
Decorative Partitions For Zoning Space In A Room: Varieties And Design Features, Their Installation With Instructions
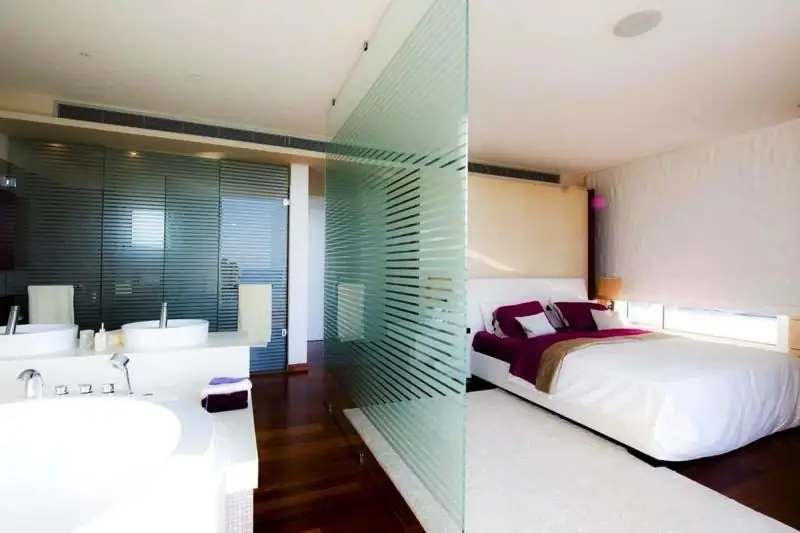
How convenient it is to zone a room with minimal costs. What materials are suitable for partitions and how to use them. We make a design partition ourselves
Interior Partition For Zoning A Drywall Room: Design Features, Pros And Cons, Instructions On How To Do It Yourself
Appointment of room partitions. Pros and cons of gypsum board. The order of work when erecting a plasterboard partition. Required tools and materials. Markup
