Table of contents:
- Author Bailey Albertson albertson@usefultipsdiy.com.
- Public 2023-12-17 12:53.
- Last modified 2025-06-01 07:32.
What are screens, partitions, their types and features
For centuries, partition screens have been used for interior decoration. They were installed in the huts of the poor as well as in wealthy houses. Now this solution has become popular again and is actively used for zoning premises. With the help of a screen in a small apartment, you can separate a certain area and give the interior a charm and a shade of the past, and you can do it simply and quickly with your own hands.
Content
-
1 Advantages and disadvantages of using partition screens for zoning space in a room
1.1 Video: screens-partitions in the interior
-
2 Varieties of partition screens
- 2.1 Folding screens
- 2.2 Single screen screens
- 2.3 Flexible screens
- 2.4 Screens-panels
-
2.5 Louvers
2.5.1 Video: Louver Screen
- 2.6 Screens-books
-
3 Manufacturing and installation of a screen-partition
- 3.1 Screen made of wood
-
3.2 Cardboard screen
3.2.1 Video: how to make a cardboard screen
-
3.3 Single-screen plastic pipe screen
3.3.1 Video: a screen made of plastic pipes
Advantages and disadvantages of using partition screens for zoning space in a room
Often there is a need to organize the space in a house or apartment so that it meets the needs of all household members and provides each of them with the necessary level of comfort. In order to create capital partitions, you need to obtain special permits. In addition, the construction of a partition requires not only time and certain skills, but also significant financial investments.
In order to make the zoning of the room as simple as possible, partition screens are used. If you correctly perform the division into zones using mobile partitions, the room will visually become more spacious and comfortable. Such screens can be installed in any part of the room, the main thing is that they organically fit into the design of the room.
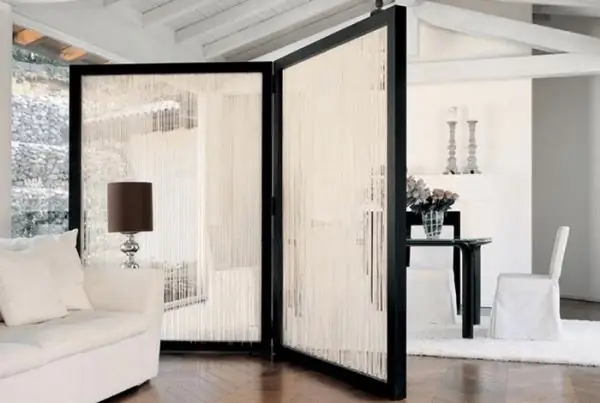
Partition screens are especially convenient for zoning a room in a studio apartment
The screen-partition is a lightweight portable structure consisting of several panels connected to each other on hinges. The frames can contain opaque or translucent material.
Partition screens can be used not only in studio apartments, but also in a large hall, bedroom and even in the bathroom. The popularity of this solution is due to the following advantages:
- light weight. If the screen is not used, it can be easily folded like an accordion, then it will not take up much space;
- mobility. At any time, you can independently move the partition and separate the necessary room in the room;
- low cost. The price of the finished screen will be much less than the cost of creating a stationary partition. If there is a desire and certain work skills, then you can make a screen with your own hands;
- a large selection of style solutions - you can always choose exactly what will fit optimally into the interior of the room;
-
simple increase in functionality. To do this, it is enough to equip the screen with pockets or shelves;

Screen with shelves To increase functionality, shelves can be installed on the screen
- the ability to decorate the room. The mobile partition can be decorated with carvings, paintings, and it will transform any room, make it original and unique;
- variety of sizes. Depending on the dimensions and the number of frames used, you can make a partition of the required size;
- the ability to fix the screen to the ceiling, wall, floor or make it mobile.
This solution also has certain disadvantages:
- limited zoning - since the separation of zones occurs only visually, the screen does not prevent penetration into the fenced space;
- low sound insulation;
- little stability. This indicator depends on the opening angle of the valves. Maximum stability is reached when it is 90 o.
Video: screens-partitions in the interior
Varieties of screens-partitions
There is a wide variety of screens, partitions, and their choice is carried out taking into account the task and design of the room. In the nursery, this solution allows you to separate the play area from the place of rest and study. A screen between the kitchen and the dining room will hide the hostess from guests so that she can safely prepare snacks.
When choosing a screen-partition, the following parameters must be taken into account:
-
Light transmittance. There are transparent, translucent and blank screens. Deaf structures are suitable for separating the recreation area, and when there is one window in the room, it is better to install a transparent or translucent option.

Translucent screen Translucent screen suitable for rooms with one window
- Functionality. In addition to the fact that the screen helps to divide the space of the room, it can also act as a rack and place for storing various things. For this, pockets or shelves are attached to it.
- Construction type. Screens-partitions can be stationary (attached to the wall, floor or ceiling) or mobile.
-
Manufacturing material. Partitions are made from:
- natural wood;
- MDF panels;
- plastic;
- glass;
- polycarbonate;
-
bamboo;

Bamboo screen A modern and beautiful solution is a bamboo screen
- fabrics and leather;
-
metal.

Wrought iron screen A wrought iron screen is a beautiful but rather expensive solution.
Folding screens
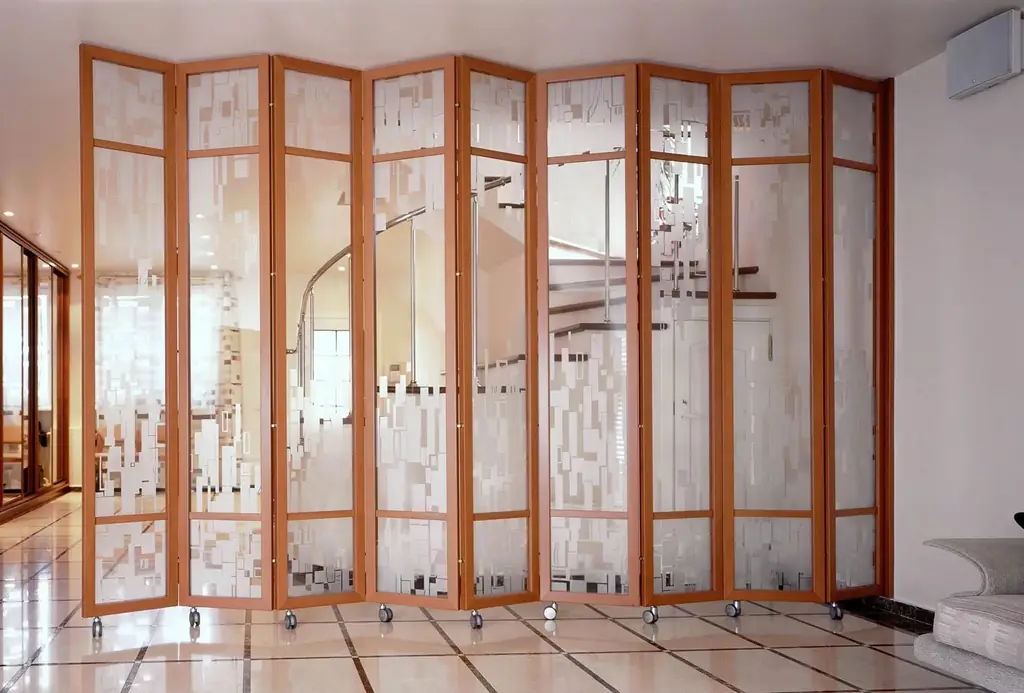
Swing structures consist of a rigid frame, the individual elements of which are hinged by means of furniture or piano hinges and fold like an accordion. Usually 3-4 doors are used, but there may be more of them, it all depends on what size is needed in a particular room. The height of such a structure is usually 1.5-1.8 m, the width of the flaps is 40-60 cm.
The doors can be either deaf, that is, made of wood, plastic or other material, or translucent. To create expensive exclusive models, forging, stained glass, and natural leather can be used.
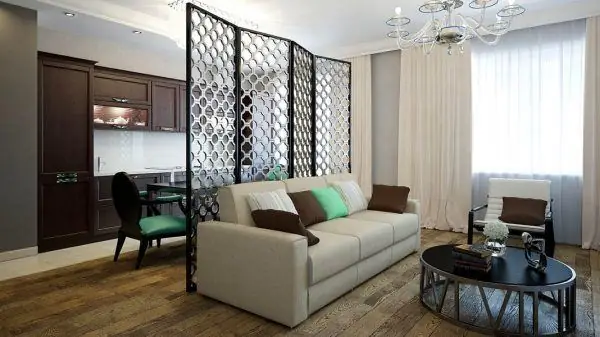
A folding screen usually has 3-4 wings, but there may be more
Single screen screens
A single-screen screen consists of one sash. It cannot fold, so the storage process becomes more difficult. Despite this, such a solution completely copes with the task of dividing a room into zones.
Single-wing screens are installed both in residential and public areas. At home, they use them to separate certain areas of the room, in offices - workplaces, in cafes - separate tables, and in a hospital - a doctor's area, etc.
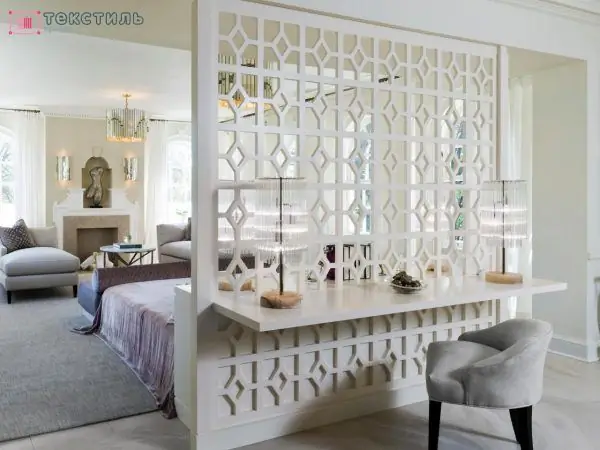
A single screen is difficult to store when not in use
Legs or wheels can be used to fix such a screen. To facilitate the construction, its frame is usually covered with cloth or paper, but plastic, glass or other materials can also be used.
Flexible screens
The main difference between flexible screens is that in their manufacture, vertical posts are used, between which many thin elements are installed - these can be tubes, strips or slats, which are movably connected to each other. An option can be used when there are only vertical elements that are connected by flexible inserts. Thanks to this, the partition can be shaped in different ways, for example, in the form of a wave or a spiral. In addition, the design of flexible screens allows you to quickly and easily fold them, so they take up little space during storage.
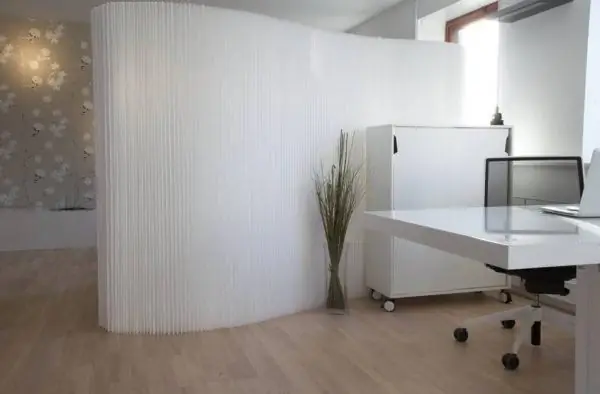
Flexible screen folds up quickly and takes up little space
Screens-panels
Screen-panel - one of the varieties of single-screen designs. Some designers indicate that this is a type of roller blinds that are attached to the ceiling. This solution is great for the bedroom to separate the sleeping area, but can be used in other rooms as well.
Usually mesh or solid fabric is used for the manufacture of panels. If you use durable material, then even a TV can be hung on such a screen. The disadvantage of screen panels is that for their fastening the surface of the ceiling must be strong, so they cannot be installed on stretch ceilings.
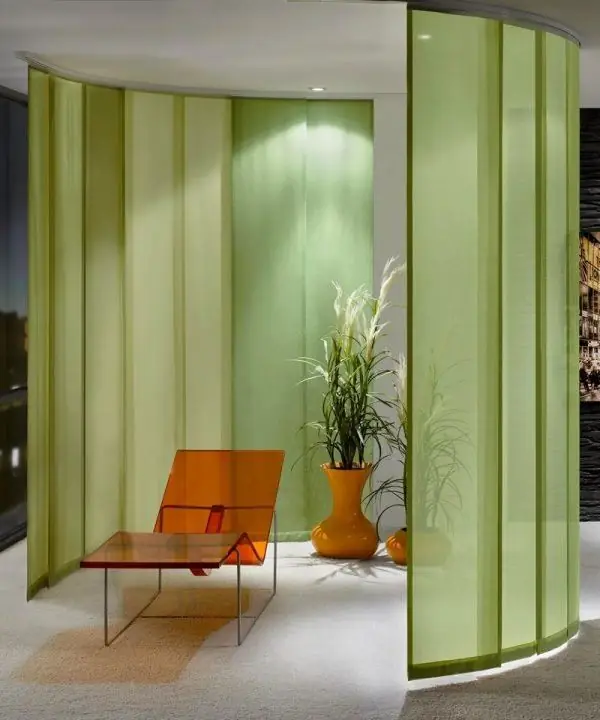
Screen-panel is a type of roller blinds
Louvers
Such a screen can be used for zoning a room, and when it is not needed - as blinds for windows. Such partitions are made of wood, plastic or plywood.
Fixation of the blinds depends on the task it solves, and can be done:
- to the ceiling;
- to the floor and ceiling.
The ability to lower with cords allows you to quickly remove such a screen without dismantling it. There are options when the blinds are made motionless. This allows you to zone the space, but due to the presence of gaps in the screen, it turns out to be translucent and light.
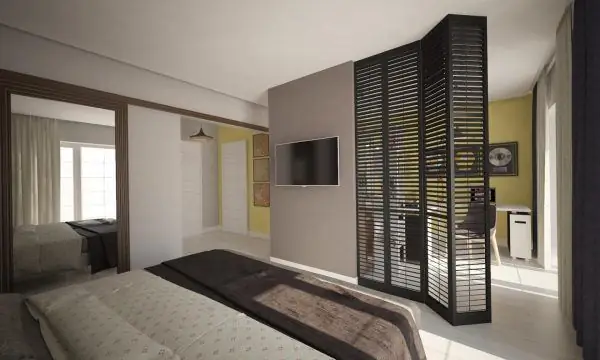
Blinds can be fixed or closed and opened
Video: blinds
Screens-books
Screen-book - one of the options for the folding partition. This design is made on the principle of a book and has two flaps of the same size. It is convenient to use for fencing a place for changing clothes, when decorating a corner for photo shoots, etc.
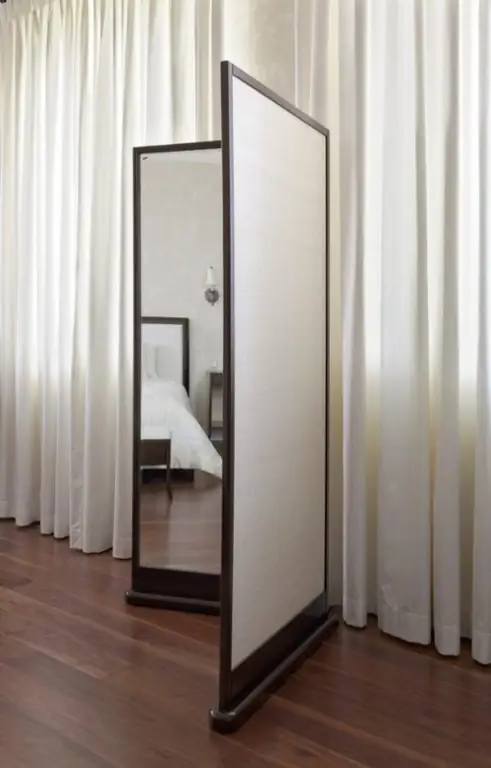
Screen-book consists of two wings
Manufacturing and installation of a screen-partition
To make a partition screen, you will need the following tools and materials:
- hacksaw for wood;
- pencil;
- ruler;
- square;
- screwdriver;
- milling cutter;
- sandpaper;
- stapler;
- scissors;
- self-tapping screws;
- glue;
- the cloth;
- wooden blocks;
- plastic pipes;
-
varnish, paint.

Screen making tools Depending on the materials used to make the screen, the set of tools will vary
It is recommended to install limiters on the hinges, which do not allow the leaves to open more than 135 o. At a higher angle, the stability of the structure will be minimal, it may fall.

To limit the opening angle of the sash, rope stops are used
Screen made of wood
One of the most common options is to make a screen made of wood. To do this, first make a wooden frame, after which fabric, glass, paper or other material is fixed in it:
-
Preparation of planks. Depending on how many flaps there will be, prepare vertical and transverse strips of the required length. When cutting, it is necessary that the ends of the strips be perpendicular.

Plank preparation To create a screen, you will need a wooden bar with a section of 5x5 cm
-
Forming grooves for joining bars. With the help of a router, grooves are made on the sides and ends of the joined strips.

Forming grooves for joining bars Use a router to create grooves.
-
Creation of flaps. The finished grooves are coated with glue and the connecting elements cut from wood and exactly corresponding to the shape of the grooves are inserted into them. After that, the planks are connected. To make the fasteners more reliable, you can additionally use self-tapping screws.

Sash creation Vertical and horizontal bars are interconnected
-
Frame painting. The doors are painted in the required color or tinted with a stain and varnished.

Frame painting The frame can be painted or varnished
-
Glass preparation. Glass is cut out according to the inner size of the frame, after which a stained glass film is glued onto it.

Glass preparation Stained-glass film is glued to glass
-
Inserting glass into the sash. The glass is inserted into the frame and fixed with glazing beads.

Inserting a stained-glass window into a frame Stained glass is inserted into the frame and fixed with glazing beads
-
Sash connection. Loops are fixed to the ends of the prepared frames and all the doors are connected to each other.

Connecting the shutters The assembled sash of the screen is connected with hinges
Instead of a mirror, the sash of the screen can be covered with a cloth. To do this, cut out the required size piece of fabric and carefully fix it on the frame with a stapler.
Cardboard screen
This is a simple and affordable solution. To create it, you will need cardboard pipes on which fabric or linoleum is wound. They can be taken for free or inexpensively bought at the nearest hardware store.
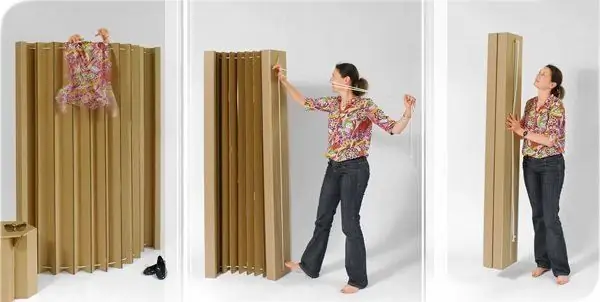
When assembled, the screen made of cardboard tubes turns into a compact package
The work is performed in the following order:
-
Pipe marking. The required size is measured on the prepared cardboard tubes and the excess is cut off. To create a screen, 16-20 pipes are required.

Pipe marking Marking of cardboard pipes is carried out
-
Marking of places for holes. On each pipe, 20 cm from the top and bottom, and also in the middle, mark the places for the holes. With the help of a drill, three holes are made in each pipe.

Making holes Three holes are made in each tube
-
Stretching the ropes. Through the holes obtained, you need to stretch three strings. The pipes are slid tightly, the ropes are pulled together and tied in a knot.

Tubing connection Ropes are inserted into the prepared holes and tied into knots
Video: how to make a cardboard screen
Single-screen plastic pipe screen
It is not difficult to make a one-screen screen out of plastic pipes with your own hands, it turns out to be light and mobile. The work consists of several stages:
- Preparation of pipes. You can use both plastic and metal pipes, but working with the former is easier, and the screen will be easier.
- Fastening support wheels. Wheels are attached to the board of the required length from below so that the structure can be moved, and from above there are flanges for fixing the pipes.
-
Weighting pipe installation. To make the structure more stable, a metal pipe is fixed on the bottom of the board.

Installation of the weight pipe A weight pipe is attached below to ensure the stability of the screen
-
Create a pipe frame. A horizontal and two vertical pipes are connected into a single structure, after which it is fixed in flanges fixed to the board. Corner elements are used to connect pipes. Plastic pipes are mounted using a special soldering iron.

Connecting two pipes at an angle Plastic pipes are connected using a special soldering iron and corner pieces
-
Frame finishing. You can hang the frame with any fabric. It should be of a suitable size and tight enough. You can sew a cover and put it on the finished partition, or you can use decorative hinges with rivets.

Finishing the frame of the screen with fabric The fabric can be hung on decorative loop-clamps
To decorate the partition, you can attach various stickers, appliques or ribbons to it. You can install a mobile screen in any chosen place. If it will be there permanently, then you can fix the structure by screwing it to the floor, wall or ceiling.
Video: a screen made of plastic pipes
The use of a partition screen allows you to quickly and for little money update the interior of the room and make it more comfortable. The choice of the room zoning option must be done taking into account the general design of the room. If you understand the design of the screen and study the technology for performing work, then it is easy to do it yourself from scrap materials. Do not be afraid to show your creativity - this way you can create a convenient, functional and unique solution that will fulfill its functions and serve as a decoration for your home.
Recommended:
Living Room And Bedroom In One Room: How To Combine, Interior Design, Ideas + Photos
How to distribute space in one room: living room combined with a bedroom. Several ways of zoning a room
Hidden Doors: Varieties, Components, Installation And Operation Features, As Well As Options For Use In The Interior Of The Room
Purpose of hidden doors. Features of installation and operation of hidden doors. Service, repair and accessories for installing invisible doors
Interior Partition For Zoning A Drywall Room: Design Features, Pros And Cons, Instructions On How To Do It Yourself
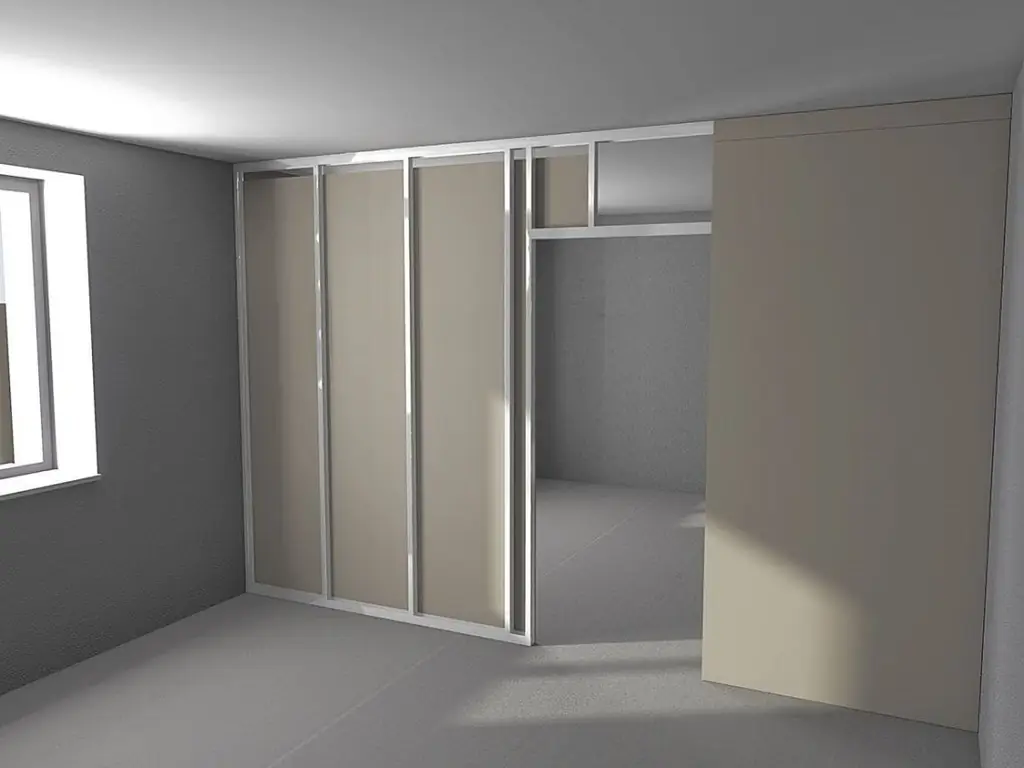
Appointment of room partitions. Pros and cons of gypsum board. The order of work when erecting a plasterboard partition. Required tools and materials. Markup
The Interior Of The Kitchen And Living Room In A Loft Style In An Apartment And A Country House: Examples Of Design Design, Choice Of Color And Material, Decoration, Photo
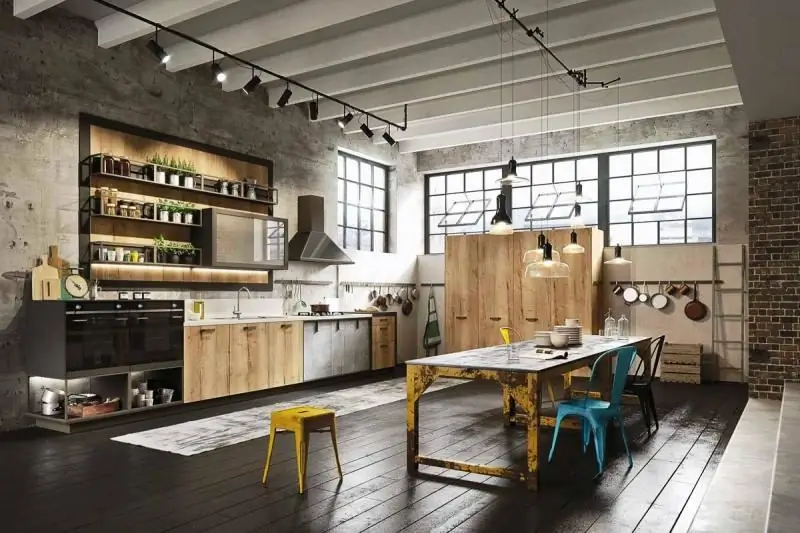
The main features of the loft style and how to decorate the kitchen in such a design. The choice of materials, colors and textures for finishing. Loft-style lighting and decor for the kitchen
Kitchen Design With A Bar Counter Combined With A Living Room: Interior Design Features, Photo Ideas
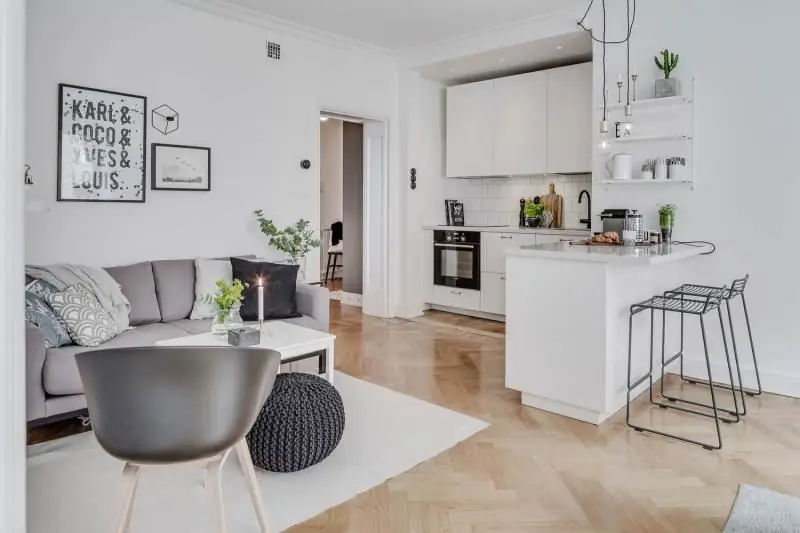
What is taken into account when designing a kitchen-living room with a bar counter, as well as how to choose furniture and lighting. Choosing a kitchen-living room style, decor options and shades
