Table of contents:
- Author Bailey Albertson albertson@usefultipsdiy.com.
- Public 2024-01-17 22:26.
- Last modified 2025-01-23 12:41.
Door casings: tips for proper use

Back in the days of the inimitable Coco Chanel (using the example of her famous jackets), the world learned that a well-chosen edging can turn a boring thing into an example of sophistication and style. This technique is still used not only by clothing creators, but also by interior designers. You've noticed how carefully the experts select the baguettes, skirting boards and, of course, door trims. If the magic of transforming door leaves with the help of platbands has not yet obeyed you, be sure to read this article to the end.
Content
-
1 What is door trim
- 1.1 Photo gallery: platbands in different interior styles
- 1.2 Video: a little about the history of window and door trims
-
2 Varieties of door trims
- 2.1 Classification by type of material
- 2.2 Differences in profile shape
- 2.3 Mounting methods
-
3 Manufacturing of door trims
-
3.1 Making smooth wood trims
3.1.1 Video: simple platbands from old boards
-
3.2 Textured plaster casings with your own hands
3.2.1 Video: DIY plaster molding
-
3.3 Production of patterned additional elements
3.3.1 Video: do-it-yourself patterned elements of expanded polystyrene
-
-
4 Installation of door trims
4.1 Video: do-it-yourself installation of platbands on interior doors
- 5 Reviews
What is door trim
Door trims are strips that frame the door leaf. Initially, they are designed to hide the technological gap between the door frame and the wall, as well as to soften the transition between them. But in terms of design, platbands play a very important role, often highlighting the important features of the chosen interior style.
Photo gallery: platbands in different interior styles
-

Baroque platbands - In the Baroque, platbands, like other interior elements, must be works of art.
-

Contemporary style platbands - Modern style supporters strive for simplicity, but you should not give up a modest crown
-

Platbands in the loft - The loft welcomes dark platbands of a simple form, but light milling will not be superfluous
-

Platbands in the ceremonial hall -
Platbands can serve as one of the main components of the festive atmosphere of the room
-

Platbands in provence - Simple smooth trims to match the walls and doors make the doors appear hidden
Modern platbands can be complemented by decorative corners and crowns that replace the standard top strip. This decor is usually used in a palace or classic style and looks especially impressive in white.
When choosing a suitable product, you should pay attention to:
- bandwidth. It should be wide enough to completely cover the gap between the box and the wall, especially if the gap is uneven. The maximum width is taken into account only if the door is located very close to the corner of the room, in such cases it is worth taking a narrow platband;
- material. Traditionally, it is selected the same as at the door, and is provided by manufacturers in the same collection, but if you wish, you can deviate from the rules. The main thing is not to choose a plastic or other cheap platband for an expensive door. Even if it looks more spectacular new, then after a couple of years the difference in the wear resistance of the materials will be striking;
- installation method. If you plan to install the platbands yourself, choose lightweight models that can be glued or telescopic platbands. Experienced craftsmen will cope with any kind;
- design. Smooth platbands will suit the yard in any interior, but they are too boring for the highlight of the room. You can remedy the situation with a custom color, or choose an option with a more interesting profile.
I, like many others, have always been afraid of platbands of non-standard colors and even limited my bold fantasies about door edging to white, black, or at least silver. But after one of the construction programs, she decided to paint the platbands in bright turquoise, linking them at the same time with the ceiling molding. It's amazing how much the purple and white bathroom has become more interesting and brighter after such an upgrade, and guests are always terribly surprised. At the same time, reactions are usually positive even among inveterate lovers of the classics. It seems to me that this happened because the trims and baguettes are of medium width (turquoise is dosed) and they are tied together with towels (it looks more harmonious). I have been enjoying this effect for over a year now and have never regretted this decision. So if you also have wooden platbands at home,you can paste over the perimeter with masking tape and radically transform them without even removing them. Worst than you risk it, you have to repaint them back.
Video: a little about the history of window and door trims
Varieties of door trims
If the length of the platband is limited by the dimensions of the door, then the width, texture and material can be practically any. In modern interior design, it is not even necessary that the color of the door leaf and platbands match, the main thing is that the latter go well with the skirting boards.

The tandem of plinths and platbands, used in contrast to the door leaf, looks very impressive and unusual
Classification by type of material
On sale you can find:
-
wooden door trims are the most standard and familiar material. They are made, as a rule, of a spliced solid to prevent the possibility of the bar twisting or cracking. Among the advantages: safety for health, exact match in tone and texture with wooden doors, low cost, variety of patterns, the possibility of self-repair and repainting. The disadvantages are familiar to everyone - sensitivity to humidity and temperature extremes, the likelihood of chips and dents on impact. In total: wooden platbands are ideal in a set with a wooden door when installed in a room with a stable microclimate;

Wooden platbands in the interior In a totally wooden interior, only the same platbands are appropriate
-
plastic trims made of polyurethane (PU) or polyvinyl chloride (PVC) are usually installed on doors made of the same material. Such a kit is not afraid of moisture ingress, interferes with the spread of mold, can be equipped with cable channels for laying wires, and can have a variety of color variations. Among the disadvantages are modest appearance, sensitivity to high temperatures and ultraviolet light, low resistance to scratches and the possibility of releasing harmful substances when heated. Ideally, plastic trims should be used together with entrance doors, so they will maximize their best qualities;

Plastic platbands in section Due to the honeycomb structure of plastic platbands, they should not be installed in places with a high risk of impact
-
MDF / HDF - the traditional option for MDF doors. They are lightweight and easy to install, optimally repeat the shade and texture of the canvas, and are often supplied with decor in the same style. One of the main disadvantages is the delamination of the decorative coating at the cuts, which reduces the product's useful life. The most economical ones are MDF platbands with a film coating, while the best are HDF products veneered with natural wood. Now it is one of the most popular types of platbands, due to the popularity of MDF doors;

Platbands for doors made of MDF and wood Modern wood imitation methods are so convincing that mounted MDF trims are often difficult to distinguish from wood
-
plaster door trims are used only in rooms where there is already a lot of ceiling and wall moldings. Surrounded by such decor, wooden and even more so MDF platbands would seem too alien. Plaster products are very beautiful, they can be made seamless, easy to order in an individual design and easy to tint in any color. But do not forget about the drawbacks: installation can only be entrusted to a specialist, installation is impossible after gluing the wallpaper, the material crumbles from impacts, and restoration requires appropriate skills;

Plaster platbands Plaster portals are often fitted with beautiful corner pieces
-
ceramic door trims are produced specifically for bathrooms, toilets and swimming pools by ceramic tile manufacturers. In such an environment, they look the most harmonious and appropriate, and their service life is no less than that of the rest of the cladding. Platbands made of other materials in such conditions become unusable an order of magnitude faster and often introduce dissonance into the design. At the same time, do not forget that ceramic platbands are more expensive than ordinary ones, their length is always less than the width of the door and they also weigh a lot. Installation of planks can only be entrusted to an experienced tiler, since a beginner simply cannot lay narrow long strips evenly. But if durability is a priority, then ceramic platbands will suit you better than others;

Platbands made of ceramic Manufacturers made sure that the arched opening could be framed with ceramic platbands.
-
aluminum platbands are a logical addition for doors in aluminum profiles, usually glass ones, with or without a layout. Due to the variety of shapes and shades, such stripes look great not only in offices, but also in modern interiors, especially in eclecticism. Models in gold and bronze look very impressive.

Aluminum platbands in the interior Aluminum platbands are perfectly combined with the texture of art concrete
In addition to these, there are also coated metal trims, but they are usually sold complete with an entrance door and are not used elsewhere.
Differences in profile shape
When choosing a frame for a door, most consumers pay attention to the texture of the front side of the strip. Depending on this parameter, the following types of platbands are distinguished:
-
straight straight - in section they look like a rectangle with slightly rounded corners and do not have bulges on the front. This is a popular option that, due to its neutrality, fits into any interior. But it looks best in modern minimalism and contemporary. At the top, such strips are most often joined at a right angle, but if desired, they can be cut at 45 o. They are the easiest to manufacture, therefore they are inexpensive and are often made with different coatings;

Smooth straight trims in the interior In an interior with an abundance of precise straight lines, smooth platbands look better than others
-
radius - when looking at the end, they resemble a semi-arch, but from other sides this rounding is not too noticeable. Such models require a little more accuracy when joining the corners and are always gash at 45 o, the joint at a right angle turns out to be ugly. Radius strips are made from all the materials described above and are available in most popular shades, including those with wood textures. Otherwise, they are quite neutral and get along well with all interior styles;

Comparison of platbands of different profiles Radius platbands (in the middle) have a more interesting shape than flat (left) and milled (right), but they are more difficult to join in the corners
-
milled - these are planks with longitudinal stripes of different widths, resembling ceiling moldings in style. They are more decorative than radius ones, but due to their wide distribution, they do not produce a particular effect. It is these platbands that are installed with wooden doors, so that when installing economical canvases, this stereotype can be used;

Milled platbands in the interior Even a slight difference in the thickness of the plank makes the platband more decorative
-
carved - most often found in classical and palace interiors, but with their help you can make a more elegant and modern interior or a romantic nursery. Elite versions of door frames are made of wood and decorated with intricate images of flowers, leaves, and sometimes animals. But since such decor is not available to everyone, there are analogues from MDF on sale. They have a simpler and less deep relief, but worthy options can be selected from them;

Carved platbands in the interior Only no less luxurious platbands with exclusive carvings will fit a luxurious door
-
arched - unlike straight slats, they are designed to frame semicircular openings. Their size is always clearly tied to the radius / diameter of the arch, so they are not as versatile. If you want to make an arch with such a spectacular frame at home, there is a reason to first buy a platband and adjust the opening taking into account its size.

Different arches with platbands To order today you can make beautiful platbands for arches of any shape
Photos of old patterned window frames, which are so popular lately, did not pass me by either. Looking through these masterpieces of ancient masters, I was inspired to decorate a door in a child's daughter. But since there were no woodcarvers in the family and the environment, they had to be cunning. With the help of a friend, I created a drawing of the desired pattern and ordered a plywood cutting with a CNC machine, then painted it myself and emphasized the curves with a pearl patina. It turned out, of course, not a copy, but as a stylization it looks very good. She did not remove the existing platbands, she just glued the patterned ones around the perimeter and a fabulous portal came out. So for everyone who has no carpentry skills to keep up with imagination, I advise you not to be content with purchased platbands, but boldly attach your crazy hands to them. Cause at worst you just get a little nastybut still a rewarding experience.

Modern analogues of carved platbands look, though more modest than traditional ones, but just as charming.
Mounting methods
Until recently, there was only one way to securely fasten the platband - to nail it through with small nails. Due to the absence of a hat, they are almost invisible on light-colored products, but the dark ones had to be putty and tinted (of course, if it was necessary to achieve the perfect look) or to get rid of blemishes with the help of furniture wax. This method is suitable for wooden platbands, but it is ridiculous to use it with plastic ones.

The advantage of fastening with nails is the added strength of the structure, since the nails go deep into the box
Therefore, telescopic, or L-shaped (in section) platbands are now popular. They have a special spike that snaps into the groove prepared for it in the door frame. There are no visible fasteners on the surface; when gluing wallpaper, such a platband can be easily removed and then clicked again. But it can only be used in a set with special boxes. Such kits are made for doors made of MDF and plastic, they cannot be used with wooden panels.

Telescopic platbands snap into a special groove on the door frame, no additional fasteners required
Some manufacturers also offer fixing clips that fix on the wall with one side and hold the trim on the other. Depending on the material of the strap, plastic or metal clips are selected.

If you have no experience with such retainers, ask the seller for advice or provide you with the instructions on paper that usually come with the package.
The last popular method of fixing platbands is adhesive bonding. Heavy stone and ceramic strips are mounted on tile adhesive, and liquid nails are enough to hold lightweight products made of polyurethane foam.

Applying an adhesive connection, it is worth temporarily fixing the platband with clamps
Manufacturing of door frames
Before deciding to manufacture something, you should familiarize yourself with ready-made analogs that the industry offers or are made by experienced craftsmen. In the case of platbands, you should pay attention to the width. It cannot be less than 4 cm, since the minimum technological gap between the box and the wall is 3 cm. The maximum is limited only by aesthetic considerations - for a narrow door it makes no sense to select a very wide edging, as it will look disproportionate (like a too wide-shouldered jacket on a teenager). On the other hand, if the rest of the doors in the same room with a wide casing look good, it is better to choose the same edging for all canvases. Manufacturers usually offer platbands with a width of 7 to 11 cm, other sizes are already considered non-standard, so they are rare and cost more.

It is easier to give a complex profile to a wide casing than to a narrow one.
When the assortment of platbands does not satisfy, their prices, or you just want to bring a homemade zest to the house, the master has the question of choosing a material. MDF, metal and ceramics disappear immediately, since something worthy of attention can be made from them only in the factory. But you can experiment with wood or plywood at home, because almost every home craftsman now has a jigsaw for cutting, and if desired, it is easy to rent or borrow from friends. And rulers, sandpaper and pencils will definitely be found in any household. It is even easier to experiment with gypsum - when working with this material, you can do without special tools at all, a couple of homemade devices will be enough.
We make smooth platbands from wood
For experiments, you need to take well-dried boards from a solid or spliced (if you paint) array of available rocks. Without skills, you should not even take up an oak, the lot of a beginner is pine, spruce, birch.
To make the simplest platbands, you should:
-
Cut planks of the required width from the boards using a jigsaw.

Cut wood When cutting with a jigsaw, it is convenient to navigate by solid markings or use a side stop
-
Sand the strips with sandpaper by hand or with a sander.

Wood sanding For the best result, you need to repeat sanding with sandpaper of varying grain size.
-
Round off corners to prevent wood cracking with sandpaper or a hand router.

Rounding corners If a noticeable step remains after processing with a router, it can be removed with sandpaper
The procedure is simple, but when considering the prices for wooden platbands, it is not always advisable. Usually, it is worth making such products yourself only when you need wide strips that are not on sale.
Video: simple platbands from old boards
DIY textured plaster casings
For those who have never worked with plaster, the technology of making long narrow planks may seem complicated, but if desired, almost any beginner can master it. Just keep in mind that this job is dirty and will require a separate room.
Let's get started:
-
Think of how your platband will look in section or copy a picture from the network. Print or draw it at the desired size.

Types of platbands and baguettes You can take the industrial version as a basis and adjust it to fit your needs
-
Find a piece of thick plastic and cut a recess in it that matches the shape of the future casing. With the tools and skills, such a scraper can be made from tin.

Tin scraper It is better to choose the size of the scraper so that it is convenient for you to hold it.
-
To make it easier to constantly hold the scraper strictly at right angles to the surface, you can make a frame for it.

Stencil on the fixture The main secret of the device lies in the chosen quarter, which helps to guide the hand at the same distance from the edge of the table.
-
Cover the work surface with plastic film to prevent plaster from sticking to it. It is convenient to work on a sheet of laminated plywood or an old kitchen table; it is not necessary to cover their smooth surface. Lay a strip of medical bandage or a special reinforcing mesh made of a thin thread on the prepared surface and secure them along the edges with double-sided tape.

Work surface preparation Wide casing can be reinforced with two or three strips
-
Stir the gypsum with water and a small amount of PVA glue to a liquid slurry and pour it onto the work surface along the long edge. For orientation, you can mark the border with masking tape or pull on the thread.

Plaster application In one or two times, you can choose the optimal amount of gypsum so that the remains do not dry out while working on the product
-
Cover the liquid strip with a piece of medical bandage, it is needed for additional reinforcement of the product.

Reinforcement of gypsum with medical bandage If the strip is slightly wrinkled or skewed, it will not have much effect on the result.
-
Cover the strip of gypsum with another layer and begin to remove excess with a scraper. At the end point, it is better to substitute a tray into which the leftovers will be dumped. It is necessary to make several passes to make the texture clean. Keep in mind that the gypsum expands slightly as it dries.

Formation of the casing surface It is advisable to carry out the scraper in the same direction every time
-
If shells remain on the strip, add a little fresh liquid solution to the dried gypsum and scrub the scraper several more times. To obtain a smooth surface, you must first wet the scraper. At the end, you need to trim the ends of the product with a spatula.

Finishing pass on plaster The final pass will result in a smooth, even surface
In this way, you can make other moldings for the interior: baguettes, moldings, skirting boards. Remember to dry the product for 1-2 days before use, depending on its thickness.
Video: do-it-yourself plaster molding
Production of patterned additional elements
If simple straight slats aren't worthy of your doors, you can experiment with carved ones. The advantage is that you can create your own pattern and a completely exclusive piece. But you have to spend a lot of time and work with more or less soft material. Not everyone can cut a pattern in a thick wooden board with high quality, so beginners turn their eyes to plywood and extruded polystyrene foam. The first guarantees the environmental friendliness of the platbands, but the second will help to achieve a more expressive relief due to its thickness. After cutting and installation, both materials will need to be coated with a protective agent - water-based paint or stain and varnish (only suitable for plywood).
But the manufacturing technology is similar:
-
Find or come up with your report (a fragment of a drawing that will be repeated along the entire length of the casing), draw it on paper and cut it out. When making a drawing, you need to be careful, if necessary, use aids. For example, curls are convenient to draw using caps of different sizes. Remember that a pattern that is too thin will make it difficult for you to cut and edit.

Examples of trim patterns The easiest way to draw by hand is on graph paper or a sheet of paper.
-
Place the stencil on the material of your choice and trace as many times as necessary.

Stenciling The denser the stencil, the better it will keep sharp edges on the pattern.
-
Cut out the pattern with a jigsaw. If it is not possible to start the cut from the edge of the sheet, drill a hole of such a diameter so that you can insert a jigsaw file into it.

Cutting patterns with a jigsaw If you have no experience with a jigsaw, it's best to start with a simple snippet.
-
If necessary, round off the corners of the pattern with sandpaper. You can also cover the elements with fiberglass to extend their life.

Fiberglass Roll When working with long narrow strips, it is more convenient to use fiberglass in a spool than sheet material
If you plan to fix the platbands with glue, they should be painted before installation. When using carnations, it is better to apply the finishing coat of paint after fixing the platbands to the wall. This method is best suited for making crowns over the door, since with this arrangement, the patterned decor is minimally injured and lasts longer.
Video: do-it-yourself patterned elements from expanded polystyrene
Installation of door trims
The main secret of high-quality installation of door trims is to use the rule "measure seven times - cut once" in time. Indeed, in the corners of the planks should be beautifully docked and leave no gaps. It will be easiest for beginners to work with smooth straight trims, since they do not have to follow the pattern joining.

When using corner pieces at the joints, the cutting places can be selected during a rough assembly
In addition, the field measurement method is best suited for novice craftsmen. That is, you do not need to measure the height of the door, mark it on the bar and then cut it off. Instead, try placing the plank in place and marking the correct height on it. It is best to do this with an assistant or temporarily attach the strips to double-sided tape to roughly fold all three elements and check how they fit.

The exact position of the straight undercut of the plank can be found by attaching all the trim elements in place
If you are planning a joint 90 on the need to properly secure the two vertical and horizontal stick the piece as a ruler. This will create the mark at the correct height - the height of the box plus the width of the bar. Then it is easy to determine the length of the horizontal bar, for which it is enough to attach the edge to the left post and mark the intersection with the right. When marking out, keep in mind that the cutting blade has its own thickness so as not to get a gap as a result.

To get an accurate cut at 45 degrees, you need to build a square diagonal from the bottom left corner to the top right
Docking under 45 o is usually done using a miter box, but from habit it will interfere more than help. Therefore, it is also worth using the visual method. Assemble the edging as in the previous case, but now pay attention to the diagonal of the square obtained by overlapping two planks. To begin with, you can make marks on the top and trim it, and then just draw lines on the vertical planks like a stencil. Thus, you will quickly join the platbands and the cut corner will look exactly in the right direction.
When the platbands are correctly cut, all that remains is to snap them into the grooves, glue, nail or fix in another way convenient for you.
Video: do-it-yourself installation of platbands on interior doors
Reviews
We hope that now you will not look at the platbands as a utilitarian object, but will be able to effectively use them to decorate your home.
Recommended:
Door Latch (latch): Varieties With Description And Characteristics, Pros And Cons, As Well As How To Properly Install On The Door
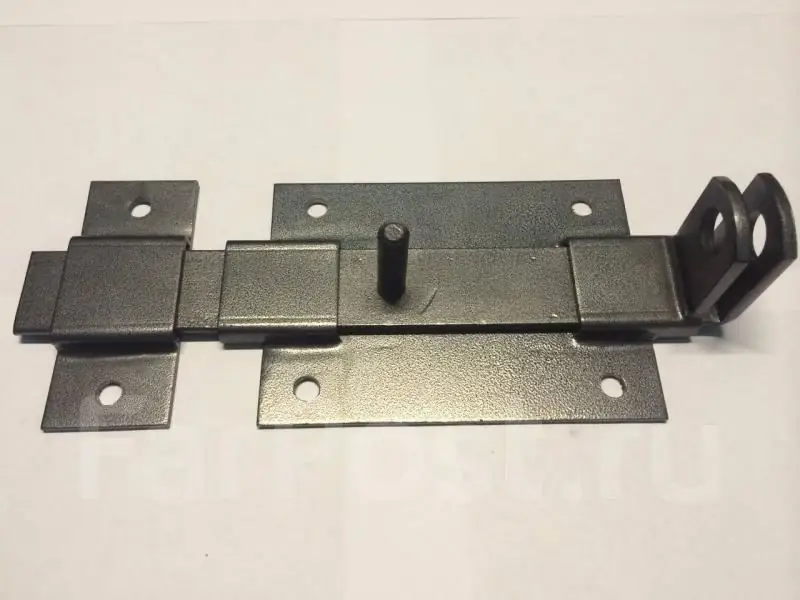
The purpose of the door latch. Principle of operation. Types of door valves. Installation of various types of valves. Features of installation on different types of doors
Door Handles: Varieties And Characteristics, Pros And Cons, And How To Install Correctly
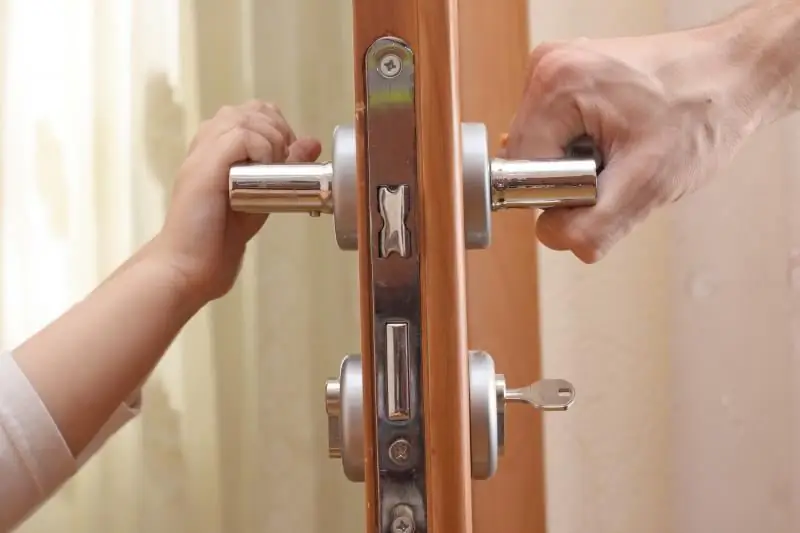
Purpose and design of door handles. Types of door handles, their pros and cons. Features of installation and repair of different types of door handles
Door Opening Limiter: Varieties With Description And Characteristics, Pros And Cons, And How To Install Correctly
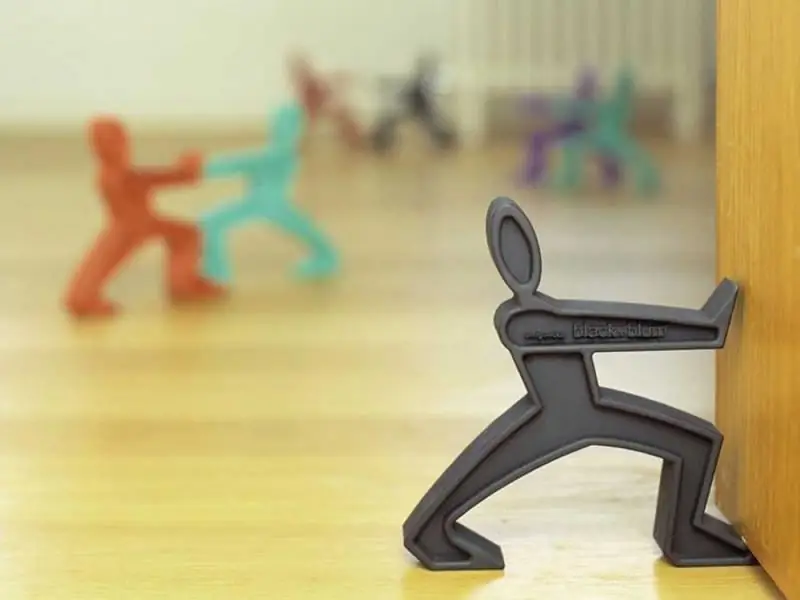
A variety of door stops, their differences in type of construction and installation method. DIY installation and repair of door stops
Door Latch: Varieties With A Description And Characteristics, Pros And Cons, As Well As How To Properly Install On The Door
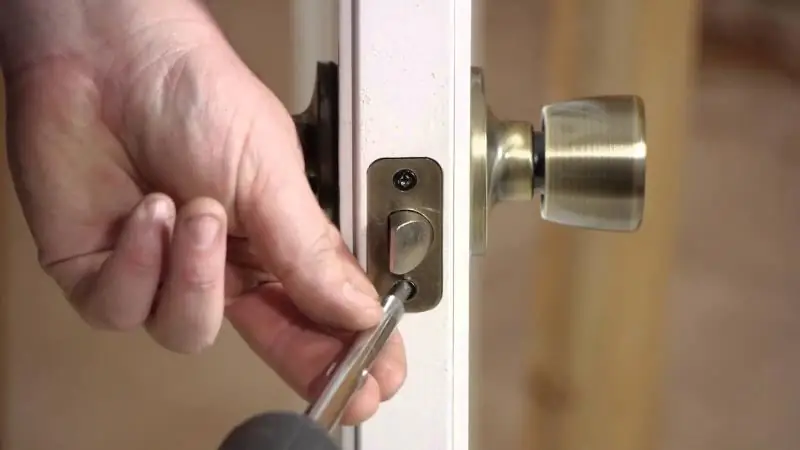
Purpose of the door latch. Types of door latches, features of their device, advantages and disadvantages. The process of mounting and dismantling the door latch
Front Door Trim: Varieties With Description And Characteristics, Pros And Cons, And How To Install Correctly
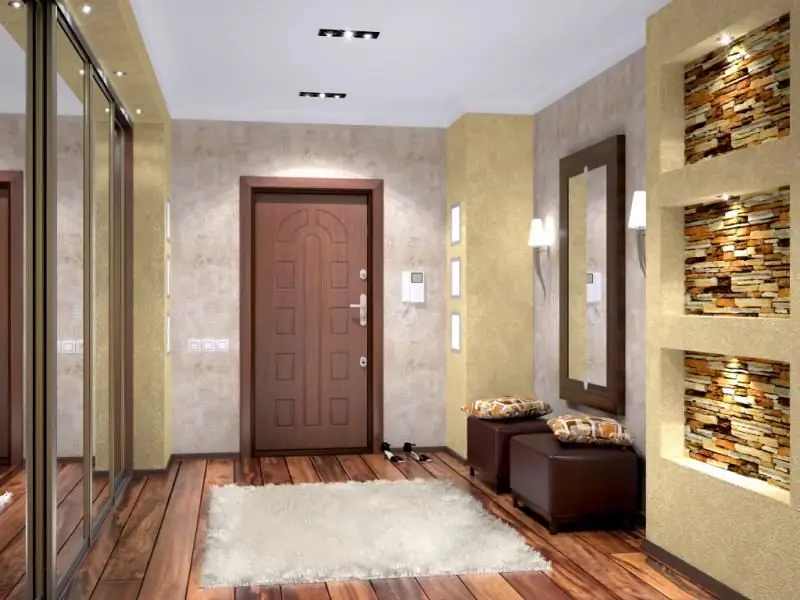
Appointment of overlays on the front door. Their description, features, advantages and disadvantages. Do-it-yourself technology for installing linings on front doors
