Table of contents:
- Author Bailey Albertson [email protected].
- Public 2024-01-17 22:26.
- Last modified 2025-06-01 07:32.
Simple Tips on How to Use Potato Peel Fertilizer in Your Garden and More

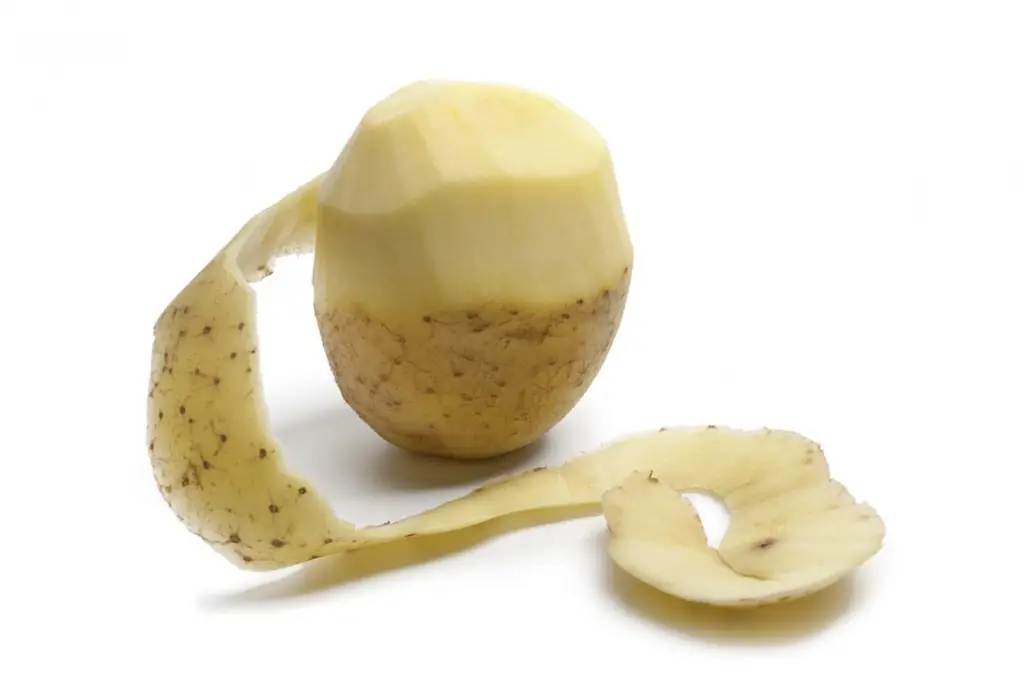
The so-called organic farming is gaining more and more popularity. The essence of the method is to use a minimum amount of chemical fertilizers on the garden plot. The chemicals need to be replaced with something. Natural organic matter is preferred. We do not hesitate to send food waste to the trash bin. But if you spend a little time processing potato peels, then they can be used as fertilizer. With a minimum of effort, you will get an excellent natural fertilizing agent.
Content
-
1 What are the benefits and benefits of peeling potatoes
- 1.1 Video: potato peelings to help the gardener
- 1.2 Pest control
- 2 How to prepare and use fertilizer
-
3 What plants need to be fed
- 3.1 Table: how to feed crops with potato peelings
-
3.2 Photo gallery: the use of raw materials in the garden
3.2.1 Video: Top dressing from potato peels
What are the benefits and benefits of peeling potatoes
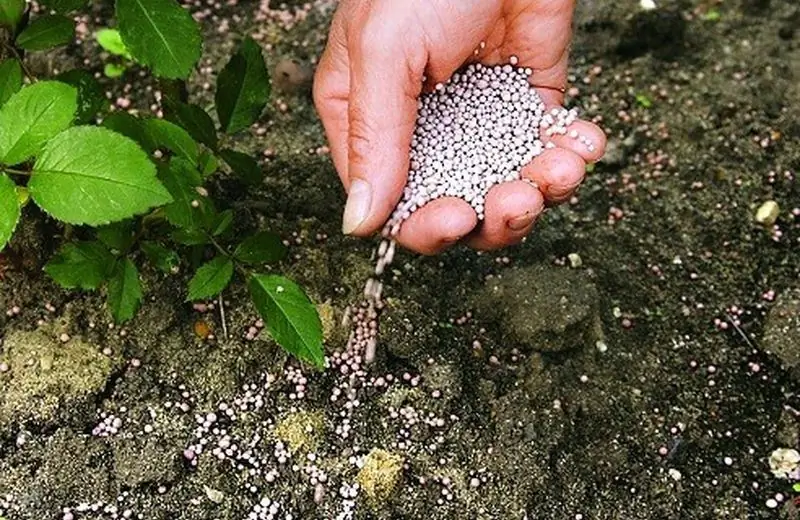
Any summer resident wants to consistently receive a good harvest from his garden plot, spending a minimum of money and effort on this. Therefore, instead of buying fertilizers in the store, all kinds of folk remedies are used. Chemical and organic fertilizers have other disadvantages in addition to their high cost. In the soil into which you apply them, not only crops begin to grow well, but also all kinds of weeds. If the dosage is not precisely observed, excess chemicals from the soil enters vegetables, berries and fruits, and from there into your body. As you can easily guess, there is nothing good in such an "overdose". It will not benefit your health or the soil.
Potato peelings, the benefits of which have been tested by time for the garden, are absolutely safe for humans and completely free of charge. Unlike chemicals, organic matter decomposes much faster, being processed by bacteria in the soil. This means that the necessary microelements will reach their destination faster through the root system. The “side effect” of rapid decomposition is heat generation. If you feed in the spring, the soil will warm up noticeably faster.
The soil structure also improves. It becomes lighter, looser. This is especially important for peat, clay, and silty soils.
Everyone knows that potatoes are very healthy. It contains many trace elements useful for humans - potassium, magnesium, phosphorus, calcium, iron, sodium. But the same substances are necessary for the proper growth and development of plants. The most common chemical fertilizers contain precisely nitrogen, phosphorus, potassium, and magnesium.

Potato peels contain many nutrients that the plant needs.
In addition, 10-25% (depending on the variety) of the potato mass is starch, and 3-5% is glucose. It is these substances that plants store in seeds, bulbs or tubers. Starch and glucose are the main food for the developing embryo. Therefore, potato fertilization will be beneficial to crops at all stages of development.
Another important point is the availability of potato peelings. Potatoes in one form or another are present on the table of every family, regardless of their financial situation, almost every day. Even if you peel off the skin in a very thin layer, about a tenth of the mass of tubers will still be discarded. The more likely option is 15-20%. Now calculate how many cleanups you can accumulate by next summer if you set a similar goal from the beginning of autumn.
Video: potato peelings to help the gardener
Pest control
Another useful property of potatoes is a great bait for pests. Slugs, the click beetle (its larvae are popularly known as the wireworm) and the Colorado potato beetle are especially fond of it
You need to start setting traps as soon as the first shoots appear or the seedlings are planted in the ground. This way you are guaranteed to protect the future harvest.

The potato peel pest trap is easy
Traps are easy to make. Dig glass jars, old unnecessary buckets and pans, cans or cut plastic bottles into the ground so that the edge of the container roughly coincides with the top edge of the pit. The container should be deep enough and without holes. Put potato peels on the bottom every night. To enhance the effect, you can sprinkle them with sweet water (a tablespoon of sugar per glass), syrup, or add a little old jam that no one will eat anymore. In the morning, you will only have to go around the containers, collect the pests that have fallen into them during the night and destroy. Just do not throw what you collect over the fence. After a few hours, slugs and insects will return to your site.
Another option for a trap is to bury a long piece of wire with cleaners strung on it in the ground. Leave one end sticking out of the ground or mark the place where the trap is buried. Dig it out every 2-3 days, collect pests that come across and change the bait to a fresh one.
How to prepare and use fertilizer

The raw materials for the preparation of fertilizer need to be collected all winter
Not suitable as a fertilizer for cleaning boiled potatoes. Long-term heat treatment destroys all useful trace elements.
Of course, if you just spread the fresh potato peelings in the beds, you won't get a good harvest. They will start to rot very quickly, especially in summer, in the heat, spreading the appropriate "aroma". In addition, mice, rats and other rodents living in the vicinity will come running to your site - this is a wonderful delicacy for them. And in general, the plantings "processed" in this way look very unaesthetic.
At the same time, fresh potato (like any vegetable) peelings can and should be added to the compost heap

Potato peels are a good addition to compost
There are different fertilization options. But in any case, cleaning, before feeding, you must thoroughly rinse and disinfect using boiling water, dry heat or cold in order to destroy the bacteria and / or fungi present on them. Otherwise, you will only infect the soil and healthy plants
To get the correct, useful fertilizer, you need to proceed as follows:
- Rinse cleaners in cool running water until visible traces of dirt are gone.
- Wait for them to dry and lay them in a single layer on newspapers or a thin cloth. Weather permitting, dry outdoors in a well-ventilated area, out of direct sunlight and possible rain. When it's already cold, do it in an apartment on a radiator or on a balcony. Complete drying takes 7-10 days outdoors and 2-3 weeks in an apartment. The exact time depends on the thickness of the cleanings. Those who wish to speed up the process can dry them in the oven. Spread the cleaners on a baking sheet covered with baking paper, place inside and leave for 3-4 hours at a temperature not exceeding 100 ° C, with the door loosely closed. The procedure will take even less time if it is carried out in a special electric dryer or microwave oven. The main thing is to choose the appropriate mode. The finished fertilizer becomes noticeably lighter, the cleaning is translucent and breaks easily.
- You can simply freeze cleaning. The disadvantage is that there is probably not enough space in the freezer to store them. Another most suitable place is the balcony. But as soon as a positive temperature is established on the street, the fertilizer will have to be used for its intended purpose. Defrosting the cleaners and freezing them again is strongly discouraged.
- If the house was dried naturally, the cleaning is stored on the balcony, in an unheated garage, shed, and so on, so that the cold destroys pathogenic bacteria and fungi. Put the future fertilizer dried in the oven in linen bags and keep in a dry, cool, well-ventilated place. An ideal option is a pantry.
- Grind dry peelings in a meat grinder, blender or food processor until powdered. This ready-made fertilizer is the so-called flour. In addition, this type of cleaning takes up much less space, it is easier to store and transport them.
- In the spring and summer, use dry cleaning to prepare the infusion. Put them in a bucket or barrel, filling the container by about a third, pour boiling water to the top and close tightly. Wait 3-4 days for a characteristic odor to appear. Without stirring the contents of the barrel, scoop a liter of infusion from above, pour it into a 10 liter bucket and add water (9 liters). Now mix thoroughly and water the plants.
- The gruel remaining at the bottom of the container is also useful. It is buried in the ground under bushes and trees and added to the holes when planting seedlings.
- Another option for preparing the infusion is to pour boiling water over the cleaning, wait until it cools down to a temperature of 35-40 ° C, and drain.

Bury dried peelings in the ground or prepare an infusion
What plants need to be fed
For which plants is potato peel fertilization useful and how to feed them for maximum benefits?
Table: how to feed crops with potato peelings
| Agriculture | Type of feeding |
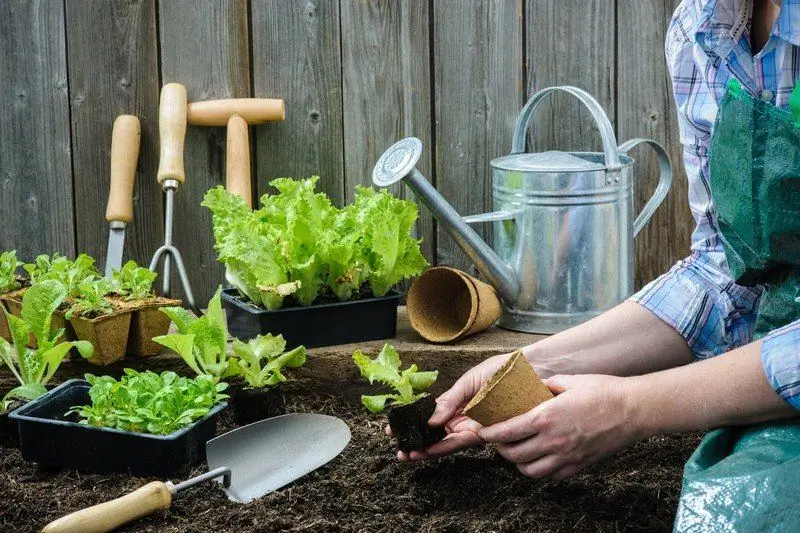
| Cucumbers, pumpkin, cabbage, squash, zucchini, watermelons, melons. | When planting seedlings in the ground, a "porridge" is placed at the bottom of the hole from dried cleanings filled with boiling water. It is sprinkled with a layer of earth of the same thickness, then another portion of "porridge" is needed. The last layer is soil again. Then a sprout is placed in the hole, and it is covered with earth. |
| Onions, garlic, turnips, radishes, radishes. | Watering with an infusion of dried potato peelings starting from the end of May every two weeks. It is better not to water the individual bulbs, but pour the fertilizer into the furrows between the planting rows. The infusion must first be drained so that the pieces do not fall on the garden. On the surface, they are absolutely useless, moreover, they attract pests. Remove the nozzle from the watering can - it clogs up very quickly. Despite straining, the infusion is quite thick. |
| Raspberries. | Cleaning in the form of flour is applied to the root zone, then the soil is loosened well. An infusion of fresh cleanings is used for irrigation (about 5 liters per 1 p / m). |
| Strawberry. | Flour from the peelings is poured under each bush in the spring. For small ones, one handful is enough, for those that are larger - two. In addition, dried peels are a good substitute for mulch. |
| Currant. | White, and pink, and red currants like peeling, but the effect of feeding is especially noticeable on black. The berries will become noticeably sweeter and larger, reaching the size of raisins or even cherries. Dried peelings are buried at the roots to a depth of 15-20 cm, after being slightly moistened with water so that they do not take away moisture from the plant. The procedure is carried out in the spring, as soon as the soil has sufficiently melted. If you are happy with the condition of the plants, you can feed the bushes every two years. It is possible to fertilize the bushes in winter, if the soil around them is cleaned in the fall and covered with polyethylene. As fresh cleanings accumulate, shovel the snow, spread it on the ground, and re-bury it. Dig up the soil well in the spring. Watering with potato peel infusion every 12-14 days is also effective. |
| Fruit trees. | Dried peelings are buried within a radius of 0.5-1 m from the trunk, depending on the size of the tree. Or sprinkle the resulting circle with "flour", immediately afterwards loosening the soil well. The norm per tree is 0.7-1 kg. |
| Tomatoes (tomatoes), eggplants, nightshade, Bulgarian and hot peppers. | Top dressing is not recommended. Since potatoes and these plants belong to the same nightshade family, they are affected by the same diseases. Even disinfection in the form of scalding with boiling water and drying at a high temperature does not fully guarantee the destruction of bacteria and fungi that cause late blight, black scab and verticillosis. In addition, these crops naturally contain the same micro and macro elements as in potatoes. Therefore, fertilization from clean-ups will not have a noticeable effect on them. |
| Annual and perennial flowers and ornamental shrubs. | Watering with an infusion of dried potato peels. Sprinkle flour under perennial plants in spring and autumn. |
| Houseplants. | Watering with an infusion of dried potato peels. The procedure is carried out every 3-6 weeks, depending on the state of the foliage. They can also be watered with cooled water in which jacket potatoes were boiled. This feeding stimulates the growth of greenery. Sometimes it is advised to bury fresh cleanings in flower pots, but from such "fertilization" a very unpleasant smell will soon go, and midges will start in the apartment. The exception is saprophytic or epiphytic plants, for which rotting organic matter is vital for growth and development (orchids, dracaena, and so on). They can be distinguished by their aerial roots and their ability to grow in water. In this case, you cannot do without good drainage. Use a very small amount of cleanings. |
Photo gallery: the use of raw materials in the garden
-

Fresh cleaning in the ground - Don't forget to add fertilizer
-

Gruel from cleaning - Add gruel from the cleanings to the holes when planting
-

Infusion - Watering with infusion is effective during the summer
Video: top dressing from potato peels
Potato peel is an affordable and all-natural fertilizer suitable for most crops and indoor plants. If you know how to properly feed, you can significantly increase the annual yield of vegetables, berries and fruits.
Recommended:
How To Use Eggshells As Fertilizer (in The Garden, For Seedlings And Indoor Plants And Not Only) + Reviews

The properties of the eggshell, its beneficial effect on the soil, plants. Details on the use of shells as fertilizer in the garden, for seedlings and indoor flowers
Do-it-yourself Chimney Cleaning Using Potato Peelings, A Chainsaw And Other Methods, Including Folk, Instructions With A Video

You can maintain the chimney in the house yourself without resorting to the services of specialists. We will tell you how to clean the chimney with your own hands
Fences For Garden Beds With Your Own Hands - How To Make A Fence For A Front Garden, Flower Garden Or Vegetable Garden, Step By Step Instructions With A Photo

Options for fences for a suburban area. Their pros and cons. How to install a holder for plastic bushes, a flower bed from bottles: step by step instructions. Video
Superphosphate: Application Of Fertilizer In The Garden, Instructions On How To Properly Dilute And Apply

What superphosphate consists of, how it is made, in what cases it cannot be used. How to fertilize with superphosphate, application doses. Should I dissolve it
What Can Be Planted In June In The Country: Plants For The Garden, Vegetable Garden And Flower Garden

Plants suitable for planting in the garden in June are greens, roots, other vegetables, flowers. What can be planted in open ground and in a greenhouse. Gardener's recommendations
