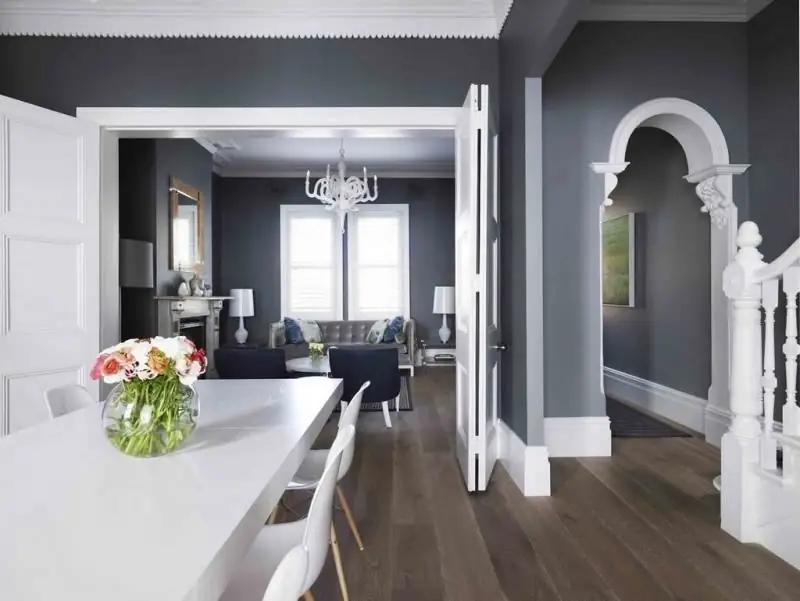
Table of contents:
- Author Bailey Albertson [email protected].
- Public 2023-12-17 12:53.
- Last modified 2025-06-01 07:32.
Decorating the arch with your own hands

Each house or apartment has several doorways. One of the most popular and common ways to design them is to create an arch. In addition to the fact that it must be done correctly, the design is of great importance, special attention should be paid to this stage of work. There are many options for finishing arches, they all have both advantages and disadvantages.
Content
-
1 Popular materials for finishing the arch
- 1.1 Paint
- 1.2 Wallpaper
- 1.3 Tree
- 1.4 MDF panels
- 1.5 Cork
- 1.6 Mosaic
- 1.7 Decorative stone
- 1.8 Decorative plaster
- 1.9 Polyurethane moldings
- 2 What tool you need for work
-
3 How to prepare the surface of the arch for finishing
3.1 Video: preparing the surface of the arch for finishing
-
4 The sequence of finishing the arch with different materials
- 4.1 Sticking wallpaper
-
4.2 Finishing with decorative plaster
4.2.1 Video: the process of applying decorative plaster
- 4.3 Decorating the arch with mosaics
-
4.4 Laying decorative stone
4.4.1 Video: the process of installing artificial stone
- 4.5 Wood trim
-
4.6 Finishing with polyurethane moldings
4.6.1 Video: the sequence of finishing the arch with polyurethane molding
- 4.7 Installation of MDF panels
-
5 Wall decoration around the arch
5.1 Fitting the decorative corner
Popular materials for finishing the arch
One of the most affordable and effective ways to revitalize the design of a room, giving it an individual and unique look is to create an arch. It can have a wide variety of shapes and be made from different materials. Just creating a door arch will not be enough, it still needs to be properly and beautifully finished. There are several options for this. It must be remembered that in addition to giving the structure a beautiful and attractive appearance, the finishing material can also protect it from damage, therefore, its choice must be approached with knowledge.

The finishing of the arch should not only give it an attractive look, but also protect it from possible damage.
Paint
Painting is the simplest and most affordable method for finishing an arched structure, so it is very popular. The advantage of this material is the availability and ease of application. It is enough to purchase paint and apply it to the prepared surface with a brush, roller or spray gun. To get a beautiful result, you need to apply at least two layers. The disadvantage of such a finish is that it is necessary to very carefully prepare the surface, and this takes a lot of time and effort. If irregularities remain on the arch, then after painting they will be even more noticeable.

The arch can be painted to match the walls or in a contrasting color
There are two main options for this finish:
- painting in one tone with the wall, then the structure dissolves into the interior;
- painting in a contrasting color, in this case, attention is focused on the door arch.
Wallpaper
Wallpaper is also a common arch finish. You can choose them in the color of the walls or use a contrasting solution. Now there are liquid wallpaper, which is often used to decorate the arch.

For pasting the arch, you can use ordinary, vinyl, textile or liquid wallpaper.
The advantages of wallpapering the arch:
- a large selection, so you can purchase material of the required shade and texture;
- ease of installation, you do not need to have special skills and tools to complete the work;
- affordable cost.
Disadvantages:
- fragility. Even the most durable wallpaper is easily damaged, so you have to change it after 2-4 years;
- discoloration. Under the influence of the sun color, the wallpaper quickly loses its original color.
It is better to purchase a plain wallpaper without an ornament. If the walls will be pasted over with the same material, then you will not have to select a drawing, so the work will be done easier and faster. You can use plastic corners to decorate the edges of the arch. They will act not only as decorative elements, but also reliably protect the corners from possible mechanical damage.
Wood
Decorating the arches with natural wood makes the room stylish, solid and beautiful. This material goes well with almost any design solution, but is most suitable for decorating an arch in a wooden house.

An arch made of natural wood looks especially stylish in combination with other wooden interior elements
The advantages of finishing the arch with wood:
- the original presentable appearance remains for many years;
- high strength when finishing with hard wood;
- environmental friendliness.
Disadvantages:
- at high humidity, even with additional protection, the tree is prone to deformation;
- wooden structures do not tolerate temperature changes well, so you should not trim the arch near the entrance doors with such material;
- great weight. Elements made of natural wood are difficult to mount alone, so you need to invite an assistant and fix them securely;
- high price.
If precious woods are used to decorate the arch, then usually decorative products are ordered from specialized companies, and they are installed by specialists. If you have the necessary skills, you can decorate the arch with wood with your own hands.
MDF panels
MDF panels are a good alternative to natural wood.

You can purchase ready-made sets of MDF panels for finishing the arch
This material consists of wood chips and, depending on the type of coating, can be:
- laminated. The surface is covered with PVC film, which imitates natural wood or other material. In addition, such a coating increases the strength of the material;
- veneered. The boards are pressed with a thin veneer layer and then varnished.
Compared to natural wood, MDF panels have the following advantages:
- resistance to high humidity and temperature changes;
- light weight of the panels, which simplifies the installation process;
- affordable cost.
Disadvantages of MDF panels:
- when applying point strikes, they are easily damaged;
- under the influence of ultraviolet light, they can change their original color;
- the service life is shorter than that of natural wood.
Bung
The arches decorated with cork look beautiful. It is used to make panels with a thickness of 3 mm or more, covered with thin veneer on top and impregnated with wax. Cork in rolls can be used, but in this case it is not always soaked in wax. To give the roll products the desired color, they can be painted on the front or back side. In addition, there are also cork wallpapers. They have a paper base with a thin layer of cork glued to it. Often these wallpapers have a self-adhesive backing that allows you to quickly and easily glue them.

The arch can be pasted over with cork wallpaper
Cork advantages:
- not afraid of the impact of pinpoint blows;
- does not accumulate dust;
- retains its original appearance for a long time;
- has antibacterial properties, so fungus and mold do not form on it.
Disadvantages:
- afraid of moisture. If the surface has not been treated with wax, then at high humidity the material may deform;
- absorbs odors well;
- has a high cost.
Mosaic
More recently, in order to implement such a solution, people had to make a mosaic from broken glass or ceramic tiles. Now on sale there is a ready-made mosaic and it remains only to glue it to the surface of the arch. Difficulties with such work usually do not arise, but since the elements are very small, it will take a lot of time to finish.

It will take quite a long time to decorate the arch in a large opening with mosaics.
Advantages of the mosaic:
- a large selection of shapes and colors;
- moisture resistance;
- strength;
- high wear resistance;
- long service life.
Disadvantages:
- the complexity of the work. It takes not only the presence of certain skills, but also a lot of time;
- high price.
Ceramic, metal or glass mosaics are chosen depending on the style of decoration of the room
Decorative rock
The arch can be finished with both natural and artificial stone. The cost of natural materials is higher, so usually their artificial counterparts are used for decoration. Since the weight of the stone is large, it is not worth laying it on drywall partitions; it is better to do this on the main walls. Instead of decorative stone, you can trim the arch with tiles for facing bricks.

If the arch is made in a main wall, it can be finished with stone tiles
The advantages of finishing the arch with decorative stone:
- a large selection of materials that differ not only in color, but also in texture;
- high strength;
- good moisture resistance;
- long service life.
Disadvantages:
- the complexity of installation. You need to have certain skills;
- large material weight, which significantly increases the load on the structure;
- high price.
It is better to use small stones for finishing the arches, as they are much easier to lay
Decorative plaster
There is a fairly large selection of different types of plasters, so you can choose the one that will harmoniously fit into the interior of the room. With the help of this material, you can create unique solutions, it all depends on the imagination and abilities of the person who decorates the arch.

Methods for finishing with decorative plaster are limited only by the imagination of the master
The store sells ready-made dry mixes, which are enough to dilute with water and can be applied to the prepared surface.
Pros of decorative plaster:
- allows you to create unique solutions that will be impossible to repeat;
- you can make both smoothed and expressive relief;
- if it is necessary to update the surface, it can be re-painted;
- before applying the finish, the surface does not need to be carefully leveled;
- affordable cost.
Minuses:
- easily damaged by mechanical stress;
- you can not carry out wet cleaning;
- if you need to make cosmetic repairs, this area will stand out against the general background.
To apply decorative plaster, it is enough to have minimal skills and a little time
Polyurethane moldings
Now on sale there is a large selection of polyurethane moldings, with the help of which you can quickly and original design an arch. These elements are usually fixed with glue, and self-tapping screws can be used for greater strength.

With the help of polyurethane moldings, you can quickly and original design the arch
Advantages of finishing with polyurethane moldings:
- a large selection of various elements;
- ease of installation;
- affordable cost.
Disadvantages:
- not suitable for use in an expensive interior;
- low resistance to mechanical damage.
What tool will you need to work
Depending on what material will be used to decorate the arch, you may need a different tool:
- putty knife;
- screwdriver;
- brush or roller;
- foam sponge;
- hacksaw or grinder;
- sandpaper;
- measuring instruments;
- stationery knife;
- a hammer;
- chisel;
-
building level.

Arch finishing tools To decorate the arch, you will need simple and affordable tools.
How to prepare the surface of the arch for finishing
Decorating an arch is a responsible and rather time-consuming process. Usually it is made of drywall. Experts recommend to be sure to putty such a surface. This is due to the fact that if over time you want to update or replace the finishing material, in places where there is no putty, the layer of cardboard will be removed simultaneously with the finishing, and this can lead to damage to the entire structure.
The procedure for carrying out preparatory work:
-
Smoothing the transition between the wall and the side of the arch. The joint is smoothed with a putty so that the transition from one surface to another is not visible.

Smoothing the transition Between the wall and the side surface of the arch, the transition is leveled and smoothed with putty
-
Sealing seams and caps of self-tapping screws. For this, a serpyanka tape is used, and the caps of the self-tapping screws are sealed only with putty.

Sealing seams and caps of self-tapping screws Screw caps and seams are sealed with putty
-
Alignment of the transition between the arch and the wall. For this, putty is used. It should be applied with a wide spatula, it should be wider than the overlap in order to get a smooth and even transition.

Aligning the transition between arch arch and wall The transition of the arched arc into the wall should be smooth and even
-
Strengthening the corners. One of the most problematic areas of a door arch is its corners. To strengthen them, it is necessary to use metal or plastic corners, which are fixed with putty or self-tapping screws. Instead of corners, the edges of the arch can be glued with serpyanka tape.

Reinforcing corners The corners are reinforced with a serpentine tape or perforated corner
- Arched arch putty. The entire surface is evenly covered with putty and leveled.
-
Side surface treatment. This work must be done from top to bottom. The joints of the wall and the arch are glued with serpyanka tape. The width of the tape should be such that it completely overlaps the transition point between the arch and the wall. After that, the side surfaces are putty to completely smooth the transition.

Side surface putty Putty is applied to the serpyanka tape glued at the junction of the walls and arches
- Final surface leveling. You can start work only after the putty has dried. Grouting the surface is carried out with sandpaper.
- Primer. To ensure good adhesion of the surface with the used finishing material, it must be primed. The primer is applied with a brush or roller. After it has completely dried, and this will take about four hours, you can proceed to finishing work.
The described work must be performed with a starting putty, since it has the best adhesion and its price is lower. Depending on the finishing material used, it may be necessary to level the surface with a finishing putty. This is required if the arch will be painted; in other cases, you can not apply the finishing putty.
To eliminate large differences and significant irregularities, the putty can be applied in several layers, the thickness of each of them should not be more than 5 mm. Before applying the next layer, allow time for the previous one to dry well. Depending on the conditions in the room, on the type of putty used and on the thickness of the applied layer, the approximate drying time will be different:
- gypsum - 3-6 hours;
- cement - from 12 to 24 hours;
- polymer - from 4 hours.
It is recommended to apply the next layer not earlier than after 12-24 hours.
Expert advice to help you complete the preparatory work better:
- when filling holes, it is recommended to apply a little more putty than necessary, since the solution tends to dry out a little. It is better to then remove the extra bump with sandpaper, and if a hole remains, then it will be necessary to putty this place again;
- in order to properly level the surface, it may be necessary to apply three or four layers of putty. Keep in mind that before applying a new layer, the previous one must dry completely;
- when sealing joints, it is necessary to press the mortar well into the existing gap in order to completely fill it. In this case, it is also better to apply a little more mortar and then remove it with sandpaper than to carry out additional sealing when depressions are formed.
Video: preparing the surface of the arch for finishing
The sequence of finishing the arch with different materials
The order of work will depend on the material chosen.
Wallpaper gluing
Ordinary thin wallpaper or heavy vinyl, textile and glass wallpaper can be used to decorate the arch.
The process of gluing the arch with thin wallpaper:
-
Pasting wallpaper on the wall adjacent to the arch. This is done so that the edge of the canvas protrudes 2-3 cm towards the arch. Cuts are made on it, which are folded into the inner part of the arch.

Pasting wallpaper on the arch Bend the edges of the wallpaper from the walls and glue the strip to the arch
-
Sticking wallpaper on the arch. It is necessary to cut a strip corresponding to the dimensions of the arched opening. It is glued and well rolled with a roller so that air bubbles do not form.

Sticking wallpaper on the wall The edge of the canvas should protrude 2-3 cm beyond the edge of the arch
When using heavy vinyl wallpaper, the edges of the stripes are cut exactly along the border of the arch, and then this area is covered with a decorative corner.
Decorating with decorative plaster
The order of finishing works:
-
Plastering. This is done with a spatula. After the plaster dries a little, it is lightly sanded with a paint float.

Plastering The plaster is applied with a spatula
-
Application of the first coat of paint. To obtain a beautiful result when painting decorative plaster, you need to use several colors selected in the same range. First, a darker paint is applied with a sponge and a brush.

Applying the first coat of paint A layer of darker paint is applied first
-
Staining with a second layer. It is necessary to allow time for the first layer to dry completely. After that, with the help of a foam rubber sponge, a lighter paint is applied with light touches.

Staining with the second layer The second coat of paint should be lighter
- Waxing. When the paint dries, the surface of the arch is covered with a protective layer of wax mastic.
Video: the process of applying decorative plaster
Arch decoration with mosaics
When using mosaic, work is done in the following sequence:
- Matrix creation. Since the mosaic tiles are very small, editing is much easier if you assemble them into small pieces first. Elements are laid on a sheet of paper, and then a fine mesh is glued on top. There are ready-made matrices on a mesh base that can also be used to decorate the arch.
-
Mosaic installation. The finished matrices are fixed to the surface of the arch with glue. It must be ensured that it does not fall on the front surface of the mosaic.

Mosaic installation Ready-made matrices are glued to the surface of the arch using glue
-
Grouting. Select the desired grout color and fill all the joints. An hour after grouting, remove the mortar using diagonal movements with a rubber spatula. After that, the surface is wiped with a damp cloth.

Cleaning the mosaic surface To remove grout, wipe the surface with a damp cloth
Laying decorative stone
Work order:
- Stone preparation. After purchasing a decorative stone, it must be washed and dried. To simplify the work, it is necessary to sort the elements by size, since they all have different lengths and thicknesses.
-
Stone pruning. After the elements have been sorted, using a special machine, the edges of the stones are cut, which will be mounted at the corners, so that a 45 ° cut is obtained. Sort the tiles by color and then lay them along a flat slat.

Cutting stones Using a special machine, the edges of the stones are cut
- Preparation of glue. If the decorative stone will be mounted on a putty and primed surface, then it is recommended to use a quick-setting glue. When working on cement plaster, it is better to use cement tile adhesive.
-
Stone decoration. Work starts from the bottom and gradually moves up. A gap of 2-3 mm is usually left between the individual elements, but installation can be carried out without a gap. To keep the distance between the tiles the same, special plastic dividers are used.

Stone decoration The stones begin to be laid from below and gradually move up
Video: the process of installing artificial stone
Wood trim
If you decide to decorate the arch with natural wood on your own, then the easiest way to do this is with a wooden lining:
- Preparing the lining. The required number of elements is cut to the size of the arch.
-
Installation of lining. Usually arches are made of drywall. The panels can be fixed to it with self-tapping screws or with glue. If self-tapping screws are used, then after completing the work, their caps must be covered with putty to match the wood.

Decorating the arch with clapboard You can fix the lining with glue or self-tapping screws
Polyurethane molding trim
Installation of moldings is carried out in the following sequence:
-
Preparation of elements mounted along the radius of the arch. Measure the required length and cut off a piece of molding. Nails are driven into it with a pitch of 50-100 mm, after which glue is applied to the inner surface.

Preparation of elements mounted along the radius of the arch Nails are driven into the molding and smeared with glue
-
Installation of radius molding. A prepared element is applied in the center of the opening and a nail is hammered in, after which they move from the center in different directions. If the molding is not pressed well on the bend, you can additionally hammer in 1-2 nails.

Installation of radius molding The molding is fixed with nails and well pressed against the surface of the arch
-
Installation of vertical elements. The distance from the floor to the radius molding is measured in height and the required piece of the vertical element is cut off. It is also attached with nails and glue, and the junction of the vertical and radius molding is coated with sealant.

Installation of vertical elements Vertical elements are also fastened with nails and glue
-
Finishing finish. After the glue is completely dry and the moldings are securely in place, you can pull out the nails. It remains to putty the moldings and paint them in the chosen color.

Finishing Pull out nails, putty and then paint the moldings
Video: the sequence of finishing the arch with polyurethane molding
youtube.com/watch?v=R1gR3dpvWek
Installation of MDF panels
If MDF panels are mounted on glue, then the sequence of work will be as follows:
- The panels are marked and cut to the required size.
- Glue is applied to the seamy side of the panels. It is better to do this with a zigzag strip.
-
The panels are applied to the wall and leveled. It should take 5-10 minutes, after which the position of the MDF panels is checked again and, if necessary, they are leveled by tapping with a rubber hammer.

Installation of MDF panels Panels can be fixed with glue or self-tapping screws
If the panels are mounted on a crate, the surface of the arch need not be leveled:
- Creation of the lathing. For this, metal profiles or wooden blocks can be used.
- Installation of guide profiles. They are fixed at the top and bottom of the crate.
- Installation of panels. MDF panels are inserted into the guide profiles and fixed to the crate with self-tapping screws.
Wall decoration around the arch
It is necessary not only to beautifully finish the arch, but also to think about what materials the walls around it will be finished with.
The main options for wall design around the arch:
- decorative plaster. This option goes especially well with an arch trimmed with artificial stone;
- wallpaper. With this finish, you can also create a beautiful relief on the wall. To do this, you need to use fiberglass, textured, textile or liquid wallpaper. There are modern wallpapers with cork, wood or stone veneer;
- decorative rock. If the arch is finished with artificial stone, then part of the wall near it can be pasted over with the same material;
- a combination of wallpaper and wall panels. The wallpaper goes well with the MDF-paneled arch. The option looks good when the lower part of the wall, like the arch, is trimmed with panels, and the upper part is covered with wallpaper. This is a great option for a corridor, as the lower part of the wall will be protected from possible damage and the panels are easy to maintain. Decorative molding is laid on the border of panels and wallpaper;
- panels. The walls near the arch can only be finished with panels. For this, elements made of laminated chipboard, rack structures, lining or 3D panels are used;
-
the same material that was used for finishing the arch. This option is recommended for wide walls and large aisles.

Wall decoration with wallpaper next to the MDF arch One of the simple and inexpensive options is to decorate the arch with MDF panels, and the adjacent wall with wallpaper.
The sequence of finishing the walls around the arch will depend on the material chosen. This process is no different from how the topcoat was installed on the arch.
Installation of a decorative corner
The decorative arched corner allows not only to highlight the arch against the background of the wall, but also hides possible irregularities. Its use is especially important when the arch was made independently for the first time, so the work was not done perfectly.
Installation procedure for a decorative corner:
- Preparation. At this stage, the necessary tools and materials are prepared. The quality of the substrate is checked, it must be clean, dry and sound. You need to stock up on a piece of wood or a similar object with which you can fix the corner in the middle until the glue dries.
-
Markup. It must be borne in mind that you can only connect the elements to each other on a flat area. This is usually done at a height of 1 meter from the floor and on both sides of the arch at the same height.

Arched corner A decorative corner is used to finish the corners of the arch.
- Glue application. Do this on the prepared elements with a glue gun. The glue is applied with a thin snake to both shelves at once. After that, spread it evenly with a small roller.
- Installation of corners. They are glued into place, after which they are well pressed along the entire length, and in the center they are propped up with a prepared bar. In places where the decorative corner is bent, it can be temporarily fixed with tape. To prevent it from sticking to the corner, paper is placed between them. In this way, all elements are mounted.
With the help of an arch, you can decorate a doorway in a beautiful and unusual way, arched partitions allow you to zone a room. The presence of an arch in the interior makes it unusual and non-standard, but it must be organically combined with the surrounding elements.
Decorating the arch with your own hands is within the power of a person who has basic skills in performing construction work. After the finishing material has been selected and all the necessary tools have been prepared, it is necessary to study in detail the technology for performing the work. Following the developed instructions, it will be possible to independently trim the arch and at the same time get the result no worse than that of professionals.
Recommended:
Repair Of Metal Roofing, Including A Description Of Its Main Stages, As Well As Material And Tools For Work
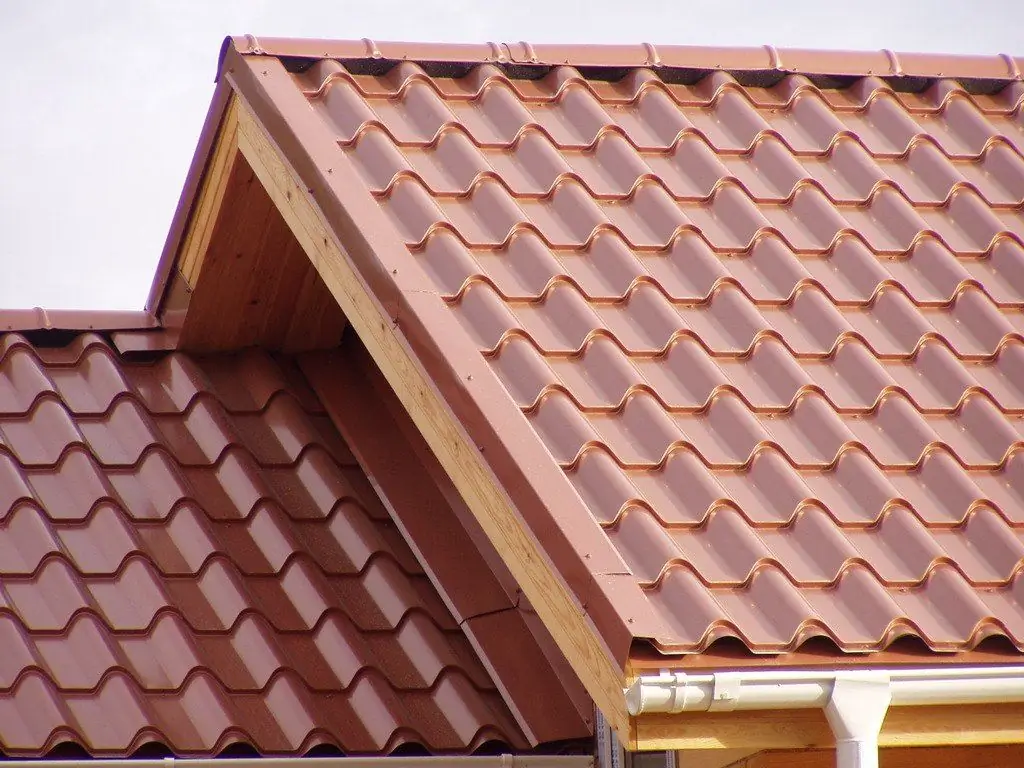
Methods and materials for the repair of metal roofing. What tool is needed and step-by-step instructions for eliminating roof breakages
Repair Of A Soft Roof, Including A Description Of Its Main Stages, As Well As Material And Tools For Work
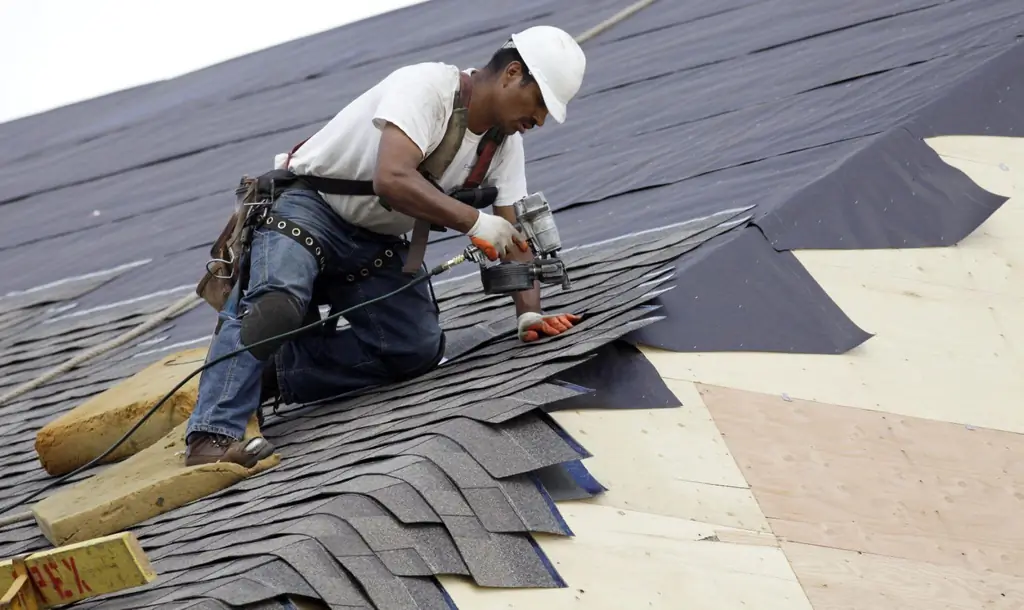
Diagnostics of the condition of the soft roof. Repair types and their main features. A brief overview of roofing materials and recommendations for their selection
Flat Roof Repair, Including A Description Of Its Main Stages, As Well As Material And Tools For Work
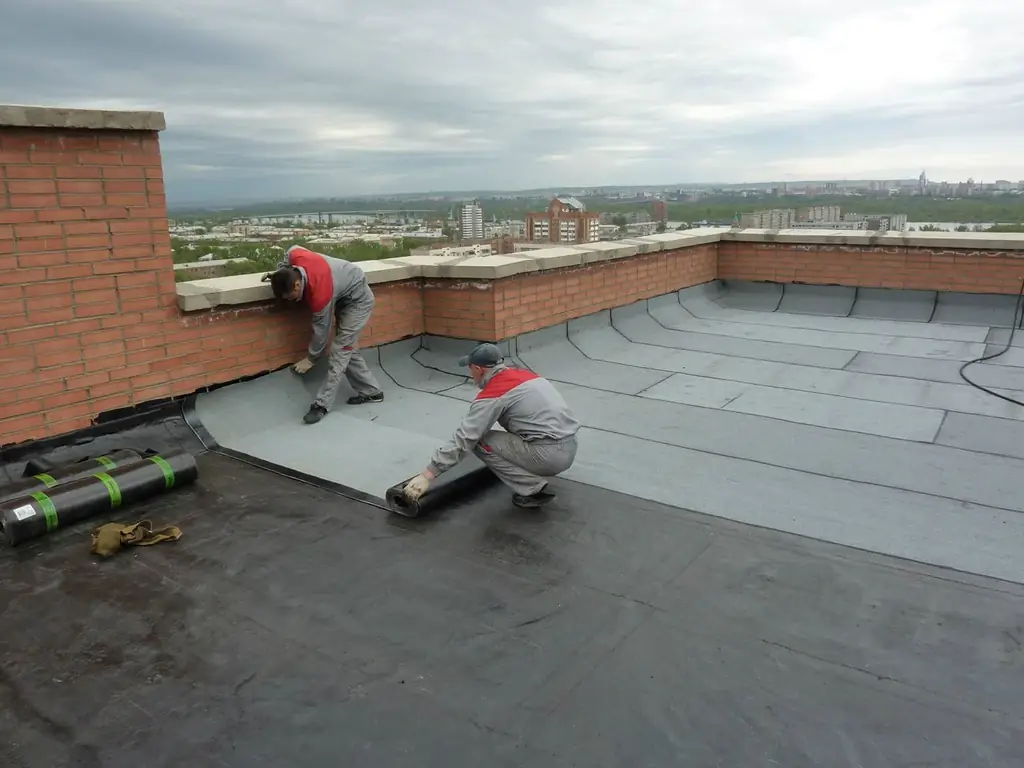
A brief description of the types of flat roof repair. Recommendations for the selection of roofing materials. Technology for eliminating various defects on flat roofs
Rolled Roof Repair, Including A Description Of Its Main Stages, As Well As Material And Tools For Work
The main types of repair work. Preparation for work and general safety precautions. Step-by-step instructions for performing major and current repairs
How To Cover The Roof With Roofing Material, Including With Your Own Hands, As Well As A Description Of The Main Stages Of Installation
Appointment and features of roofing material. How to lay material on the roof and step-by-step instructions for work, as well as laying rules for a wooden roof
