Table of contents:
- Author Bailey Albertson [email protected].
- Public 2023-12-17 12:53.
- Last modified 2025-01-23 12:41.
Installation and dismantling of a wooden door: how to carry out an operation with your own hands

Wooden doors are still the most popular option for furnishing both interior and exterior openings. This is due to both the low cost and the ability to carry out the installation yourself. But the operation of the structure is possible only if it is correctly installed.
Content
- 1 How to take measurements for installing doors
-
2 How to correctly install a wooden door
-
2.1 Installing solid wood doors
2.1.1 Video: inserting hinges and adjusting gaps with your own hands
-
2.2 Installation of wooden sliding doors
2.2.1 Video: DIY wooden sliding door installation
- 2.3 The principle of installing a door closer on a wooden door
-
-
3 Dismantling a wooden door with your own hands
3.1 Video: do-it-yourself dismantling of an old interior door
How to make measurements for installing doors
This stage is the most important, since it depends on whether the prepared doors will enter the opening and whether the installation will be of high quality and easy. To measure, you need to take the following tools:
- a sheet of paper for notes;
- a pen;
- construction tape (it is recommended to choose a 3-meter tape);
- square for measuring the width of the box, that is, the thickness of the wall.
There are two ways to measure a doorway. You can use any of them, since the truthfulness of the result in both cases will be high.

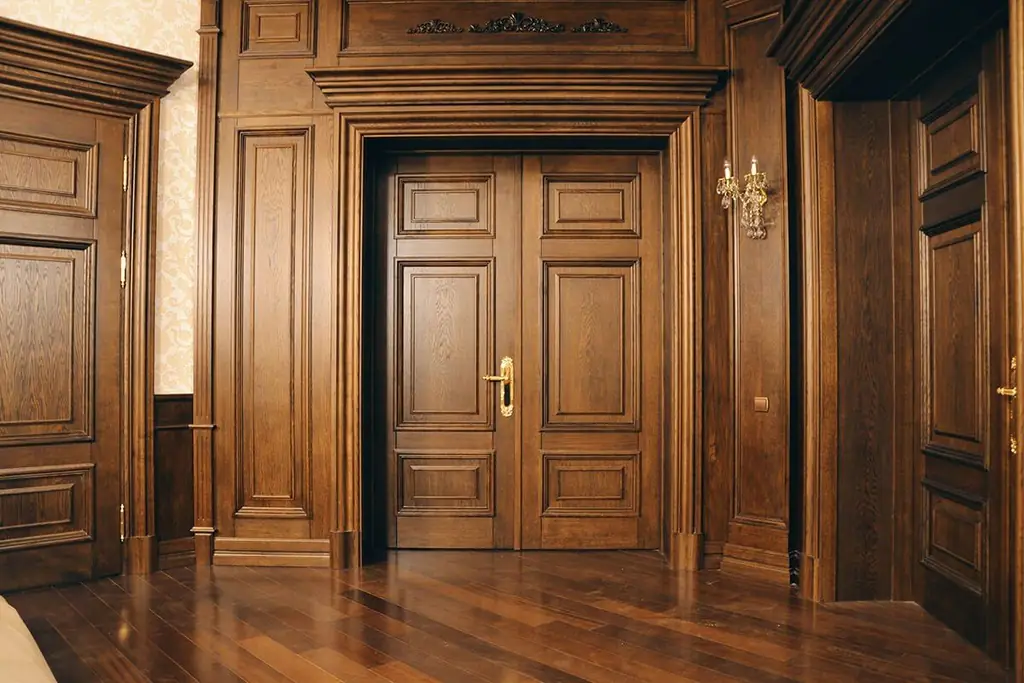
A wooden door can be used both as an interior door and as an entrance to an apartment or house
The first of them can be called construction, since it is used by professionals:
- Determination of the opening height. You need to start from the floor to the top of the opening.
- Measuring the width of the opening from one wall to another from the inside of it.
- Determination of the opening thickness. This parameter is needed to determine the width of the frame of the future door. That is, the thickness of the partition should be measured.
These are the basic parameters for a wooden door. Additionally, you need to determine whether there will be thresholds, as well as on which side the door will open. This is quite easy to do. You should stand facing the door so that you can open it "towards yourself." Now you need to see which side the hinges are on. This information will indicate the direction of the door. If the hinges are on the left, then this is the left door.

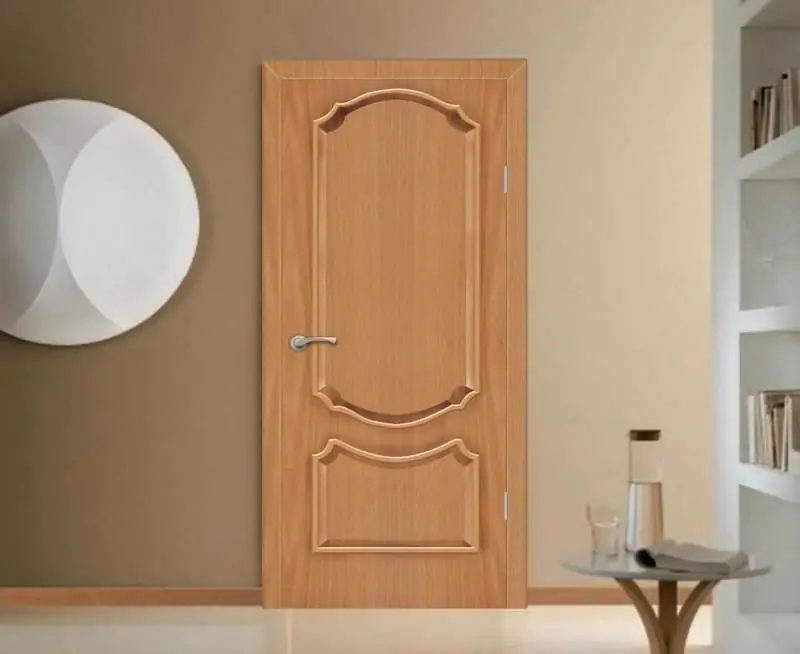
Wooden doors are usually standard sizes
The second method of measuring the doorway can be used if the old door has not yet been dismantled. You need to take measurements in the following sequence:
- First, you need to measure the width and height of the already installed door leaf.
- Next, you need to determine the width of the door frame, for which you need to measure the thickness of the wall.
- For the next measurement, it is recommended to carefully remove the casing and measure the width and height of the door opening. This is necessary because different manufacturers consider different values to be standard.
In addition to the specified parameters, you need to know exactly what kind of flooring will be used, its thickness, floor height, whether there will be a gap between the door and the floor. That is why it is recommended to order doors in advance, specifying all the parameters, because according to the standards, they should be manufactured 1.5 months after measurements.
How to install a wooden door correctly
You can install a wooden door yourself, provided you have all the necessary tools and knowledge.
The design consists of a door frame and a leaf; these parts must be mounted sequentially and separately from each other.

The wooden door consists of a frame and a door leaf
Do-it-yourself installation of solid wood doors
The installation process takes place in a clear sequence:
-
Assembling the box. Before assembling it, all dimensions must be carefully checked. The door frame consists of three or four bars, which are assembled into a so-called frame during installation. Two beams correspond to the height of the door leaf and serve as racks for it. Short bars are located at the top (lintel) and below (threshold). To collect the box, you need to cut the profile bar, taking into account the dimensions. Next, remove the projections from the upper and lower parts. Now all three beams can be connected together. The parts should be fixed with special screws. On one of the posts, you need to cut holes for the hinges. The box is ready for installation.

Collecting a box of a wooden door Box parts can be fixed with self-tapping screws or a groove system
-
Installation of the box in the opening.

Wooden door frame in the opening Box and door leaf are installed separately
-
Fittings insert. In this case, we are talking about hinges and a lock. In the door leaf, you need to cut the corresponding grooves for the hinge parts. Do not forget to check if these grooves on the door leaf and the door frame correspond. This can be done as follows. Install the hinges on the door frame, put the canvas in the opening, mark the places on it with a pencil. After that, remove the canvas and cut grooves in the marked places. For this purpose, you can use both a chisel and a milling machine. In almost the same way, the insert of the lock is made. Initially, the marking is carried out at the end. A long groove is then cut and the core removed. This hole is for the decorative strip of the lock. Cut holes for the handle and cylinder in the same way. And only after they have been prepared, you can proceed to the installation of all parts.

Insert of a lock into a wooden door For the handle and lock, you need to cut the corresponding holes
-
Hanging the door leaf. At this stage, you need to make physical efforts, since you need to raise the canvas for the correct connection of the canvas and the door frame. You also need to insert the canvas loops into the box loops.

Wooden door hinges You need to fix the hinges after installing the door leaf
- Finishing of the opening. In particular, the joints must be carefully sealed with polyurethane foam. Also, in the case of a too wide opening, installation of platbands and an additional strip will be required. You can attach these parts to the wall with silicone glue. Also, this option can become an original design solution if the color of the platbands and the additional strip contrasts with the shade of the door leaf. Additionally, plastering of the slope may be required.
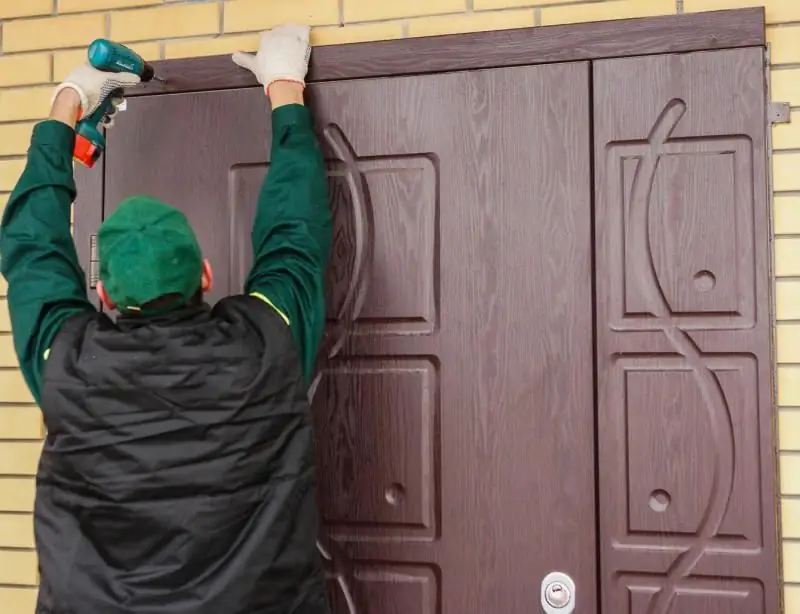
This instruction can also be used when installing wooden entrance doors and interior doors. The differences lie only in the thickness of the used timber for the box, and also when installing interior doors there is no threshold, which means that the box consists of only three parts.

The entrance wooden door has a threshold, which may complicate the installation process a little
Video: inserting hinges and adjusting gaps with your own hands
Installation of sliding wooden doors
This design is chosen if it is not enough to install swing doors. Sliding structures are more complex in terms of installation, since their principle of operation is to move the door leaves to the sides on rollers. It is from the correct determination of the dimensions, fastening of all parts that the functioning of the sliding doors depends.

Installation of sliding doors has its own characteristics
For installation you need to prepare:
- door leaf of the right size;
- timber (the size depends on the thickness of the wall, usually it is 50 * 50 mm or 40 * 40 mm);
- guides - 2 pieces;
- videos;
- stoppers for the upper rail - 2 pieces;
- fasteners: self-tapping screws, dowels, decorative plugs.
The installation process takes place in the following sequence:
-
Measure the height of the prepared canvas on the adjacent wall. Add 70 mm to this value. At the mark using the building level, it is worth drawing a horizontal line for fastening the timber.

Installation diagram of sliding doors Metal profiles are required to install sliding doors
- A horizontal bar must be attached to the line with its lower side. After that, the part can be fixed with self-tapping screws.
- Its length should be twice the length of the opening.
-
Now you need to attach a metal guide to the installed bar, its length should be equal to the length of the bar. Insert the details of the future opening mechanism into this guide. You also need to close the ends, using special plugs for this.

Sliding door profile Door movement possible thanks to rollers
- Brackets should be installed on the upper edge of the door leaf. They are needed so that it is perfectly aligned with the rollers.
- Now you need to fix the door leaf vertically. To do this, you need to make a groove at the bottom of the canvas. Then connect the brackets to the carriages for a short period of time and hang the door in its place.
- The roller must be inserted into the groove, while you can slightly deflect the door from the vertical position, but then you should definitely return it. After installing the roller, you should mark the positions and fix the guide.
- You need to complete the installation by fixing from above, while you need to hold the door leaf.
Video: DIY wooden sliding door installation
The principle of installing a door closer on a wooden door
The closer allows the door to close on its own, while there will be no clap, which is unpleasant not only with a loud sound, but also with the possibility of damaging the structure of a wooden door. Most often, this part is mounted on wooden entrance doors. You can do this yourself if you follow the instructions:
-
Prepare all the necessary tools. To install the door closer on a wooden door, you need a drill, a ruler, a pencil and a screwdriver with various attachments. It is recommended to choose a drill for a drill with parameter 3, but before choosing, you should still look directly at the fasteners.

Door closer installation tool The list of necessary tools for installing wooden doors is small
-
Templates are attached to each door closer kit. They need to be fixed on the door itself. The template must have two red stripes located perpendicularly. The horizontal one must be correlated with the upper edge of the door, the vertical one - with the line of the hinge axis, while it must be drawn so as not to be mistaken at the time of installation. The drawing method depends on the installation location of the closer. If this part will be installed from the side of the loops, then the line must be drawn from the middle of the loops upwards using a pencil and a ruler. If the installation will be carried out on the other side, then first you need to measure the distance from the edge of the canvas to the loops, or rather, their middle. This distance should be marked on the other side and a line should be drawn.

Closer template The door closer kit must have a template
-
Now you need to make holes for attaching the closer. Where to do them is also indicated on the template, you just need to transfer the data to the door leaf and frame. For wooden doors, you can use special screws.

Self-tapping screws for wooden doors Several sets of self-tapping screws can be supplied with the closer
-
The body and levers must be separated as they are installed separately from each other. Each part must be applied to the holes made and fixed with self-tapping screws. They must be installed in accordance with the selected amplification class. If the door opens "towards itself", then the body must be installed on the door leaf, and the pull rod must be installed on the frame.

Closer mounting scheme The method of fastening the closer depends on the required thrust
-
After installing all the parts directly to the door and frame, you can connect the closer body and the rod. To do this, put the lever on the ledge in the housing and tighten it with the screw. Now you can connect the lever to the rod, press them a little until they click.

Closer on a wooden door Most often, the closer is installed on entrance doors.
Dismantling a wooden door with your own hands
When replacing an old wooden door with a new one, it is very important to properly dismantle it, because this process does not consist in simply removing the box, but in removing it so that minimal damage to the partitions is caused. This must be done in the following sequence:
-
Remove the door, first placing a crowbar between it and the floor, which will play the role of a lever. The door needs to be slightly opened, then slightly press the lever and raise the canvas. If during this process the hinges do not move, then it is recommended to lubricate them first, and then repeat the procedure. When the hinges are moving, you need to open the door completely and in this state remove the canvas.

Crowbar under the door leaf You can remove the door leaf using a crowbar
-
Now you can remove the trim. For this it is worth using an ax. Its blade must be installed in the hole between the box and the casing, hammer it in with a hammer, and, moving the ax blade, disconnect the casing.

The worker removes the platband An ax and a hammer will help to remove the old platband
-
Nails can interfere with the removal of the platband; sometimes it is not easy to pull them out. The nails can be pry off with an ax and, moving them, pull them out together with the casing.

Hammering an ax It is almost impossible to remove old platbands without breakage
- Repeat the same action on the other side.
-
Now you need to remove the box. Typically, old Soviet doors were mounted using 150mm nails. You need to retreat about 20 cm from the attachment point. If they are not visible, then you can retreat about 60 cm from the floor. At this point, the rack must be sawn.

Worker pulls nails Older door designs used 150mm nails
-
Now, a little higher than the cut made, you need to insert an ax between the box and the wall, then click on it and take the rack of the box to the side. Do the same for the top of the rack.

The worker removes the door frame The old wooden door frame is almost never used.
Video: do-it-yourself dismantling of an old interior door
Do-it-yourself installation of a wooden door is very simple. The main thing is not to forget to prepare all the necessary tools and observe the installation technology. By doing this yourself, you can significantly save money and time.
Recommended:
Double-leaf Doors: Entrance And Interior Doors, As Well As Their Varieties With A Description Of The Device And Installation

Double-leaf doors: types, standard sizes. Accessories for double doors. Installation stages and operation features. Reviews
MDF Doors: Entrance And Interior Doors, Their Varieties With A Description And Characteristics, Advantages And Disadvantages, As Well As Installation And Operation Features

Doors from MDF: features, characteristics, varieties. Making and installing MDF doors with your own hands. Door restoration. Reviews, photos, videos
Painting Wooden Doors: Which Paint Is Better To Choose, As Well As How To Properly Varnish The Surface

How to prepare a door for painting and which product to choose. Tools and materials for painting wooden doors. How to paint yourself
Installation Of Fire Doors: How To Properly Carry Out The Installation And What Regulatory Documents Must Be Followed

Fire doors installation technology, for which premises they are suitable. Features of service and repair
Do-it-yourself Installation Of Metal Doors, As Well As How To Properly Dismantle

Rules for installing a metal door. Step by step instructions and necessary tools. Installation of fittings. Installation features for various types of walls
