Table of contents:
- Author Bailey Albertson [email protected].
- Public 2023-12-17 12:53.
- Last modified 2025-01-23 12:41.
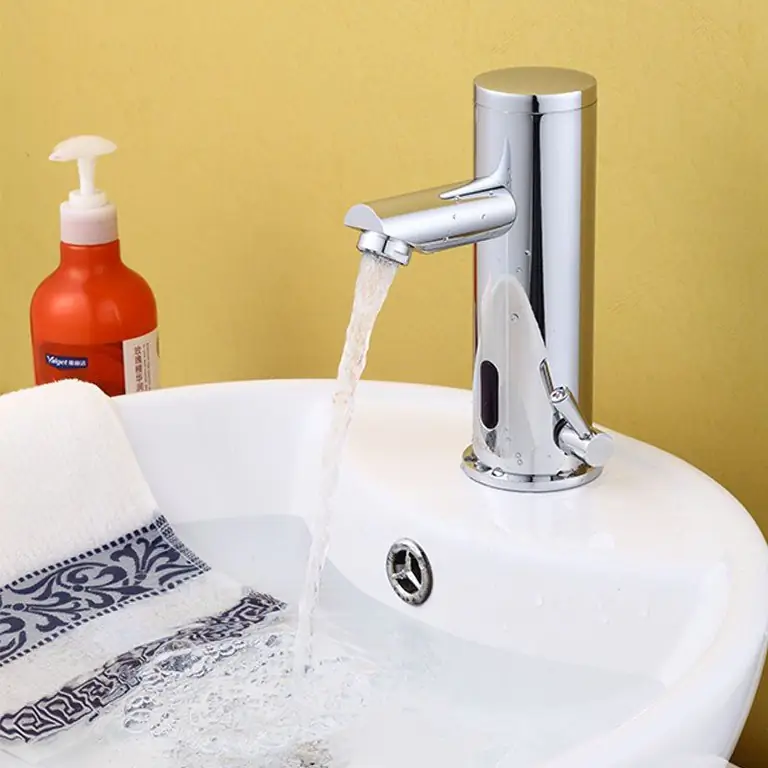
We install a mixer in the bathroom

Good day, dear friends
Today we have on the agenda the issue of mixing, but not ingredients, but water - hot and cold. More specifically, consider the question of how to install a mixer in the bathroom in order to get a uniform flow of water at the desired temperature. We will carry out all the work without involving outside specialists.
There are a huge variety of types of water mixing devices on the market today. They come in various designs and forms of execution, but the principle of installation and connection is the same for all.
Usually, the installation of a mixer is required if the old mechanism breaks down or does not work properly, or if the bathroom is overhauled and all new plumbing is completely installed. In both the first and second cases, all operations will be identical, with the exception of dismantling the old mixing mechanism, so I will describe the whole process using the example of replacing the old mixer and installing a new one.
For work, we need a set of open-end wrenches, an adjustable wrench, a sealing tape (FUM tape) or any other sealing material, and a new mechanism for mixing water itself.
It is sold disassembled, but complete with all parts, transitional eccentrics and gaskets. In more expensive models, the kit includes a watering can with a mounting bar (or just a watering can holder on the wall) and a supply hose.

Dismantling the old mixing system
When starting to dismantle the old mixer, turn off the cold and hot water supply using the inlet taps and relieve the pressure from the pipelines by opening the cold and hot water taps. Sometimes, it happens, especially in old houses, that over the years, the entrance taps become unusable and do not completely shut off the water (it either pours in or goes in a small trickle).
In this case, you can use the following technique: for example, your cold water does not completely shut off, then you can open some kind of cold water tap (water supply tap to the toilet bowl), which is located below the level of the mixer outlets. Accordingly, the water will begin to drain through this lower tap, and you can work with the mixer without any problems.
If there is no such possibility of water discharge, you will have to ask the management company to turn off the hot and cold water risers completely during your work (this is of course additional financial costs).
After checking the absence of water and armed with a key, we turn off the union nuts on the hot and cold water pipelines one by one, securing the mixer to the water supply system.

We unscrew it by rotating the nut with a wrench counterclockwise, as shown in the photo.
With the mixer completely removed, look inside the supply pipes. Sometimes an additional filter element is installed before entering the mixer.

Over time, it becomes heavily overgrown with dirt, scale from pipes, rust and greatly reduces the throughput. All foreign matter must be removed.
The old mixer is removed and now we come close to the question of how to install the mixer.
Installation of a new mixer
Most likely, during the assembly of the water supply, the end fittings with an internal thread for connecting the mixer have already been removed, as in the photo below.

If the water lines are connected to the mixer independently, the following points must be taken into account:
- the center distance between the cold and hot water inlet fittings should be 150 mm;
- cold water supply should be on the right, and hot - on the left;
- the most convenient location of the mixer above the level of the installed bath 150-200 mm, from the floor level 600-800 mm. (Taking into account the height of the bath, the legs of the bath and the distance from the bath to the mixer, this is the most optimal distance);
- it is advisable to think over the convenience of its location.
- the inlet fittings of the cold and hot water lines must be sunk into the wall so that when the tiles are laid on the wall in the bathroom, their ends are flush with the face of the tiles. This will make it possible to close the connection points of the mixer with a decorative cup.
I recommend doing the plumbing with plastic pipes. I described this process in detail in the article "The nuances and features of assembling a water supply system from plastic pipes. " Moreover, welding of plastic pipes is currently not difficult and guarantees 100% quality of the connection.
Step 1. We screw in the eccentrics.
When positioning the water inlet fittings, it can be very difficult to accurately maintain the 150 mm center distance between the inlets. If there is a slight error, it can be corrected using the transitional eccentrics supplied with the mixer.
We wind up the sealing material on the threads of the eccentrics and screw them into the inlet fittings of the water line.

By rotating them, we achieve an exact center distance between the inputs of 150 mm. Using a level (as in the photo below), we check the horizontal installation.

Step 2. We pre-screw the mixer body and check its horizontal position. The union fastening nuts should be easily tightened by hand to the stop, to the full thread of the nut.

If the nuts are tight, it is necessary to make fine adjustments by slightly turning the eccentrics and achieve free tightening.
Step 3. We screw the decorative cups that cover the connection point of the mixer to the water line on the eccentrics.

Step 4. Insert the gaskets and put the mixer body in place.

Step 5. We tighten the fastening nuts with a wrench. It is necessary to put a soft cloth under the key jaws so as not to scratch or damage the chrome-plated coating of the nuts and not to disturb the aesthetic appearance of the product.

It is not necessary to tighten the nuts very tightly, the connection is sealed through a rubber gasket and is obtained without leakage. Just in case, you can try to apply pressure to the cold and hot water mains, make sure there is no leak. If there is still a leak, tighten the nuts a little and fix it.
Step 6. Install the gander.

We attach the nut and also tighten the nut with a wrench through the protective material.
Step 7 We screw the hose of the watering can to the mixer body after inserting the gasket.

Step 8. We fasten the watering can to the hose by also inserting a rubber gasket.

Step 9. We mark the position of the watering can holder and the attachment points.

Step 10. We drill holes in the tile for the fixing screws and fix the bracket of the watering can holder to the wall.

This completes the whole process of installing the mixer. You can supply water and try its performance in various modes.

Now you know how to properly install the mixer in the bathroom, and I hope the installation of the mixer will not take much time.
I look forward to your comments, and I will definitely answer everyone.
And in conclusion, a small video "How to replace a faucet in the bathroom":
See you soon on the pages of our Easy Together blog.
Recommended:
How To Install A Toilet With Your Own Hands - Step-by-step Instructions For Installing And Connecting To The Sewer With Video
Classification of toilets according to different criteria. The choice of the toilet, installation features depending on the type of construction. Installation errors and how to fix them
Installing A Sink In The Bathroom: How To Properly Install A Washbasin With Your Own Hands, At What Height To Fix And Other Installation Features
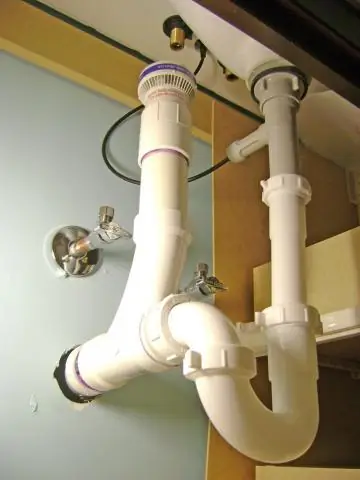
Types of bathroom sinks. The sequence of installation, connection to water supply and sewerage, performance check. Errors and methods of their elimination
Installing A Plastic Skirting Board Or Installing A Plastic Skirting Board
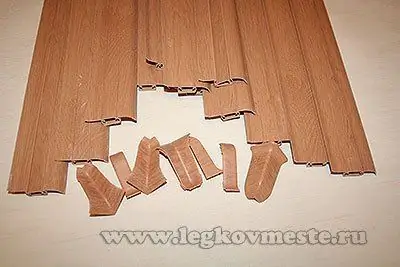
Installing a plastic skirting board with your own hands. How to install plastic skirting boards in the outer and inner corners. Step-by-step instructions for installing skirting boards
Tiling The Bathroom Floor - How To Lay Tiles On The Floor When Renovating A Bathroom
Laying tiles on the bathroom floor professionally with your own hands | Step-by-step instructions on how to lay tiles on the floor when renovating a bathroom
DIY Bathroom Repair: Step-by-step Instructions For Overhauling A Bathroom

Complete bathroom overhaul step by step instructions. We do bathroom repairs with our own hands. Repair cost calculation
