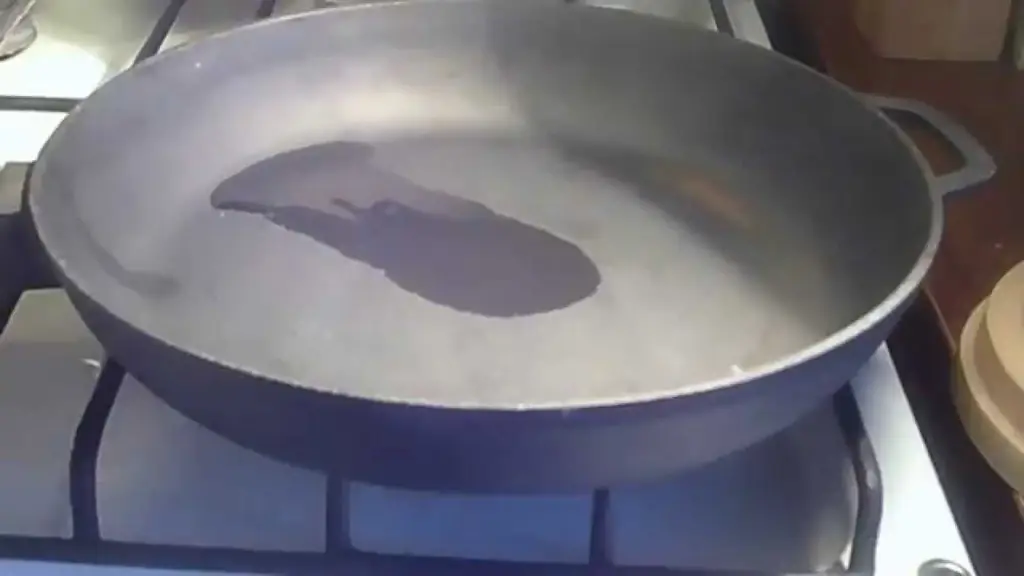
Table of contents:
- Author Bailey Albertson [email protected].
- Public 2023-12-17 12:53.
- Last modified 2025-01-23 12:41.
Calcining old and new cast iron pans: removing dirt and carbon deposits
Almost every Russian family has at least one cast-iron frying pan in the kitchen. Someone inherited it, someone bought a new one. Cast-iron pans are very weighty against the background of light ceramic and Teflon pans. But they have one indisputable advantage - restoring the non-stick coating at home without specialized equipment. An old cast-iron frying pan can be brought to a usable state, it just needs to be ignited.
Content
- 1 Why ignite cast iron pans
-
2 How to properly anneal the product before first use
- 2.1 How to treat a frying pan from engine oil on the stove
- 2.2 Roasting in the oven: step by step recommendations
- 2.3 Calcining a cast-iron frying pan on the stove - video
- 3 How to burn an old cast iron pan
- 4 More tips from the forums
Why ignite cast iron pans
In order for your cast-iron frying pan to only benefit and cope with its duties, first of all it needs to be ignited. If the product is new, it is fired, getting rid of the engine oil layer. They are used to cover cast-iron dishes at the factory so as not to rust. Old pans are calcined to remove the perennial layer of carbon deposits.
There are three main purposes for calcining:
- Removing a layer of factory oil or carbon deposits from an old pan.
- Creates a non-stick coating on the inner surface.
- Corrosion prevention.
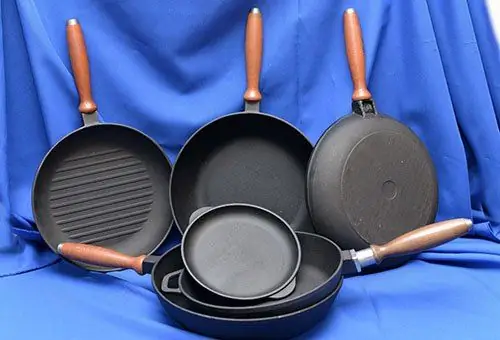
Roasting cast iron pans helps to get rid of machine oil and carbon deposits
When heated, the pores of the material expand, and particles of vegetable oil enter them. As the pan cools, the pores narrow and the oil creates a thin layer that serves as a non-stick coating. It also has an anti-corrosion function, protecting cast iron from rust.
In the process of calcining, they use the means that are always in the kitchen: salt and vegetable oil.
How to properly anneal a product before first use
At home, pans are calcined on conventional stoves or ovens.
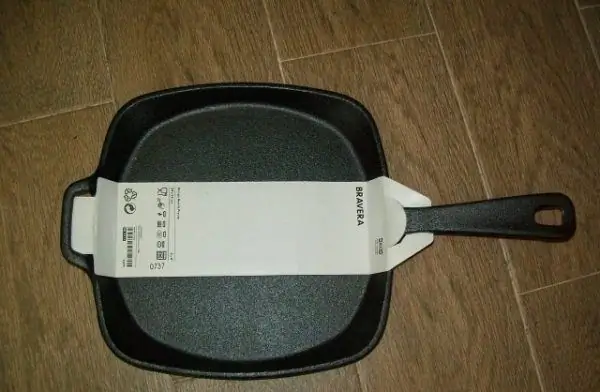
A new cast iron pan must be ignited before use.
Whichever method is chosen, it is desirable that you have the opportunity to ventilate the room well. The layer of engine oil that covers the new frying pan will begin to evaporate under the influence of high temperatures, smoke will appear in the apartment with a persistent unpleasant odor.
How to clean a frying pan from machine oil on the stove
-
Wash the pan with any detergent.

Wash my new cast iron skillet before roasting You will need any mild detergent to wash your new cast iron skillet before baking
-
Put it on fire and ignite it until it stops smoking.

Igniting a new cast iron skillet on the stove An empty cast-iron frying pan on the stove after ignition no longer smokes
-
Remove from stove, rinse and dry.

Drying the pan Dry the pan thoroughly before the next step
-
Place the pan on the stove again, add 1 cm layer of salt.

Frying pan with salt Ignite a frying pan with salt
- Turn on the stove, ignite the pan over medium heat for 25-30 minutes.
-
After the time elapses, the salt will turn yellow, which means that it has absorbed all the residues of the engine oil.

Cast iron pan with salt In the process of calcination, the salt turns yellow, absorbing the remaining machine oil
- Turn off the gas, let the salt pan cool.
- Add salt and rinse thoroughly with water.
- Place a wet skillet on a fire. When all the moisture has evaporated from it, grease the bottom and side walls with vegetable oil.
-
Heat the skillet with oil for 10 minutes.

Creating a non-stick layer After roasting with vegetable oil, a non-stick layer forms on the surface of the pan
- Repeat the previous step twice more, changing the oil each time.
- Rinse the cooled pan with running water without cleaning agents. To keep the resulting non-stick coating intact, do not wash it with corrosive cleaning agents or abrasives.
- Dry with a dry cloth or tissue.
Oven roasting: step by step recommendations
The mechanism for igniting a frying pan in the oven is almost the same as on the stove. This method does not use salt; you need vegetable oil and foil.
- Wash a new pan with detergent and dry thoroughly.
-
Lubricate the bottom and sides with vegetable oil.

Greasing the bottom and sides of the pan with oil Lubricate a dry cast-iron pan with oil
-
Place the skillet upside down on a wire rack in an oven preheated to 180 degrees. Place a baking sheet covered with foil on the bottom shelf to drain the oil.

Roasting a cast iron skillet in the oven To form a durable non-stick coating, oven baking must be repeated several times.
- Keep in the oven for 50-60 minutes at 18 degrees. To make the non-stick layer stronger, carry out this procedure at least three times. You need to get the pan, grease it again and put it in the oven again for an hour.
- Rinse the pan under water and dry.
Calcining a cast-iron frying pan on the stove - video
How to burn an old cast iron pan
Some old cast-iron pans are gathering dust at home on the principle of “it’s a pity to throw it away”, since they are unsuitable for cooking and are covered with a long-term layer of carbon and rust. However, even such things can be put in complete order.
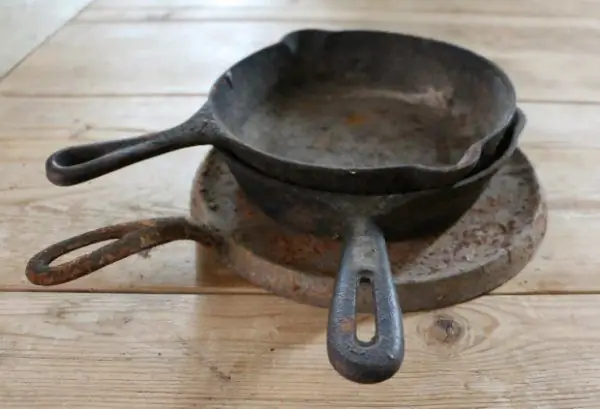
Old cast-iron pans are covered with a layer of carbon and rust
You can restore an old cast iron pan to excellent condition in three steps:
-
Firing to remove old carbon deposits. It is carried out in the oven, since it is necessary to observe a high temperature regime for a long time. Place the pan in the oven upside down, turn on the self-cleaning function for 2-3 hours and leave to cool to room temperature. If your oven does not have this function, preheat it to 250 degrees and keep the pan for 2-3 hours under these conditions.

Restoring old cast iron pans: oven roasting Roasting old pans in the oven
-
Removing rust. Dilute 1: 1 water and vinegar in a sink or basin. Immerse the pan in the solution, wait 30 minutes. During this time, a chemical reaction will take place, bubbles with air will rise from the surface (as in carbonated water). Then take out the pan, wash it under water with a sponge and detergent. Dry thoroughly and brush with vegetable oil.

Removing rust from old cast iron pans Frying pans with a layer of rust cleans a solution of water and vinegar
- Formation of a new non-stick coating. Place the oiled frying pan in the oven at 180 degrees for an hour and let it cool there. Repeat the procedure twice more, each time lubricating the surface with vegetable oil to strengthen the non-stick layer.
The old cast iron skillet now looks like new and is ready to use.
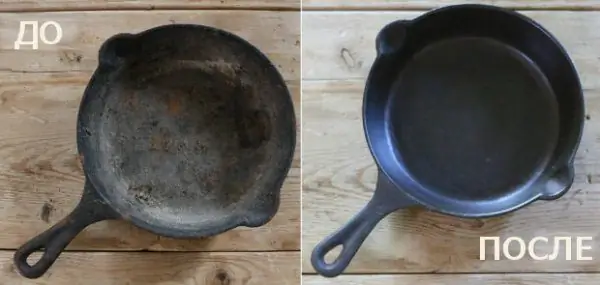
Old cast iron frying pan before and after calcining
A few more tips from the forums
Uniform heating, safety, the ability to create a new non-stick coating are the qualities of a cast-iron frying pan that are appreciated by all people who know a lot about cooking. By following the simple calcination procedure, you will get a reliable and versatile kitchen helper for many years to come. Cook with pleasure and bon appetit!
Recommended:
How To Clean A Cast-iron Pan From Carbon Deposits, Rust And Properly Care For It + Photos And Videos
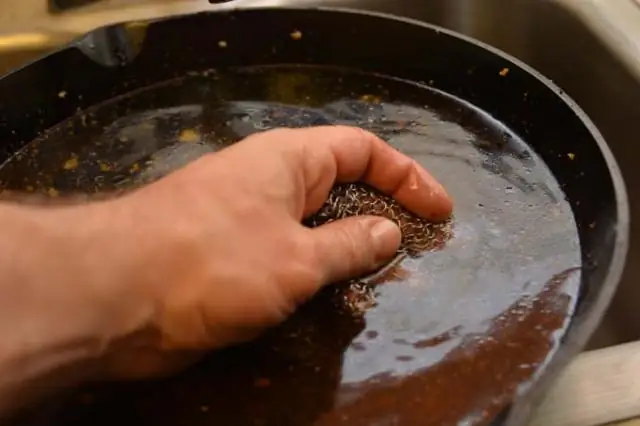
How to clean a cast iron skillet at home. Methods for removing carbon stains, grease and rust. How to care for a cast iron skillet
How To Choose The Right Olive Oil In The Store: Signs Of A High-quality Cold-pressed Product And Other Types + Photos And Videos
Olive oil is a valuable nutritious product. What benefits does it bring to the body? How to distinguish and choose the right olive oil in the store?
Aluminum Frying Pan: How To Remove Carbon Deposits Or Ignite + Photos And Videos
How to remove carbon deposits from aluminum pans with different coatings. How to properly ignite a new frying pan
Do-it-yourself Metal Stove: Options From A Pipe And A Cast-iron Bath, Including A Diagram, Step-by-step Instructions With Photos And Videos

Types of metal furnaces, their advantages and disadvantages. Selection and calculation of material. DIY step-by-step instructions for building. Brick lining, chimney
How To Remove The Shine From The Iron On Clothes: Methods For Removing Shiny Stains Or Yellow Marks After Ironing Synthetics And Other Fabrics, Photos And Videos

Causes of shine, tan marks and other iron stains. How to remove iron marks from different types of clothes
