Table of contents:
- Author Bailey Albertson albertson@usefultipsdiy.com.
- Public 2024-01-17 22:26.
- Last modified 2025-01-23 12:41.
DIY polycarbonate greenhouse

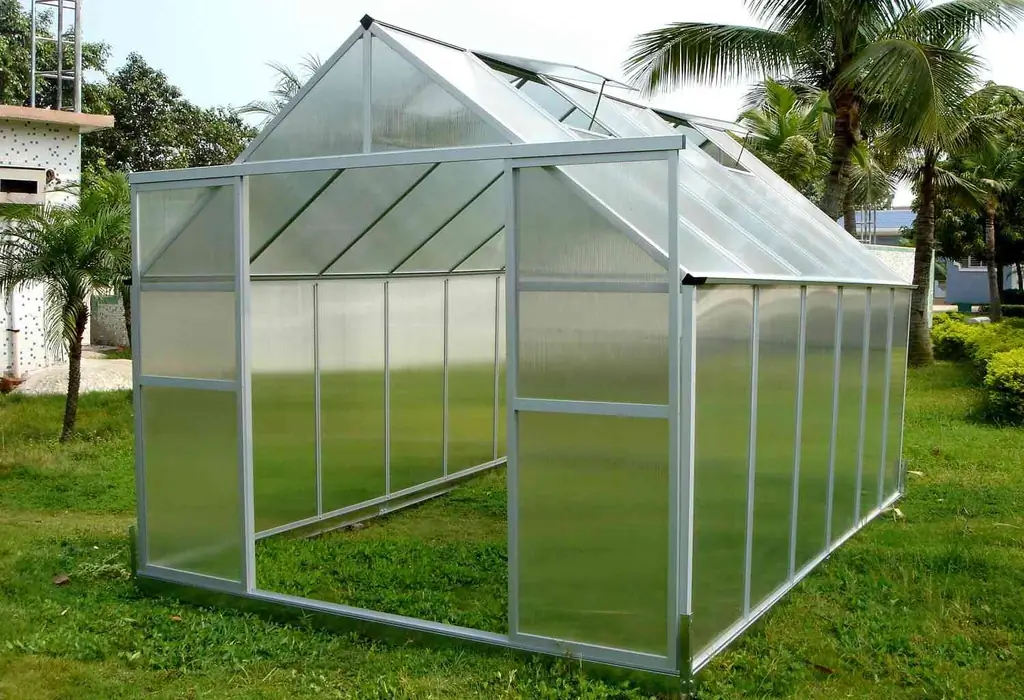
Polycarbonate greenhouses are an effective option for growing horticultural crops. You can build it yourself.
Content
-
1 Properties of polycarbonate
- 1.1 Benefits
- 1.2 Disadvantages
- 2 Preparation: drawings, diagrams and dimensions of the greenhouse
-
3 What material to choose: types and characteristics of polycarbonate
- 3.1 How to calculate the required amount of material?
- 3.2 Tools for work
-
4 Instructions: creating a greenhouse with your own hands
- 4.1 Internal arrangement
- 4.2 Gallery: interior environment in the greenhouse
- 4.3 Video: polycarbonate fixing
Properties of polycarbonate
Polycarbonate is presented in two main types: cellular and monolithic. The first option is used to create various structures, including greenhouses. The material is a multi-layer panel with voids and transverse partitions inside. This feature provides strength, reliability, durability, low thermal conductivity of cellular polycarbonate. Therefore, it is effective for creating greenhouses that differ in shape, dimensions, and design features.

Honeycomb inside the structure provides low thermal conductivity
Benefits
Polycarbonate is an effective material for creating greenhouses, as it has a number of advantages over other products. At the same time, the characteristics of polycarbonate differ depending on the type of material, but the positive qualities are common to all types.
The advantages of the honeycomb structure for greenhouses are as follows:
- good flexibility, fire resistance, heat resistance;
- strength, resistance to mechanical stress;
- transparency and uniform light diffusion;
- aesthetic appearance and durability;
- easy installation, ensuring optimal conditions for plants inside the greenhouse.
The positive properties of polycarbonate make it effective for building greenhouses of various sizes. The shape of the structure can also be different, because the honeycomb material is flexible and simple fastening technology.
disadvantages
Polycarbonate sheets are practical, but not without drawbacks. One of these qualities is the need to carefully follow the installation rules. The ends of the sheets of material are always well closed, because moisture, insects and bacteria can get inside the honeycomb. This will lead to deterioration of the material and loss of its appearance.

Profiles of different shapes allow you to close the ends of the sheets
Self-tapping screws are used to fasten the sheets. When screwing in, it is important to take into account the pressing force and not damage the sheets. Otherwise, a hole is formed through which moisture penetrates and the polycarbonate will quickly lose its effectiveness. To avoid damage to the outer protective layer of the material, do not use metal objects, abrasive substances. In winter, snow must be removed from the roof of the greenhouse, which will keep the structure intact. Thus, polycarbonate is effective, but requires careful and careful maintenance during operation.
Preparation: drawings, diagrams and dimensions of the greenhouse
It is easy to install a small greenhouse in a garden area, and the shape of the structure is often presented in the form of a house or has a domed roof. Greenhouses attached to a private house require more careful organization and are difficult to arrange. Therefore, freestanding small structures are a practical, convenient and reliable option. They are easy to place anywhere on the site.

The domed roof is comfortable and practical
After choosing the shape, you need to determine the dimensions of the structure and its location. When you create it yourself, it is easy to make a greenhouse of individual sizes. For example, a construction with a perimeter of 4x2 m is convenient and does not take up much space. The height of 2.2 m is optimal for the highest point of the greenhouse roof. After determining the parameters, you need to draw up a diagram or drawing of the structure. The plan reflects all sizes of the greenhouse, as well as the required planting zones.

The diagram reflects all sizes of the greenhouse
On a detailed drawing, it is worth indicating the number and location of vents, doors and other important elements. Their sizes are also indicated. First, it is worth considering the conditions that are necessary for the growth and fruiting of crops. This is required to determine the number of vents.

The diagram reflects all structural elements
What material to choose: types and characteristics of polycarbonate
Cellular polycarbonate is optimal for greenhouses, since the cast material will not provide sufficient thermal insulation in the greenhouse. The cellular material diffuses light well, retains heat and is resistant to various influences. Optimal greenhouse sheets meet the following requirements:
- thickness from 4 to 8 mm. This indicator makes polycarbonate convenient for creating greenhouses and ensures the durability of the structure. Thicker material is impractical and is used for large greenhouse complexes or roofing;
- maximum transparency. This is characteristic of colorless polycarbonate. The material provides plants with conditions as close to natural as possible;
- the presence of a layer of protection against ultraviolet radiation. Sheets that meet this requirement are more durable, practical and efficient for greenhouse construction;
- service life over 10 years. Such material has a high-quality and reliable design, is distinguished by safety.
Polycarbonate is classified into colored and transparent. It is the latter option that is suitable for greenhouses, as it allows you to create the conditions necessary for the plant. Colored sheets are more optimal for creating awnings, roofing and other structures.

Colored sheets are spectacular, but not suitable for greenhouses
Manufacturers produce material with both one- and two-sided protective coating. The UV layer can be present only on one side, which is optimal for a greenhouse. Bilateral options are more expensive and unprofitable. And also, when choosing, it is not worth purchasing sheets that are too cheap, because a low price may indicate the same low quality, damage or manufacturing defects.
How to calculate the required amount of material?
To calculate the amount of material, you need to know the dimensions and take into account the shape of the structure. A preliminary drawing is created, which indicates the dimensions of the structure. For example, for a rounded standard greenhouse with a circumference of 6 m, it is best to use sheets of the same length. This creates a one-piece coating that provides reliable plant protection.

The calculation is carried out taking into account the shape of the greenhouse
If the length of the greenhouse is 6 m, then you need to take three sheets, 2.1 m wide. During installation, an airtight overlap of the elements is created. Such a structure will have a pediment width of 3 m, and a height of 2.1 m. Therefore, one polycarbonate sheet is required for sheathing the two ends. The total number of sheets is 3 pieces. With a large structure, the amount of material increases accordingly. The calculation of the number of metal arcs and profiles, wooden elements for the base is carried out separately. In this case, a similar calculation principle is used as when determining the volume of polycarbonate.
Tools for work
To create a greenhouse with your own hands, you will need reliable and accurate tools. Roulette, shovel, building level, hammer, anchor bolts, nails and twine are used in the construction of a greenhouse. And you also need the following materials and tools:
- metal structures, square or round pipes;
- thermal washers, wooden boards;
- concrete mixer;
- primer, enamel and brush;
- welder.
All fixtures are needed to create a greenhouse with a concrete foundation. Particular importance is attached to the fastening of polycarbonate sheets, because during operation they are subjected to heavy loads. Therefore, thermal washers must be of high quality, and their installation requires accuracy.
Instructions: creating a greenhouse with your own hands
The construction of a polycarbonate greenhouse with a base in the form of shaped pipes begins with the creation of a foundation. The concrete base is reliable and makes the whole structure durable. The complex of works includes the following stages:
-
The area for the greenhouse is leveled, the grassy layer is removed. For the concrete base, formwork should be made, the dimensions of which correspond to the design parameters. The scheme of fastening the layers involves the use of anchor bolts, as well as a number of brickwork. Bricks can be replaced with a base of wooden planks;

Foundation Layer Layout The foundation is a solid foundation for the greenhouse
-
To create a metal frame, you need a pipe bending machine, a square pipe with a section of 25x25 mm, and a welding machine. The pipes are cut into elements of the required size, and then connected, taking into account the step between the greenhouse arches. The ends of the pipes are attached to the square profile. Next, the door frame, vents are welded;

Welding elements Use protective equipment when welding
-
Fastening the frame to concrete is carried out using anchor bolts. Self-tapping screws are used for a wooden base. In the absence of a base in the form of a square pipe, you need to fix the ends of the arches with clamps to a wooden foundation;

Fastening with self-tapping screws Self-tapping screws are used for the wooden base
-
The sheathing of the ends is carried out with the preliminary creation of vents and doors. The cut elements are attached to the end parts of the structure. After that, fittings are mounted, for example, latches and hinges;

Do-it-yourself end sheathing Elements are cut on a horizontal plane
-
The first sheet of polycarbonate is laid on the frame, leveled, bringing about 3 cm of material to the end. On the end arc, the sheet is fixed with self-tapping screws for the roof;

Attaching the first sheet Fixation of sheets is carried out neatly
-
The galvanized metal tape must be thrown onto the frame, attached with self-tapping screws to the second arc. Next, the second sheet is fixed and another tape is attached. Screed galvanized elements from the first polycarbonate sheet and from the second arc. The overlap must be secured last.

Mount for polycarbonate The tapes are easy to use
Installation of an arched greenhouse is easy to do with your own hands. It is more difficult to create a structure in the shape of a house. In this case, the ends of the polycarbonate sheets are carefully sealed using profiles, special compositions. In this case, the frame is made of shaped pipes.
Internal arrangement
Do-it-yourself greenhouse construction allows you to create a structure according to individual dimensions and taking into account personal preferences. This is important for the correct internal organization of the greenhouse. One of the important points is the ventilation system, which is often presented in the form of vents. The elements can be supplemented with an automatic movement mechanism, which facilitates operation.

The automatic mechanism is simple and convenient
The door structure must be sufficiently tight to protect the plants from adverse weather conditions. The organization of irrigation and heating systems is also important for the growth and fruiting of crops. For this purpose, it is easy to install drip irrigation, and heating using electrical devices.
Gallery: greenhouse interior
The interior of the greenhouse may vary, but photos of the options allow you to determine the best system.
-

Greenhouse furnishings - Neat beds are convenient and practical
-

Greenhouse arrangement - The paths inside the greenhouse can be small
-

Paths inside the greenhouse - Tiled paths make the greenhouse comfortable
-

Soil preparation - You shouldn't create complex systems inside
-

System inside the greenhouse - Plastic pipes are convenient for greenhouses
-

Small greenhouse - A small greenhouse does not require careful arrangement
-

Greenhouse soil - Optimum ceiling height makes the greenhouse comfortable
Video: polycarbonate mount
Polycarbonate requires proper installation, and video recommendations allow you to master the subtleties.
A polycarbonate greenhouse is easy to assemble with your own hands, using high-quality materials and an accurate layout. The construction, created according to the correct technology, will ensure efficient cultivation of crops and will not require complex maintenance and repair.
Recommended:
How To Build A Wooden Porch With Your Own Hands: In Stages, Photos And Videos
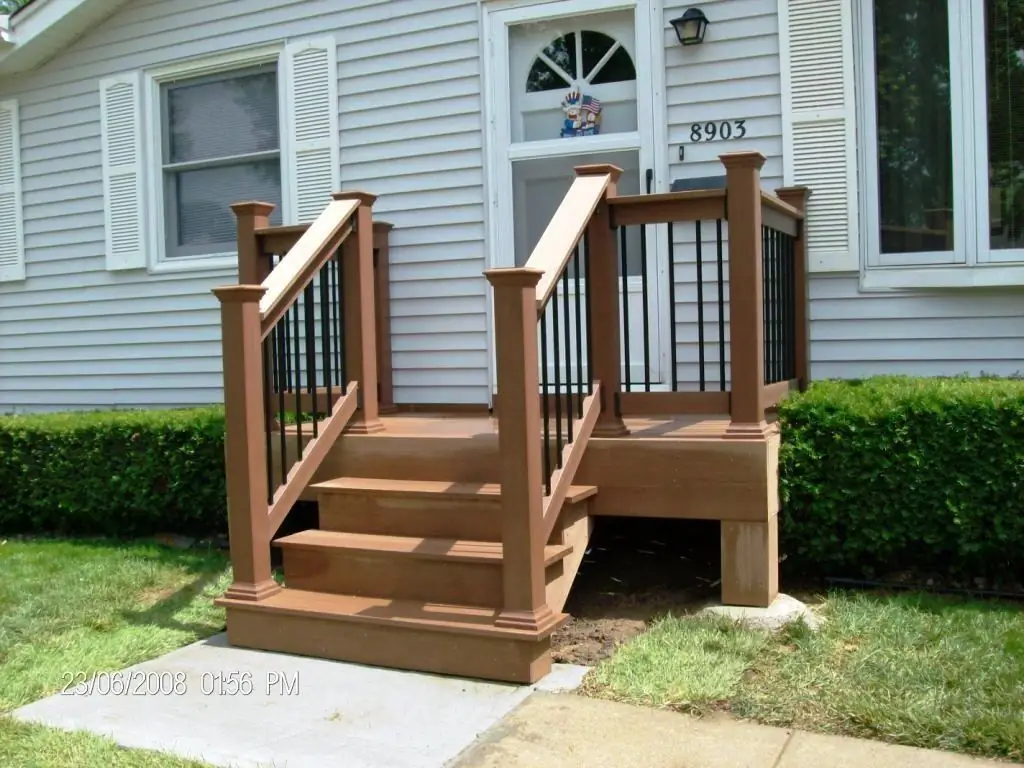
Detailed description of the construction of a wooden porch. Materials used, work procedure step by step
How To Make A Bar Stool With Your Own Hands From Wood, Metal And Other Materials + Drawings, Photos And Videos
Bar stools manufacturing options. Required tools, materials used. Step-by-step description of the manufacturing process with a photo
How To Make A Veranda With Your Own Hands To The House - Instructions, Projects, Drawings, Photos And Videos

The article describes how to build a veranda close to the house with your own hands
How To Choose And Build A Foundation For A Bath With Your Own Hands - 4x6, 3x4 And Other Sizes, Tips, Instructions, Photos And Videos
How to make a foundation for a bath with your own hands. Types and features of foundations. The choice of materials and technology, installation rules and step-by-step instructions
How To Build A Warm Chicken Coop For The Winter With Your Own Hands - Instructions With Photos And Videos
The need to insulate the chicken coop. What material can be used. How to make a winter poultry house yourself: step by step instructions. Treatment and care
