Table of contents:
- Author Bailey Albertson albertson@usefultipsdiy.com.
- Public 2024-01-07 21:36.
- Last modified 2025-01-23 12:41.
How to properly ignite and remove carbon deposits from an aluminum pan: tips and tricks

The frying pan is a popular piece of kitchenware. Do not count the variety of dishes that are prepared with its help. In order for the pan to serve for a long time, it must be properly looked after from the moment of purchase and throughout the entire period of use. Let's take a closer look at the question of how to effectively calcine and remove carbon deposits from aluminum pans with various types of coatings.
Content
- 1 Frying pans made of different materials: pros and cons
-
2 How to ignite: preparing an aluminum pan for work
-
- 2.0.1 Aluminum
- 2.0.2 Teflon
- 2.1 Cleaning with soda and hydrogen peroxide + video example
- 2.2 Cleaning carbon deposits with mustard
- 2.3 How to clean the dirt with a blowtorch and grinder
- 2.4 Boiling in a solution based on silicate glue (water glass)
-
Pans made of different materials: pros and cons

They are cleaned in different ways
As in any important business, you need to start with the materiel, that is, with finding out the material from which the cleaning object is made.
There are not so many options: cast iron, steel, aluminum and duralumin. We will talk about cast iron and steel another time, but now I would like to deal with products made of aluminum and duralumin.
If you are not one of the lucky ones for whom chemistry was one of the most beloved and understandable subjects at school, you will be interested to know that the difference between aluminum and duralumin is as follows: the second is an alloy of aluminum and magnesium, copper and manganese in various combinations and proportions.
Aluminum is lightweight, resistant (does not lend itself to corrosion and other attacks from the outside), easily deformed, including under the influence of high temperatures and fragile. It is clear that in the context of a frying pan, lightness and durability are positive qualities, and susceptibility to deformation and low strength are negative.
Duralumin is lightweight, durable, also prone to deformation at high temperatures and, in addition, is prone to corrosion. For the aviation and other industries, this material is obviously preferable due to its strength, but for the dish-making industry this quality is not the most important, since it is unlikely that someone will pass on the frying pan by inheritance. But susceptibility to corrosion is bad for everyone. We found a simple way out - they put a thin layer of aluminum, enamel, varnish on the surface of the duralumin product (in our case, pans), and from the inside they cover it with non-stick coatings (Teflon, ceramics).
Under Soviet rule, pans were made mainly of pure aluminum, today the alloy is mainly used.
When choosing a frying pan, look at the price, you won't go wrong.
If the price is low, then you have a thin stamped product, which is limited to three years at best. Such pans should not be placed on an electric hotplate, as they will instantly deform.
A higher price means that this is a cast product with rather thick walls, and most importantly, a bottom. In our case, the thicker the bottom, the better (from 6 mm). The bottom of the pancake pan can be thinner, from 2 mm. Such a thing can be safely put on both a gas and an electric stove, nothing will happen to it. The service life of a cast frying pan is higher - from 5 years.
How to ignite: preparing an aluminum pan for work

Cleaning rules
For convenience, we will call “aluminum” both products made of pure aluminum and duralumin alloy, after all, the base metal is up to 95% there.
Before you start cooking in a new aluminum pan, you need to prepare it for successful work. And here the nature of its coverage comes to the fore.
Aluminum
There are several ways to prepare a new aluminum-coated pan for use.
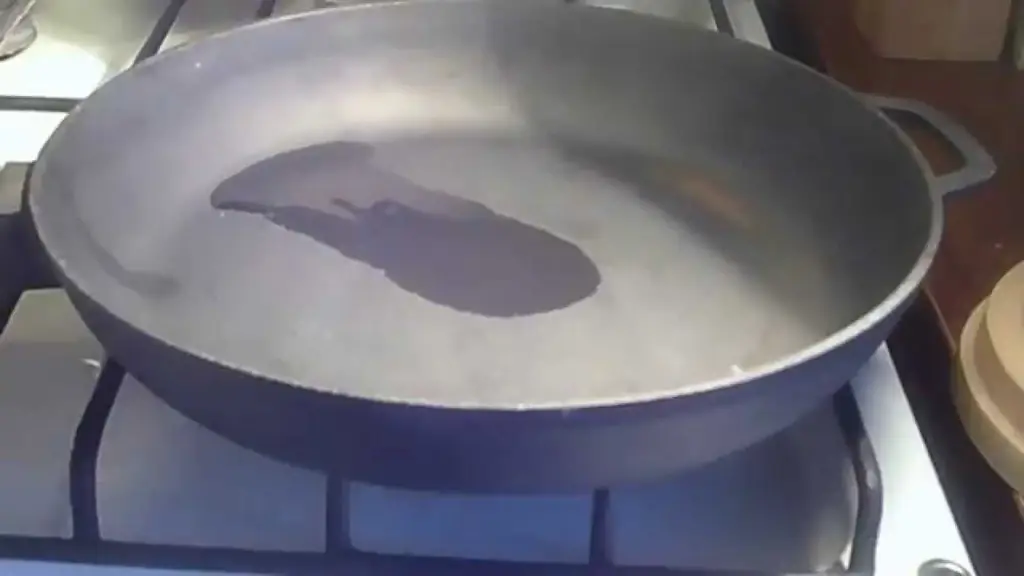
- Wash with dish detergent, then wipe dry with a towel, put on fire. Pour ordinary salt into the pan so that the bottom is completely covered. Calcine for 20 minutes. After the specified time, remove from heat and wait for cooling. Remove salt. Soak a piece of cloth with vegetable oil and wipe the bottom. After that, put the pan on the fire again, pour oil on the bottom and hold for another 20 minutes. Drain the oil, rinse the pan in water without adding detergents.
- You can ignite a washed and dried skillet only with oil. Pour almost to the top and keep on fire for 30 minutes. However, with the naked eye it is clear that this method is more expensive than the first.
Teflon

Non-stick frying pan
A new Teflon frying pan should be washed in warm water with dishwashing detergent, wiped dry, put on medium heat for 30 seconds, then greased with vegetable oil. With further use, a frying pan with such a coating must not be heated to more than 200%. Since we do not know how to determine the temperature by eye, manufacturers place a special thermo mug on the bottom of a Teflon frying pan, which turns red at a temperature of 180%. This serves as a signal that you can add food and start cooking.
Ceramics

Food does not burn
Ceramic coating requires the most reverent attitude towards itself.
Wash a new frying pan with a ceramic coating in hot water with dishwashing detergent, then wipe dry, grease with vegetable oil. If you plan to cook right away, cook, if you hang it on the wall, wash off the oil under hot water with a soft sponge, wipe it dry and attach it as you like.
With further use, adhere to several golden rules of ceramics, without which your wonderful frying pan will crack and turn into an ordinary piece of iron for frying cutlets.
- Do not expose the ceramic coating to temperature extremes. Do not place a hot frying pan under a stream of cold water, do not place food from the refrigerator on a heated surface, etc. Even cold ketchup added to the cooking fry can provoke the appearance of microcracks, which tend to develop into normal cracks, destroying the non-stick effect.
- Do not touch the ceramics with anything sharp and hard: knives, forks, metal spatulas, even metal spoons should be prohibited. Silicone or wooden spatulas are the choice of owners of ceramic-coated pans.
- Do not clean the inside of the pan with abrasive (scratching) products. Forget about baking soda, scouring powders, and steel wool. A soft sponge, a foaming dish soap, soft music, and your frying pan will be happy and happy, and will serve you faithfully for several years. And nothing will burn on it, and there will be no need to add oil.
Cleaning the aluminum frying pan after prolonged use.
During a close study of the topic through digging on the Internet, the author made 2 discoveries. First, there are many ways to clean a frying pan, brought to almost any condition. And second, most of the videos on this topic were recorded by men!
Here are only recipes confirmed by videos, that is, tested in practice.
Cleaning with baking soda and hydrogen peroxide + video example
A paste is prepared from soda and hydrogen peroxide. The amount of substances in the composition depends on the area of contamination. The paste is evenly applied to the contaminated surface and left on for a while, depending on the severity of the case. From 15 minutes to several hours.
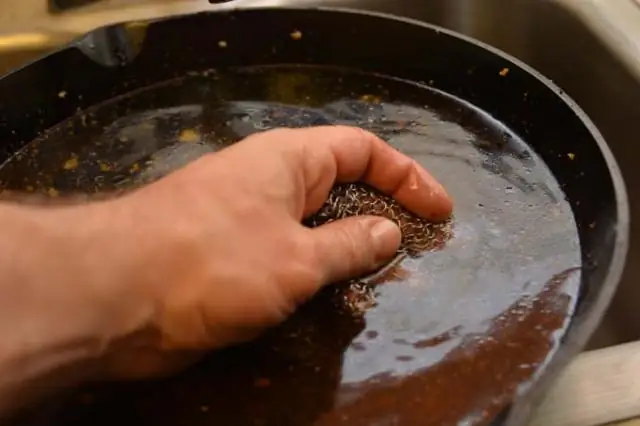
Over time, with the help of a soft metal washcloth, we begin to rub the paste into the dirty places, then rinse with water. The surface should be clean.
Cleaning carbon deposits with mustard
This method is suitable for cleaning a non-stick coated pan (Teflon or ceramic). Its peculiarity lies in the fact that the mustard-based cleaning solution will do the main work for you, and you need to be patient and wait for it to cope with the main problems. The process is long, but not labor intensive.
- Wipe the frying pan dirty after cooking with a napkin to remove the main fat.
- Dilute a tablespoon of mustard powder (when there is a lot of carbon, if not enough, you can take ½ tbsp. L.) Diluted in boiling water or very hot water.
- Pour into a skillet, leave for 30 minutes. If there is really a lot of carbon deposits, you can leave it for a longer period, up to 8-10 hours (overnight, for example).
- Drain the mustard and water and rinse the pan with a soft sponge and warm water.
To clean external carbon deposits, you can use a more complex product:
- Pour a bar of laundry soap with ½ tbsp. hot water and melt to a gel in a water bath or in the microwave. (The video suggests replacing laundry soap with liquid soap and then the product remains liquid). Add another ½ cup of water at the end.
- Cool the resulting brew a little, add one and a half tablespoons of soda and mustard.
- Stir and add 2 tbsp. l. ammonia (aka ammonia solution).
- Beat with a mixer, remove the foam, pour the resulting gel into containers with a wide neck, wait until it cools and thickens.
- If the product remains in liquid form, shake it before use.
- Apply mustard cleaner to the outer walls of the pan, cover with damp cloths and leave for a while (approximately 15 to 30 minutes, depending on the degree of soiling).
- Remove the rags, use the hard side of the sponge to "walk" along the walls of the pan, and then rinse with water.
If the above tool did not cope with the bottom, you need to steam it first.
- Pour a solution of 1 liter into a saucepan. water and 2-3 tbsp. l. soda, boil, leave on the included stove.
- Place a frying pan on top. The dishes should be selected so that the diameter of the bottom of the pan matches the diameter of the top of the pan.
- Leave the pan over the boiling soda solution. The time is determined by eye, depending on the neglect of the case.
- We remove the frying pan from the water bath, cover part of it with a damp cloth so that it does not dry out, and we begin to scrub the second part with a metal washcloth. If the carbon deposits do not come off well, return the pan to the water bath and repeat the procedure.
How to clean dirt with a blowtorch and grinder
The next two methods are purely male and they are suitable for terribly smoked and stained with burnt fat on the outside of aluminum kitchen utensils.
- A dirty frying pan is heated with a blowtorch. If it is completely black, they do it long enough until the black carbon plates begin to fall off themselves. At this joyful moment, the lamp is put aside and they begin to exfoliate the dirt with a metal washcloth.
- Carbon deposits on aluminum dishes are removed using a grinder with a special attachment or a grinder. The technique is the same as for sanding. After such a brutal cleaning method, scratches may remain. Smooth them out with fine sandpaper.
www.youtube.com/embed/uBJDs9oboOQ
Boiling in a solution based on silicate glue (water glass)
An effective method, tested by the harsh Soviet everyday life. Helps even in seemingly hopeless cases.
- Put a large saucepan or enamel bucket of water on the fire
- Grate a standard bar of gray laundry soap and pour into water.
- Add 2 packs of silicate glue (500 grams) and 500 g of soda there.
- Stir everything, make sure that the components are dissolved, immerse a soaked pan in the solution.
- Bring to a boil and continue boiling for a while. If the dirt is not too strong, 15 minutes will be enough. If the pan is not visible under the soot, continue boiling for several hours.
- Turn off the heat, leave the dishes to be cleaned in the solution, close the lid, leave for 2-3 hours.
- Rinse with water and a sponge or steel wool.
Doctors in such cases say that it is better to carry out prevention than to cure the disease later. It is also advisable not to bring aluminum dishes and not only to an extremely neglected state, but if this happens, get soda or a blowtorch, who is closer to whom, and forward to the sparkling peaks of purity.
Recommended:
How To Clean A Ceramic Frying Pan From Carbon Deposits So As Not To Damage The Coating + Photos And Videos

How to properly clean your ceramic roaster: effective tips and tricks. What methods are better to refuse
How To Clean A Cast-iron Pan From Carbon Deposits, Rust And Properly Care For It + Photos And Videos

How to clean a cast iron skillet at home. Methods for removing carbon stains, grease and rust. How to care for a cast iron skillet
How To Remove Chewing Gum From Clothes, Remove It From Various Fabrics, Shoe Soles, Sofa, Carpet, Car Interior And Other Items + Photos And Videos

How to easily and efficiently remove gum from clothes. What to do if chewing gum sticks to the floor, shoes or hair: recipes, tips, tricks
How To Ignite A Cast Iron Pan Before The First Use And In Other Cases: Salt, Oil And Other Methods + Photos And Videos

How to ignite cast iron pans. Quick ways to get rid of engine oil residues, rust and carbon deposits
Pie In A Frying Pan Without An Oven: A Step-by-step Recipe With Photos And Videos

How to cook a pie in a pan without an oven. Quick step by step recipes with photos
