Table of contents:
- Author Bailey Albertson [email protected].
- Public 2024-01-17 22:26.
- Last modified 2025-01-23 12:41.
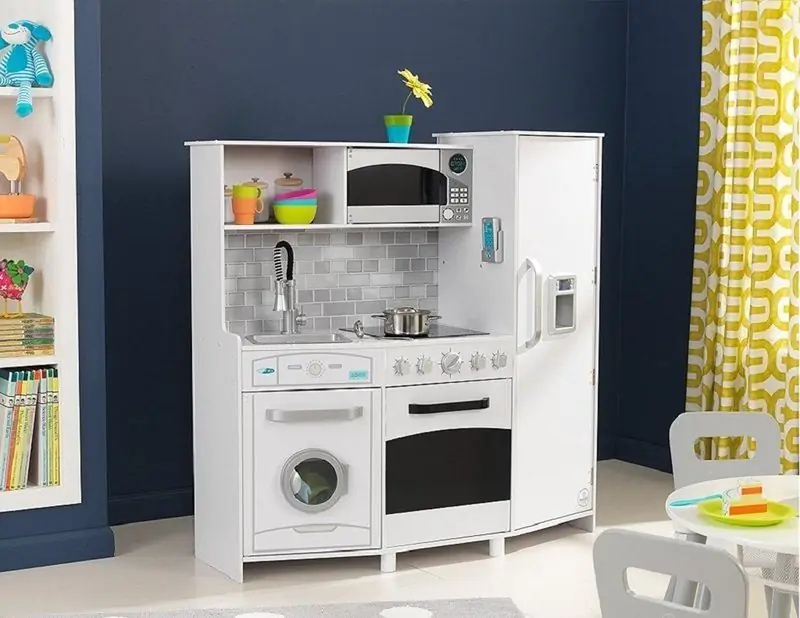
Children's kitchen - a do-it-yourself educational gift

Remember Jonathan Swift's book on Gulliver's Travels? One of the parts tells about how a tireless navigator finds himself on the island of Giants. An adult, educated person turns out to be a toy in the hands of huge people, lives in a dollhouse and amuses them with his manners and skill with a sword. From now on, they decide where to go, what to eat and how to spend their free time. Reading about the hero's confusion, you start to think about what it would be like to be in a world where you look at everything from the bottom up. Dishes, clothes, furniture - everything is much bigger than you, everything is not in height and from this you feel helpless and alone.
But children live in our world of adults this way. Everything around them seems huge and alien. "Don't take it, spoil it, don't touch it - you'll break it." "When you grow up, you find out." And when will this "grow up" come! Until then, listen to what they say and do as you are told. And how you want to manage yourself and decide what you can do and what not.
To the credit of adults, it must be said that they (that is, we) understand this and are trying to rectify the situation by creating for the child his own world with small dishes, toys and, above all, furniture. For example, a children's kitchen is a great way to let your child play chef, cook something, and tinker with the dishes and “groceries”.
In stores, most often you can find plastic play modules in the form of a kitchen with a sink or stove, or with both at the same time. They look good, but they are expensive and do not attract the attention of a real kitchen.
A kitchen for a child made by the hands of loving parents is a completely different matter. First, no plastic - wood, plywood, cardboard, in general, exclusively natural materials. Secondly, the ability to take into account the individual characteristics and tastes of the child: height, favorite color, the degree of preparation for running your own household.
Content
-
1 Step by step instructions: children's kitchen from an old cabinet
- 1.1 Do-it-yourself plywood kitchen, video
- 1.2 How to make a toy kitchen corner out of cardboard boxes
-
2 Related Videos
- 2.1 Children's stove stove, photo
- 2.2 "Kitchen, which is always with you": furniture set for the little ones
- 2.3 Kitchen corner for the street and summer cottages
Step by step instructions: children's kitchen from an old cabinet
The possibilities of selecting the source material for creating a children's kitchen with your own hands are limited solely by your imagination and capabilities. In order to make such a toy from an old cabinet or bedside table, you do not need to be an outstanding master, but you need to master the initial skills in working with wood.
-
Find a suitable cabinet or bedside table, strong enough to be safe for the child and not fall apart with one touch.

Children's kitchen from the bedside table Old furniture can be used to make a new kitchen for a child
- We sand the surface first with coarse sandpaper, then fine.
- Together with the child, we choose the color of the future kitchen so that it will please him and not annoy you.
-
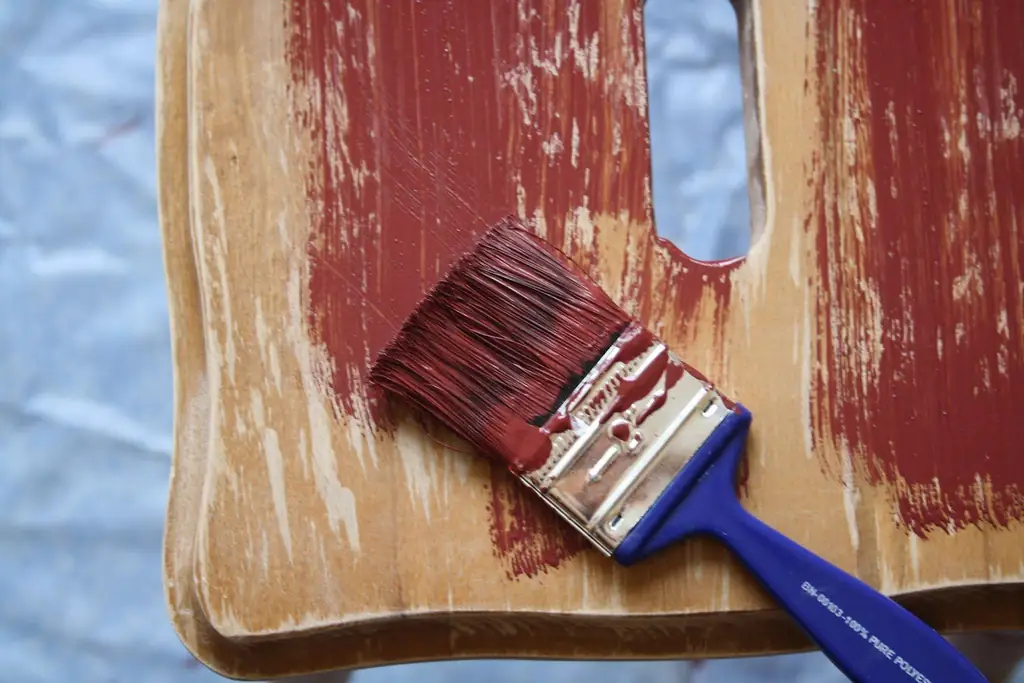
We paint the bedside table with paint of the selected color. We choose acrylic paint without a strong odor for this purpose, then wait until it dries.

Do-it-yourself children's kitchen We cover the sanded surface of the future children's kitchen with paint
- We determine the places in which the stove, sink will be located, and if the possibilities of the cabinet allow, then also the oven and refrigerator.
-
The role of the sink is proposed to be performed in a white or metal bowl. We measure the diameter of the bowl on the countertop and cut out a circle, stepping back 1 cm from the edge of the drawn circle. We insert the bowl into the resulting hole - the sink is ready.

Kid's Kitchen We measure the size of the sink hole in the children's kitchen
- On the other part of the countertop we "equip" the plate. For the burners, you can use black round mouse pads, CDs, black and red pieces of felt, in general, anything that ultimately will resemble a hob. History knows cases when light was supplied to the burners, and water to the tap. But this is already the peak to which you need to strive, but it is not necessary to reach it.
-
The switches can be put on real ones, or they can be replaced with door handles, plastic bottle caps, in general, something similar.

Children's kitchen hob We attach the burners and switches in the stove in the children's kitchen
- You can also screw on a real faucet, or you can use a curved piece of pipe, a liquid soap dispenser, etc. instead.
- To make the toy oven look like a real one, you will have to outweigh the door so that it folds down from top to bottom (the hinges must be attached to the bottom).
-
The rest of the design is subject only to your imagination. You can hang holders for towels and kitchen utensils (ladle, slotted spoon, brushes for washing vegetables, etc.).

Ready kitchen from an old bedside table You can build one from an old bedside table. wonderful children's cuisine
- If there are shelves, you can place children's dishes on them and close them with a door or curtain.
The kitchen is ready, it's time to fill it with toy utensils, food and enjoy the new game with your child. By the way, if something doesn't work out for you, don't be upset, it's still a toy, it can't and shouldn't exactly copy the prototype. Give a boost to children's imagination, and she herself will make a horse, a gun, an oar or a teacher's pointer from a stick.
-

Children's kitchen from an old cabinet - An old cabinet can be converted into a kitchen for a child
-

There was a locker, there was a children's kitchen - DIY children's kitchen from old furniture
-

Former bedside tables are now a children's kitchen - Added a few details, and the bedside tables became a children's kitchen
-

Children's stove from the bedside table - This children's stove was recently a nightstand
DIY plywood kitchen, video
If the old furniture is stressful, you can buy a sheet of plywood and "put together" a kitchen for your child from it. How to do this can be seen in the following video:
How to make a toy kitchen corner out of cardboard boxes

Cardboard boxes are an excellent building material for a children's kitchen
A cardboard box for household appliances is fraught with an abyss of possibilities. You can make a lot of interesting things out of it, including a toy kitchen for your beloved child. The advantage of this option is that such work does not require special skills and physical efforts, and therefore can be done by a mother without attracting busy male power.
- First of all, we think over the size and composition of the future kitchen. Here you need to focus primarily on the place where it will stand.
-
Based on our plans, we select the building material - cardboard boxes. For a large kitchen, as in the picture, you need a lot of boxes from large household appliances.

Kitchen construction boxes We determine the place for the future children's kitchen
- We glue the boxes with tape so that they do not open and do not fall apart, first each separately, then all together.
- With a sharp paper cutting knife, cut out the doors in the places where they are planned, not forgetting that the oven door usually swings up and down.
-
Cut out a round hole at the sink site slightly less than the circumference of the future sink, the current bowl.

Kitchen made of cardboard boxes The kitchen must match the child's height
- The top panel can be reinforced with another glued sheet of cardboard.
-
We attach the tap (in the picture there is a dispenser from a can of liquid soap).

Kitchen for a child close up If you try hard, the kitchen will turn out smart and beautiful.
-
We glue the future kitchen with self-adhesive film or wallpaper so that it is not only functional, but also beautiful.

Children's kitchen from boxes Children's kitchen - the beginning and end of the journey
Related Videos
How to make a smaller children's kitchen out of boxes can be seen in the video:
Children's stove, photo
Another "mother's" option for arranging a play kitchen for the baby. A chair or stool can be adapted for this purpose. You can paint the stool, hang the hooks and switches, and now the stylized stove is ready.
-

Stool cooker - A little paint, fittings and imagination, and in front of us is not a stool, but a stove
-

The chair has been converted into a small kitchenette - One chair fits a sink, stove, kitchen shelf and cabinet
-

Another version of the stool plate - Kitchen stove from an old wide stool
The second option is a cover for a chair or stool. Codename:
"Kitchen, which is always with you": furniture set for the little ones
The manufacturing algorithm is as follows: we sew a cover, put it on a chair (stool). You can take it with you rolled up to your grandmother, on a visit with an overnight stay, on a trip. Put it on any chair - and the kitchen is ready. The child is happy and calm, because the familiar home toy instills in him confidence and a sense of security. How to do it?
To sew a cover "Plate" you need to take:
- a cut of a fairly dense fabric for the cover;
- scraps of fabric for curtains, pockets, burners, oven doors, windows and trims;
-
a long strip of fabric for edging, contrasting with the main color of the cover, (optional);

Chair cover "Stove" We select the fabric for the base and applique
-
hooks, Velcro, 4 buttons or buttons.
-
We measure the chair. If you want to make a universal version, use the following sizes:

Chair cover "Stove". Measurements We measure the chair for the future cover
-
A (height to seat) - 46 cm;
B (width of the outer edge of the seat) - 48 cm;
C (depth) - 46 cm;
D (width from the back side) - 46 cm;
E (back height) - 50-60 cm.
- We cut out 6 pieces of fabric (1 piece - AxB, 2 pieces - CxA, 1 piece - CxExD, 1 piece ExD, 1 piece ExD + AxD - solid).
-
Cut out even circles from cardboard or thick paper - templates for future burners. Pins with pins to the seamy side of the dark fabric, circle, cut out - the burners are ready. We attach them to the CxExD part.

Cover "Stove" We cut out the comforts
-
In the same way, we prepare circles of smaller diameter for the handles of the stove. We attach them to the top of the "front panel of the oven" (AxB) in the center of each circle we sew on a button or button to enhance the similarity with the switches of the stove.

Chair cover "Stove" "Switches" of fabric and buttons
- We make the "door" of the oven. We trim a square piece from the main fabric, in the center we sew a dark square of a smaller size.
-
We attach the "door" to the "front panel" with switches. We draw a circle with a pencil, outline the place of attachment of the Velcro.

Front panel of the cover "Stove" Making a window for the oven
- We sew one part of the Velcro to the door, and the other to the panel with switches. We attach the bottom edge of the door to the panel with switches.
- For beauty and more resemblance to a real kitchen, we sew a window from a prepared fabric to the ExD part. It is better to make the "frame" from white braid. You can also "hang" curtains on the windows.
-
We sew colorful pockets of such a size to two identical parts of CxA so that kitchen utensils fit in them.
-

Window in the protruding part of the cover "Plate" - Sewing the window to the stove cover
-

Cover "Stove" - "We hang" curtains on the window
-

Fabric cover for chair "Stove" - Sew on colorful pockets for kitchen utensils
-
- We sew everything together, along the edge, if desired, we make an edging.
-
We tie the back long part to the panel with a window. To do this, we sew on each of them a piece of braid of such length that you can freely tie a bow.

We collect the cover for the chair "Stove" We sew all the details together, and fix the back wall with braid
-
If you wish, you can prepare several dishes in the oven (in the photo - a pie), for example, from felt and also attach with Velcro in the “oven”.

Chair cover "Stove". The final stage It will be fun to "put" a pie in the oven
- An elegant and mobile stove for the baby is ready.
Kitchen corner for outdoor and summer cottages

We equip a children's kitchen in the fresh air
Summer at the dacha is something special, as they say in Odessa. But if adults always find something to do there, then children find themselves excommunicated from their favorite toys, and the joys of village life cannot always be an adequate substitute for play. To prevent the child from getting bored and having nothing to do, not pouring his favorite roses from the hose, make him a kitchen corner right on the street. It will not require a lot of money and time, but it will bring a lot of pleasure.
-
First, choose a suitable location. It should be just a corner, but not distant and hidden from the eyes of adults. Since the child should always be in your field of vision, choose a place near you, near a fence or wall of a building that will serve as a support for arranging a children's kitchen.

Children's summer kitchen in the country Conveniently arrange a play corner against the wall
- The second requirement is that the place should be dry and shady, but not dark. Let's face it, in summer we have not only sunny days, and in a low place where water stagnates, your kitchen will not last long.
-
The third, but not least, requirement for an outdoor play area is safety.

Children's kitchen in the country We equip a children's kitchen in a summer cottage
Everything should be stable, with no protruding nails or rough corners. Most likely, you will not be able to follow the child continuously, so you need to be sure that while he is there, nothing threatens him.
-
Any box, chair, bench, board, stump can serve as a building material for a children's kitchen in the country. A few kitchen accessories, and now the drawer has turned into a stove or kitchen cabinet.
-

Children's kitchen in the country - The kitchen can be equipped on the basis of a bedside table
-

Simple kitchen for a child - A folding shelf is perfect for playing the role of part of a kitchen set
-

Country children's kitchen from a chair - An old chair can easily turn into a children's kitchenette
-

Kitchen corner in the country yard - Bench, drawer - everything will go into business
-
So, as you can see, making a children's kitchen with your own hands is not so difficult. You just need to set a goal, choose the right idea, and then it's a matter of technology. Present your child with his own world, in which he will be the master, and where the final word will remain with him.
Recommended:
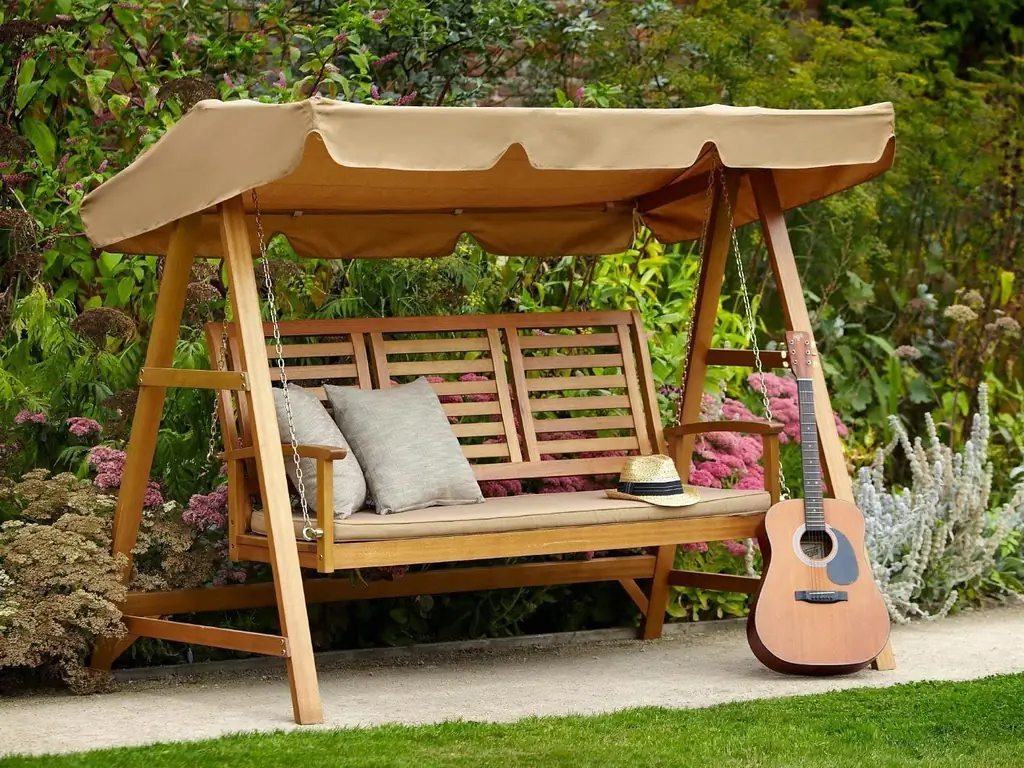
How To Make A Children's Swing In The Country With Your Own Hands (made Of Wood Or Metal, Drawings, Photos And Videos)
Step-by-step instructions for the construction and installation of a swing at a summer cottage. Material selection, tools, model drawings
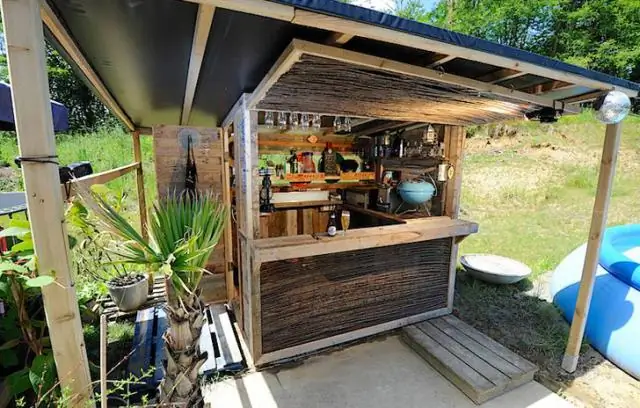
How To Make A Bar Stool With Your Own Hands From Wood, Metal And Other Materials + Drawings, Photos And Videos
Bar stools manufacturing options. Required tools, materials used. Step-by-step description of the manufacturing process with a photo
How To Make A Gazebo Out Of Wood With Your Own Hands - Step-by-step Instructions With Photos, Drawings And Video
A gazebo made of wood, who has not dreamed of having it? Now you have such an opportunity, read and get to work on making the structure yourself
How To Paint Furniture With Your Own Hands (including Old Ones) (with Video)
Detailed advice on preparing and painting furniture. Selection of materials and tools. What are the painting options
How To Sew A Backpack From Old Jeans With Your Own Hands (including Children's Ones): Patterns, Videos, Etc
Step-by-step instructions for sewing different versions of backpacks from old jeans. Necessary materials, tools, patterns, master classes
