Table of contents:
- Author Bailey Albertson albertson@usefultipsdiy.com.
- Public 2023-12-17 12:53.
- Last modified 2025-01-23 12:41.
How to customize and fix the Start menu
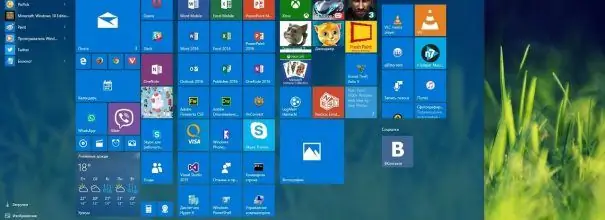
The main system Start menu in Windows 10 has undergone significant changes. However, the developers left the users the opportunity to customize it, and some additional steps will help to return the familiar menu from Windows 7.
Content
- 1 What's new with Windows 10
-
2 Menu transformation
- 2.1 Size correction
- 2.2 Working with tiles
- 2.3 Customize folders and personalization, enable full screen mode
- 2.4 Video: Customizing the Start Menu
-
3 Returning the old menu
3.1 Change icon
-
4 Solve problems with the Start menu
- 4.1 Reboot "Explorer"
- 4.2 Reset settings
- 4.3 Special program
- 5 Can I remove the Start menu
What's new with Windows 10
The main transformation is the removal of the system search bar in a separate menu. Due to the fact that the main and search menu are separated, the loading speed of both windows increases. This increases the level of intuitiveness: each menu is designed for its own purposes.
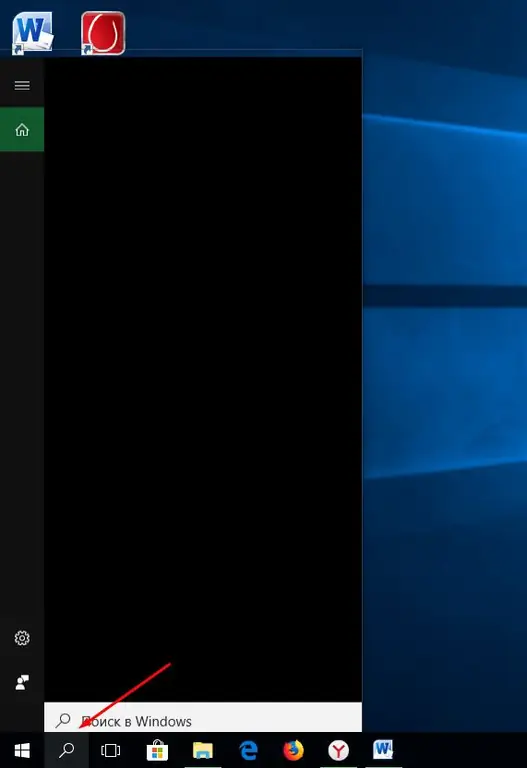
The magnifying glass icon opens the search bar
The main "Start" menu is opened using the key of the same name on the keyboard or the Windows logo located on the left side of the quick access panel. Advertising and news tiles appeared in it, there was a list of available applications, buttons for navigating to parameters, settings, and shutting down the computer.
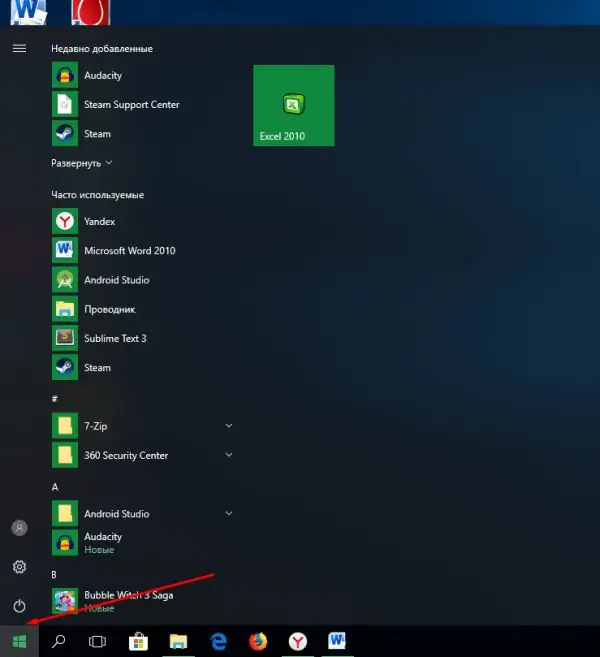
The menu can be opened by clicking on the Windows logo
By clicking on the "Start" icon in the shortcut bar with the right mouse button, you can get a list of useful system services. This speeds up access to frequently used Windows programs.
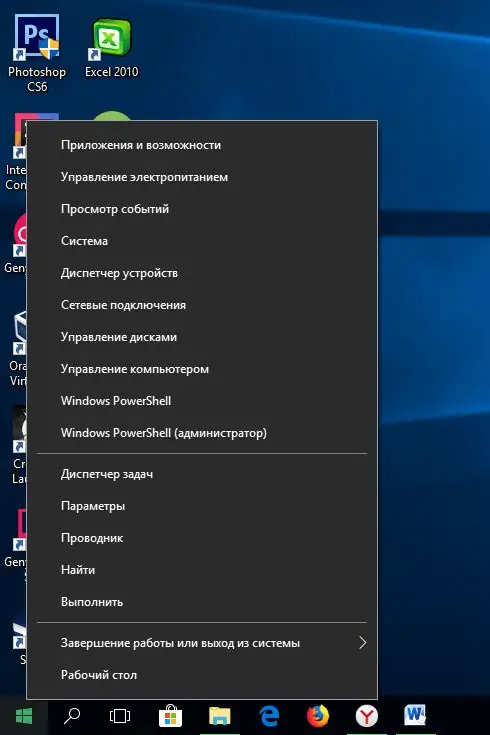
Click on the right mouse button to open an additional menu
Menu transformation
Since you often have to resort to using the menu, Microsoft has provided for its personalization. You can change the size, combination of tiles, or delete them, and edit the list of available folders.
Size correction
The size of the menu changes in the same way as the size of any other window. It is enough to drag on one of the edges to increase or decrease the menu area. The minimum size is determined by the amount of content, the maximum is determined by the system itself, usually it is about 80% of the screen.
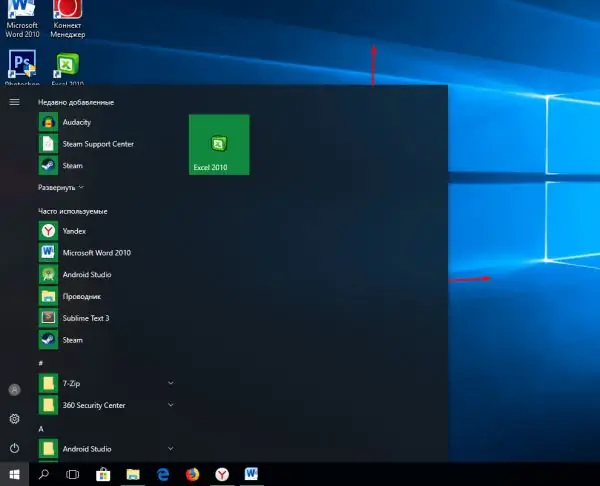
Drag the edges to resize the menu
Working with tiles
-
All tiles in the menu are subject to transfer. Hold them with the left mouse button and drag them to the desired location.

Tile transfer Clamp the tile and move it to another position
-
You can remove one, several or all tiles by right-clicking on them one by one and choosing the "Unpin" function. In the same context menu, you can select the tile size.

Unpinning an icon We select the function "Detach from the start screen"
-
If you want to add any application as a new tile to the Start menu, right-click on its shortcut and select the function that will pin it to the initial stage. After that, the application tile will appear in the menu, but only if there is room for a new item in it. If there is not enough space, you need to stretch the menu or remove extra tiles.

Adding tiles Selecting the "Pin to Home Screen" function
Customize folders and personalization, enable full screen mode
There is a special section for working with the system personalization settings:
-
Expand System Options.

Go to system parameters Open computer settings
-
Go to the "Personalization" block.

Go to personalization settings Select the section "Personalization"
-
Expand the "Start" sub-item, in it you can choose which application lists will be located in the menu. In the advanced settings, you can move folders from the "Explorer" to the menu and, accordingly, have quick access to them.

List of Start Menu Settings Set the appropriate settings for personalizing the Start menu
-
Full screen mode can also be activated here. Try this, and then launch the Start menu. You will see that it has expanded to full screen. This mode will appeal to those who place many quick access tiles.

Full screen mode activation Turn on full screen mode
Video: Customizing the Start Menu
Returning the old menu
If the design of the old menu from Windows 7 suited you better or liked it for other reasons, you can return it. Firstly, if you remove all unnecessary from the menu, then it will be simplified as much as possible and will become partially similar to its old version.
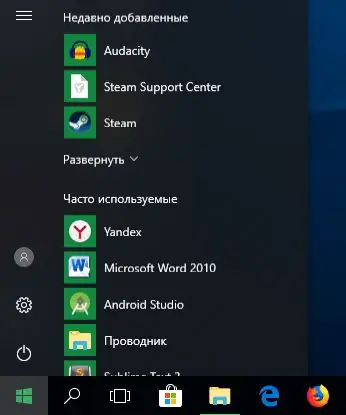
You can remove all unnecessary from the Start menu
Secondly, there are a large number of third-party programs that allow you to return the real menu. For example, the free Classic Shell application provides several flavors of it: a classic, two-column, and an absolute copy from Windows 7.
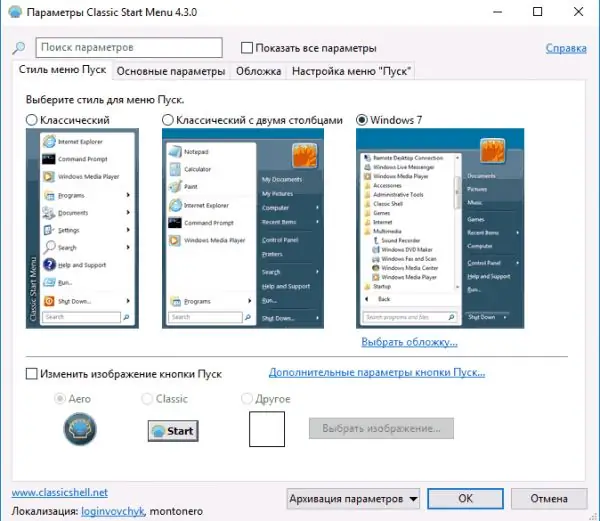
Using the Classic Shell program, you can return the menu from Windows 7
Change icon
By default, the Start Menu Quick Access Toolbar uses the Windows 10 logo icon. The only way to replace it is with the Classic shell program described above. When deciding on the style of the menu, pay attention to the lower block, it allows you to choose one of the proposed icons or upload your own. After the new picture is loaded, the icon on the quick access bar will change.
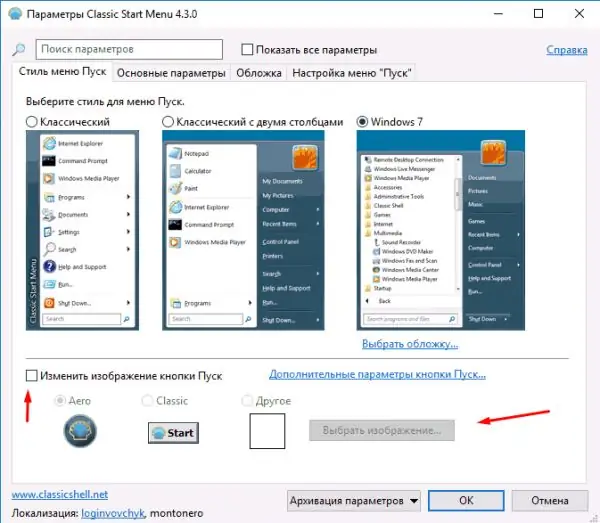
Choosing a new icon for the Start menu
If you later want to return the default icon, deactivate this function in the program by removing the check mark. You may need to restart your computer for the changes to take effect.
Solving problems with the Start menu
Over time, you may find that the menu stops opening or starts to slow down. The problem is relatively common, but it is impossible to say exactly why it arose in your case, so follow all the instructions below in turn.
Restarting "Explorer"
"Explorer" links all folders and files in the system into a single whole. If it freezes, all computer services may freeze. In this case, you need to restart the explorer.exe process, which is responsible for "Explorer". Find it through the task manager, right-click on it and select the "Restart" function.
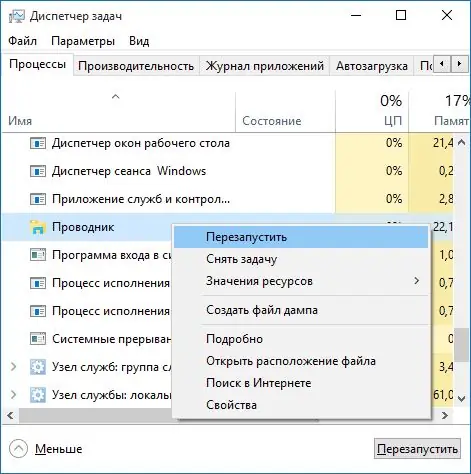
Restart the explorer.exe process
Reset
Some system parameters may have been corrupted. It is worth starting an automatic check:
-
Navigate to the Windows / System32 / WindowsPowerShell / v1.0 folder using Explorer and open PowerShell with administrator rights.

Starting PowerShell Run the PowerShell program as an administrator
-
Register and run the command Get-AppXPackage -AllUsers | Foreach {Add-AppxPackage -DisableDevelopmentMode -Register “$ ($ _. InstallLocation) / AppXManifest.xml”}. Wait for the automatic scan procedure to complete, restart your computer and check if the menu is working.

Performing cleanup through PowerShell We execute the command and restart the computer after the scanning procedure
Special program
There is an official Microsoft program that tries to fix problems with the "Start" automatically, the link to download it - https://aka.ms/diag_StartMenu. After downloading the utility, run it and click the "Next" button. No action is required from you, in a few minutes you will receive a report on whether problems were found and resolved.
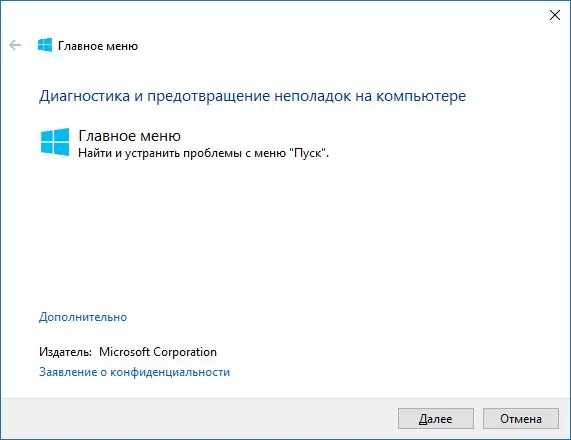
Press the "Next" button and wait for the diagnostic results
Can I remove the Start menu
The menu cannot be deleted as it is protected by the system itself. All system programs and services, such as the Microsoft Store or the Edge browser, cannot be removed. Do not try to erase the Start menu, many processes depend on it, so erasing at least part of its files will damage the system.
The "Start" menu is configured both by standard Windows tools and by third-party programs. Using third-party utilities, you can change the icon on the taskbar. If you have problems with the menu, you should restart Explorer, reset the settings and use the official Microsoft application.
Recommended:
Gasoline Generator: Which Is Better To Choose, How To Connect To The Network And Use, Malfunctions (does Not Start, Works In Jerks, Oil Change)
Purpose and types of gasoline generators. How to choose a generator. Features of use, major malfunctions and DIY repair
When Kittens Change Their Teeth, At What Age Does Milk Change To Permanent Ones, How To Care For A Pet During This Period

How does a cat's teeth form and change; what is normal and what is not; when to see a doctor, how to take care of a kitten, veterinarian advice
Why On Windows 10 The Start Button Does Not Work And The Main Menu Does Not Open
The most common problems in the "Start" menu on Windows 10. The reasons for the appearance. Solutions: universal and for specific cases
Icons For Windows 10 Folders - How To Customize, Change An Icon, Install It, Remove An Arrow, Create A Shortcut, Etc
What are icons for Windows 10. How to customize or change them. Where to find icon sets. Programs for replacing icons. Instructions with images
How To Make A Classic Start Menu For Windows 10 Using The Startisback Utility And Other Tools
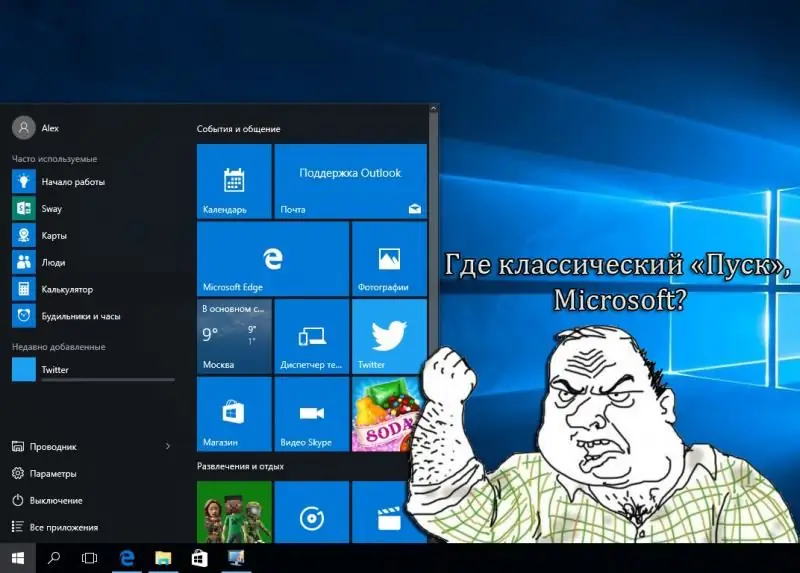
Customizing the classic look of the "Start" menu on Windows 10. Options using the internal functionality of the system and third-party software
