Table of contents:
- Author Bailey Albertson [email protected].
- Public 2023-12-17 12:53.
- Last modified 2025-06-01 07:32.
Planting garlic in spring: we follow all the rules

The popularity of garlic can hardly be overestimated. This is a storehouse of useful vitamins. It is added as a spice to marinades, salads and other dishes, giving them a special unique taste. It repels pests from other horticultural crops. And therefore summer residents grow garlic on their plots, and it can be planted not only before winter, but also in spring. And if you know all the intricacies of its spring planting in open ground, you can get a good harvest of this crop.
Content
- 1 Pros and cons of planting garlic in the spring, suitable timing
-
2 Step-by-step instructions for planting garlic in spring
- 2.1 Choice of site and soil for planting
- 2.2 Site preparation
- 2.3 Selection and preparation of seed
- 2.4 Planting process
- 2.5 Follow-up care
- 3 Video: planting spring garlic
Pros and cons of planting garlic in spring, suitable timing
Garlic planted in the spring is called spring (summer). The positive qualities of spring planting of garlic are:
- longer shelf life at home (1-2 years), while garlic planted in autumn (winter) is stored for up to 4 months;
- high resistance to diseases and pests;
- friendly shoots, since the ground is already warming up, and the risk of frost will be minimal.

Spring garlic gives friendly shoots
Garlic, planted in spring, goes through all stages of development until the formation of a head in 3-4 months
In addition to the pros, spring planting of garlic also has disadvantages:
- less pronounced taste of cloves;
- low yield compared to autumn planting.
Planting garlic in open ground in the spring should be at a certain time. This plant is planted in the ground when it warms up to a temperature not lower than + 3-5 ° C in order to prevent the seeds from freezing.
Depending on the climatic conditions of the region, sowing is carried out:
- In May - the Urals, Siberia.
- From mid-April to the first ten days of May - the middle band.
- After March 20 to April 10 - southern regions of Russia.
It is impossible to delay planting garlic, as it may not grow.

When planting spring garlic, do not tighten it, otherwise it may not have time to form a full head
Step-by-step instructions for planting garlic in spring
So that the process of spring planting of a garlic crop in open ground does not cause difficulties, you must use step-by-step instructions. It includes certain steps listed below.
Choosing a site and soil for planting
This crop is best planted on light to medium loamy soils, black earth, sandy soil with a pH of 6.5 to 7. High acidity causes plant disease. It is advisable to place the site on an elevated place where moisture will not stagnate.
It should be well lit by the sun, protected from drafts and cold winds. When choosing a place, crop rotation must be taken into account. Garlic is planted on the ridge after peas, cabbage, zucchini, cucumbers, strawberries, siderates next to strawberries, raspberries, roses. Poor predecessors and neighbors of this culture are potatoes, carrots, beets, tomatoes, bulbous plants.

Garlic loves sunlit areas with light to medium loamy soils, sandy soil, black soil
As a bulbous culture, garlic is planted annually in different places.
Site preparation
It is advisable to do this in the fall, in extreme cases - 2-3 weeks before planting. The future ridge is fertilized by laying out a composition on it (per 1 m 2), consisting of the following components:
- humus, 1-2 buckets;
- wood ash, 3 kg, or superphosphate and potassium salt, 1 tbsp. l.
Then they dig up a section deep into the bayonet of a shovel, and then loosen it well.

The ridge for the spring planting of garlic is first fertilized, and then dug onto a shovel bayonet
Selection and preparation of seed
In the spring, the prongs of garlic varieties used for cultivation in a particular region are chosen for planting - the Abrek, Moskovsky variety are suitable for Central Russia, the Victorio variety, Orlovsky is used in the southern regions, the Permyak variety, Aleisky are planted in the Urals, in Siberia. Planting material is prepared in this way:
-
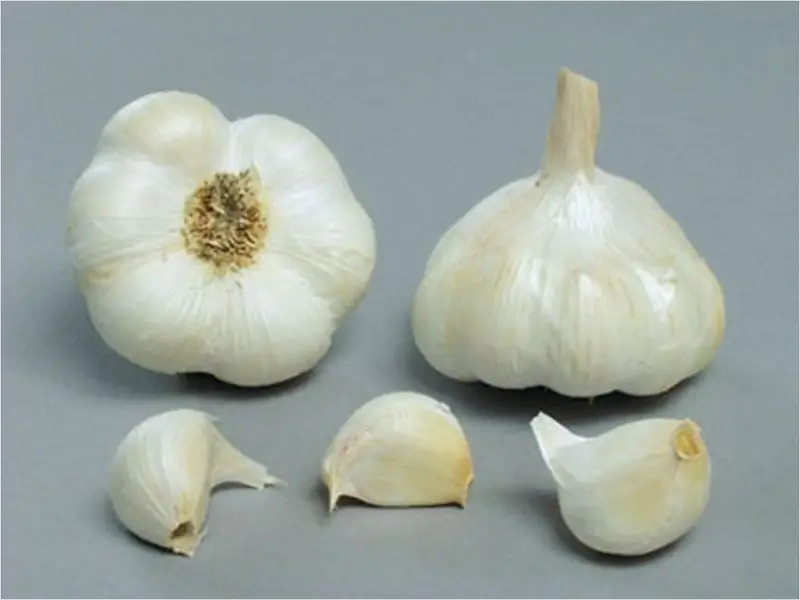
Preparation begins with sorting. The garlic bulb is carefully separated, strong healthy cloves (in the husk) are selected without traces of drying, disease, decay, located at the edges of the head, and those that are smaller and located closer to the center are best eaten.

Spring garlic Healthy strong teeth are selected for planting
- Next, the teeth are sorted, dividing them into large, medium, small. Small cloves can be planted on beds with vegetable crops - carrots, potatoes to repel insect pests. It is recommended to plant cloves of the same size (large or medium, weighing 3-6 g) in one row in order to get a crop that ripens at the same time. The size of the teeth will affect the growth rate of the culture.
- Then the planting material is prepared for faster germination and the appearance of roots. The selected cloves are wrapped in a damp cloth, then in a plastic bag, while ensuring the flow of air. In this form, they are placed for a week in a dark, cool place at a temperature of about + 3 ° C (refrigerator, basement). The condition of the planting material is regularly checked, and if the cloves dry out, the tissue covering them is re-moistened.
-
Before planting in the ground, the cloves are soaked for 12 hours in warm water or in a solution of a growth stimulator, for example, Epin. Then within 30 minutes. the cloves can be disinfected in a slightly pink potassium permanganate. If the planting material seems to be of poor quality, then it can be disinfected for 20 minutes. in a solution of Fundazole, prepared according to the attached instructions.

Garlic in potassium permanganate Before planting, you can disinfect garlic in a solution of potassium permanganate
Planting process
After completing the preparatory measures, they proceed directly to the very planting of garlic in open ground.
The step-by-step process looks like this:
- Loosen on a bed with soil, make grooves on it about 3 cm deep, 15-20 cm apart. When the soil on the bed is heavy, a small layer (0.5-1 cm) of sand and wood ash can be poured into the grooves.
- It is good to pour water over the furrows and wait until it is absorbed.
-
Put the garlic cloves in the grooves, bottom down, 5 cm apart to a depth of 2-3 cm. With a deeper planting, the culture will grow more slowly.

Planting garlic Plant the cloves of garlic 5 cm apart into grooves, the distance between which is at least 15 cm
- Sprinkle the cloves with earth; you do not need to press them into the soil so as not to damage the roots.
- Finish planting with mulching. It will prevent the growth of weeds and dry out the soil, retain moisture in it, and prevent garlic from freezing on cold days and overheating in hot weather. The thickness of the mulch layer is about 10 cm. Sawdust, scraps, dry peat, wood chips can serve as mulching material.
In rainy weather, mulch is removed, since it can cause diseases when damp.
Follow-up care
When the cloves of garlic are already in the ground, planting care is as follows:
-
In order for the root system of the plant to fully grow and develop, after planting garlic for 2 months, it needs high-quality watering. It is produced when the soil dries up. It should be moderate, as garlic can rot from excess moisture. Do not use cold water for irrigation, take the settled water from the barrel. Watering is recommended when the sun is dim (in the morning, on a cloudy day). Watering is reduced from the second half of July. 2 weeks before harvesting, it is stopped completely.

Watering the garlic For the development of the root system, garlic requires high-quality watering.
- After watering the plants, the soil on the ridge is loosened, but shallowly so as not to hurt the roots.
- When weeds appear, they are destroyed in a timely manner so that they do not grow and prevent the plant from developing.
-
High-quality care for spring garlic also includes periodic feeding:
- The first feeding is carried out after seedling emergence. Nitrogen fertilizers are introduced to promote the growth of green mass. It can be a solution consisting of 1 tablespoon of urea dissolved in 10 liters of water.
- The second feeding is carried out with a solution of nitroammofoska (50 g of the substance are dissolved in 10 liters of water), 2 weeks after the first.
- The third feeding is done when the plant bulb is formed (approximately end of June). Fertilizer - superphosphate (40 g / 10 l of water).
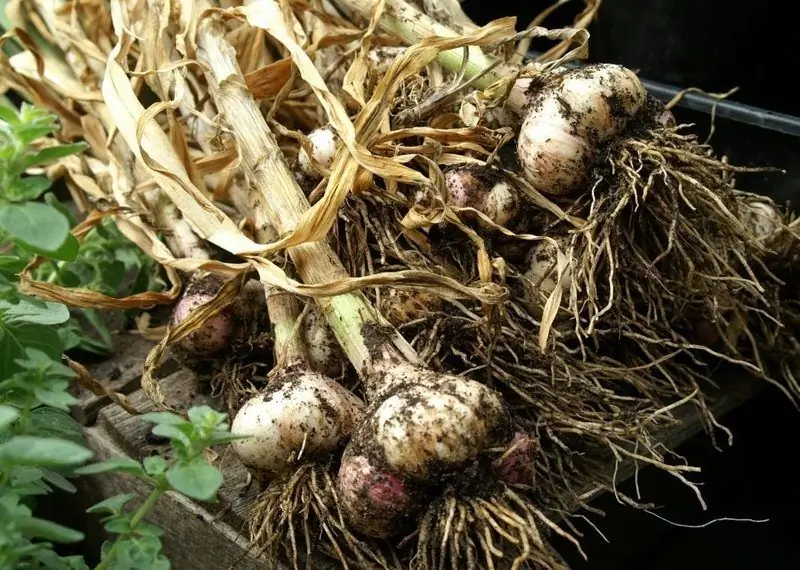
Garlic planted in spring is harvested in late summer - early autumn. Its readiness is determined by external signs: yellowing leaves that begin to dry and lie down.

The harvest of spring garlic is ready when the leaves of the plant begin to turn yellow and lie down.
Video: planting spring garlic
I did not have to plant spring garlic, every year I grew winter garlic, which forms larger heads. I think it was necessary to have a harvest of both, since a significant advantage of spring planting garlic is its long shelf life.
From the above material, we can conclude that planting garlic in the spring is not a difficult and time-consuming process. One has only to plant spring garlic in your area according to the step-by-step instructions, and you can then enjoy the healthy and tasty harvest of this crop.
Recommended:
How To Pinch Tomatoes Correctly In A Greenhouse And Open Ground (video, Photo, Diagram), Which Varieties Do Not Require Pinning

Practical advice for pinching tomatoes of different varieties. Pinion schemes for the formation of a bush in one, two and three stems
Planting Tulips In Spring: When And How To Plant Correctly In Open Ground And Pots

How to properly plant tulips in spring in soil and pots. When tulips are planted in spring, favorable days for planting according to the lunar calendar, nuances for the regions
Planting Clematis In Open Ground In Spring: Instructions With A Photo

Step-by-step recommendations for planting clematis in spring: germinating seeds, planting seedlings. Site selection and soil preparation
Planting Strawberries In Spring In Open Ground: Terms And Instructions

Pros and cons of planting strawberries in open ground in spring, suitable timing. Step-by-step instructions for planting strawberries in spring
What To Plant After Garlic And Onions For The Next Year And What To Combine Planting With

What are the rules of crop rotation based on, what do they advise to plant after onions and garlic, and what is prohibited. What can be planted next to them
