Table of contents:
- Author Bailey Albertson albertson@usefultipsdiy.com.
- Public 2024-01-17 22:26.
- Last modified 2025-01-23 12:41.
DIY Easter eggs: unusual materials and techniques
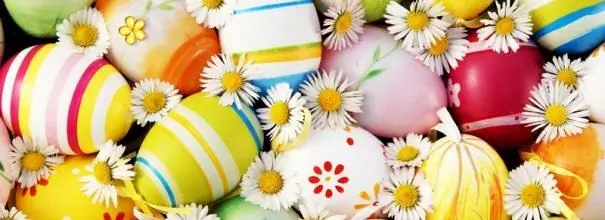
Easter eggs are an integral attribute of the church holiday, in their form and meaning they denote life and its origin. However, this does not mean at all that all the light mood should be focused exclusively on the table - you can not only decorate real eggs, but also create recognizable traditional forms from unusual materials, turning them into an original home decoration.
Easter Egg Making Ideas
The first thing that comes to mind in the context of creating an Easter egg with your own hands is to use simple and familiar techniques, for example, weave it from beads, crochet or knit it. However, not everyone has this knowledge, and there are many other great ideas on how to make an egg as simple and interesting as possible.
From pasta
Pasta is sure to be found in any home, and if you have inspiration, it can be turned into a great Easter attribute. So, to make a decorative element in the shape of an egg, you will need:
-
dry pasta (preferably in different shapes and sizes);

Egg Making Materials You will need different shapes of pasta to create a beautiful Easter egg.
- balloon;
- glue gun and glue sticks for it;
- PVA glue;
- a round plastic container or an adhesive tape reel (will be used as a stand for the composition);
- spray paint (optional, usually gold or silver is used);
- decor (beads, buttons, figurines of birds or bunnies, feathers, egg-shaped blanks, etc.).
The process for creating an Easter egg should be as follows:
- Preparation of the base. It is necessary to inflate the balloon to the desired size and place it on a stand for easy operation. You can add some glue to keep it from spinning.
-
Creating a base layer. For the egg frame itself, you will need PVA glue - you need to pour it into a flat plate, put pasta in the same place and leave them to nourish for 2-3 minutes. Now you can start working - just lay the elements around the egg along the desired contour, pushing them tightly towards each other. You can leave a hole in the middle so you can put something inside the egg later.

Creating an egg base It is necessary to stick the pasta tightly on the ball so that they form the base of the egg
- When the base is completely filled, it must be left to dry. It may take a whole night for the structure to dry completely, after which you need to burst the ball inside and carefully remove its remnants.
-
The last stage is fixation and decor, which will require hot glue. The egg must be securely fixed on a stand, then decorate it and decorate the very base of the egg with pasta of other forms.

Pasta egg decor The base can be decorated with other pasta shapes.
-
When all the pasta elements are in place, you can paint the egg from the spray can. Here it is necessary to follow the recommendations of the instructions and manipulate in the fresh air.

Pasta egg After drying, the pasta product can be spray painted
- After the paint has dried, you can add other decorative elements - figurines, feathers, eggs, etc.
Video: creating an Easter egg from pasta
Photo Gallery: Pasta Easter Eggs
-

Easter pasta egg with bunny - Inside the egg, you can put painted chicken eggs and symbolic toys, for example, a bunny
-

Golden pasta egg -
It is not at all necessary to make a hole in the egg - you can leave it intact
-

Silver pasta egg - You can put a composition inside the egg, which will also be made from pasta.
From felt
Easter eggs made of felt are useful not only as a decoration, but also become an excellent souvenir that you can present to your loved ones in honor of the holiday. To create them, a minimum of material is required:
- sheets of felt of different colors;
- thread and needle;
- decorative elements as desired;
- scissors;
- a sheet of paper and a pencil;
- filler for toys (you can use holofiber or pieces of padding polyester).
You can start creating right away, armed with everything you need:
- On paper, you need to draw an egg template of the desired size and cut it out.
-
Next, you need to cut out the felt parts by simply applying the template to the sheet. One egg requires two identical parts.

Cut out parts Using a template, you need to make blanks of felt (2 pieces for each egg)
-
You can start decorating at this stage, for example, making one side multi-colored, combining several pieces of felt at once.

Decorated half of a felt egg One half can be immediately decorated by combining multi-colored felt and decorative elements
-
Felt halves need to be sewn around the perimeter, leaving a small hole unstitched. In the process, you can put a ribbon folded in half on top - this way the finished egg can be hung.

Stitching half an egg Felt details are sewn together in pairs
-
Through the hole left, the egg remains to fill with filler and sew up to the end.

Egg filling It remains only to fill the egg with filler
-
You just need to decorate the finished souvenir as you wish.

Ready-made felt eggs Felt souvenirs can be decorated with any materials: buttons, fabrics, bows, lace
Photo gallery: Easter eggs made of felt
-

Felt eggs on a string - The loop sewn into the felt egg makes the decor more functional
-

Felt eggs with embroidery - Often, a decorative element with themed embroidery is inserted into felt eggs.
-

Felt eggs on a stick - Attaching a wooden skewer to a felt egg, you can use it as a topper for Easter cakes
Papier-mache
The papier-mâché technique has a very long history, with its help puppets and even theater decorations were made. Making an Easter egg will be a really fun experience. List of required materials and tools:
- balloon, plasticine or wooden blank in the shape of an egg, or any other shape;
- thin paper cut into small squares (newsprint or tissue paper);
- PVA glue;
- a bowl of clean water;
- large brush.
The process of creating an Easter decoration will take a lot of time, but in itself it is simple:
-
We soak part of the paper in water and completely cover the base in one layer. No glue is used at this stage.

Making a papier-mâché egg base The first layer is made from wet paper only, no glue is used
-
The second and subsequent layers must be coated with PVA glue diluted with water in equal proportions. Pieces of paper just need to be layered on top of each other, forming a strong frame of the product (7-8 layers). When using paper in silence, the last layer can be made from sheets of a contrasting color by cutting circles in them in advance - this will make a polka-dot egg.

Layers of paper on an egg The egg is covered with paper and glue in 7-8 layers
- When everything is ready, you need to leave the workpiece to dry completely. This usually takes 24-36 hours.
-
When the egg is dry, you need to pull out the base. If there is a ball inside, then it will be enough to make a small hole, burst it and carefully remove it. If the base is solid, then the egg will have to be cut in half with a clerical knife, pull out the filling, and then glue the halves together, closing the joint with another layer of glued paper.

Cut paper egg shape If the base of the egg was hard, then it will have to be cut and re-glued
-
It remains to paint the finished form (for example, with gouache) and decorate at your discretion.

Papier-mâché Easter egg You can decorate the finished egg in any way
Photo gallery: papier-mâché Easter eggs
-

Papier-mâché egg with flowers - Using a papier-mâché egg, you can create a stylish floral arrangement
-

Papier-mâché eggs with decoupage - Eggs using the papier-mâché technique are easy to decorate with decoupage, using ready-made napkins with a pattern and varnish for the finishing shine
-

Papier-mâché egg with chickens - You can cut a hole in the finished egg and fill it with themed decorative elements
Making decorative Easter eggs is an activity that can become a great family tradition. You can pick up unusual materials and simple techniques that will attract not only adults but also children to the process.
Recommended:
How To Make A Veranda With Your Own Hands To The House - Instructions, Projects, Drawings, Photos And Videos
The article describes how to build a veranda close to the house with your own hands
How To Make Heating For A Garage With Your Own Hands - Instructions With Photos And Videos
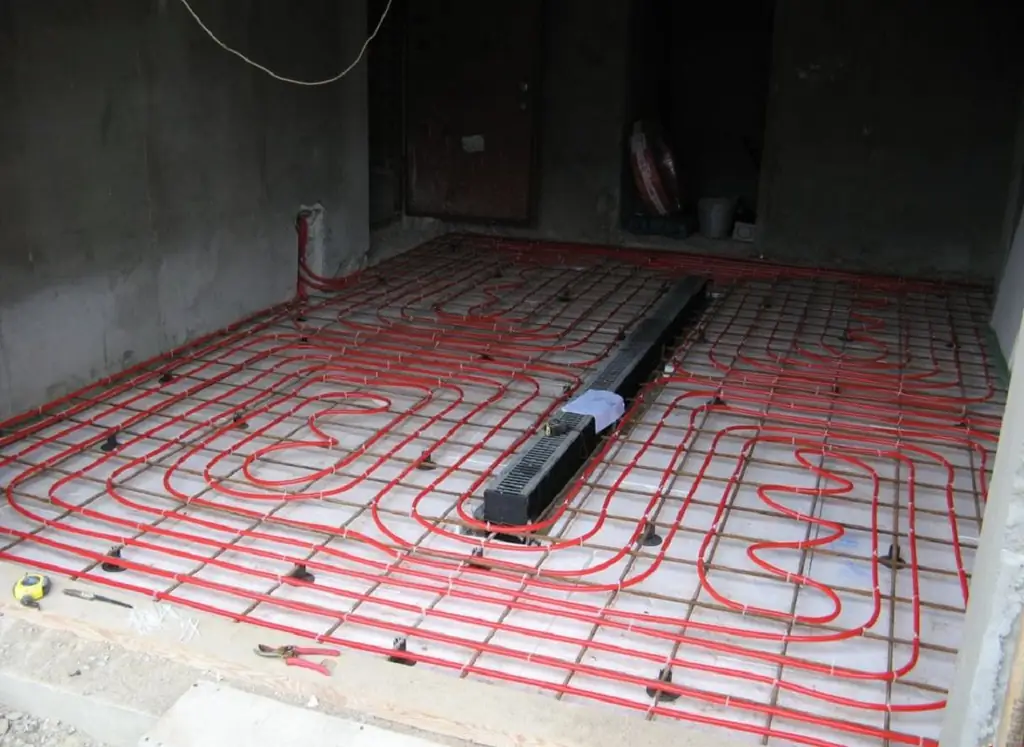
Various methods of heating the garage, their efficiency and cost, as well as detailed instructions that will allow you to do all the work yourself
How To Make A Headboard With Your Own Hands: Ideas And Stuff + Photos And Videos
You can make a beautiful headboard for a bed at home with your own hands. From the many options offered, choose the one that suits you best
How To Make A Shed With Your Own Hands From Foam Blocks - Instructions With Photos And Videos
Every owner knows about the need for a barn on the territory of home ownership. Everyone can build this necessary outbuilding without the involvement of specialists
How To Make A Slime At Home With Your Own Hands - Without Sodium Tetraborate And Glue, From Hand Cream, Shaving Foam And Other Ingredients, Recipes With Photos And Videos

Is it possible to make a slime at home. Types of slimes and recipes for their manufacture, depending on the desired properties. Toy care features
