Table of contents:
- How to build a do-it-yourself wrought-iron swing gate
- Advantages and disadvantages of wrought iron gates
- Preparing for the construction of a wrought iron gate
- Required materials and tools
- Step by step instructions for the construction and installation of swing wrought iron gates
- Finishing of finished forged gates
- Author Bailey Albertson albertson@usefultipsdiy.com.
- Public 2024-01-17 22:26.
- Last modified 2025-06-01 07:32.
How to build a do-it-yourself wrought-iron swing gate

Perhaps the most attractive and elegant are metal wickets and gates with an openwork structure and elements of artistic forging. In addition to external aesthetics, they also do an excellent job with their main task - protecting the courtyard from unauthorized entry. But forging items have never been cheap! Therefore, if you have a desire and you have certain building skills, try to make swing wrought iron gates yourself.
Content
-
1 Advantages and disadvantages of forged gates
1.1 Photo gallery: types of wrought iron gates
-
2 Preparation for the construction of a wrought iron gate
2.1 Drawing up a drawing
-
3 Required materials and tools
- 3.1 Material calculation
- 3.2 Tools used
-
4 Step by step instructions for the construction and installation of swing wrought iron gates
-
4.1 Hot forging
4.1.1 Video: manual hot forging
-
4.2 Cold forging
4.2.1 Video: cold forging
- 4.3 Manufacturing gate leaves
-
4.4 Making spiral rods and lances
- 4.4.1 Spiral bars
- 4.4.2 Peaks
-
4.5 Manufacturing forged gate leaves by welding ready-made elements
4.5.1 Video: do-it-yourself forged gates
-
4.6 Door installation
4.6.1 Video: DIY forged gates installation
-
- 5 Finishing finished forged gates
Advantages and disadvantages of wrought iron gates
At the first glance at a wrought-iron gate, only their advantages are visible. Nevertheless, they, like any other product, have certain disadvantages.
Advantages of wrought iron gates:
- the beauty;
- sophistication;
- the ability to create an exclusive exterior due to a variety of solutions;
- strength;
- durability;
- excellent protective properties.
Disadvantages of wrought iron gates:
- high price;
- heavy weight;
- difficulty in manufacturing.
Photo gallery: types of wrought iron gates
-

Wrought iron gates - Deaf forged gates will fully ensure your safety
-

Combined wrought iron gates - Combined wrought iron gates look very original
-

Wrought iron gates with polycarbonate filling -
Forged gates with polycarbonate filling - a modern option
-

Openwork forged gates - Openwork wrought iron gates cope easily and gracefully
Preparing for the construction of a wrought iron gate
When preparing for the construction of a forged gate, you need to consider the following points:
- The gate must be reliable and practical in accordance with the security requirements of the local area.
- Their design should be distinguished by originality, sophistication and compliance with landscape design.
Drawing up a drawing
To combine these criteria, you must first draw up a design project and make a drawing, in which you should take into account the necessary dimensions and design features of the gate, as well as the configuration of the land plot and the nuances of the location. The scheme of the future forged gates can be sketched independently or you can use a ready-made drawing.

The drawing can be drawn up independently or used ready-made
The following elements should be applied to the drawing:
- a frame that creates a shape and ensures the rigidity of the structure;
- installation part - metal components securing the support posts and the gate;
- canopies connecting the installation profile and doors;
- patterns - forging elements that add aesthetics to the gate and provide additional rigidity;
- a lock or latch is a necessary component for opening / closing the gate.
The drawing shows the sash configuration and indicates its dimensions. The shape of the gate can be traditional rectangular or with a broken top edge or radius. In addition to the dimensions of the flaps, the drawing should contain visual information about the placement of stiffeners, the spacing between them and other components, the location of decor elements and locking devices. The diagram also indicates the type of gate fastening to the fence and the location of the wicket.

All elements of the gate must be marked on the drawing
Required materials and tools
If you have the skills in blacksmithing and knowledge in the field of physical and mechanical properties of metal, then it will not be particularly difficult for you to forge gate elements with your own hands.
Material calculation
We need sheet steel up to 1 mm thick. For the manufacture of lances and twisted rods, steel 5 mm thick and a profile four-sided pipe with a cross section of not more than 1.4 mm are used. Such parameters are due to the fact that the thinner material in the gate structure looks very bad, and it is impossible to create a forged product from steel of a larger section in a home workshop due to the lack of special equipment.
The formula for calculating the required amount of metal for making a peak looks like this: the sum of the total amount of all elements + 30%.
If you have a blank fence and you also want the house area not to be visible through the gate, you will need material to fill the doors: steel sheets, corrugated board, polycarbonate, plywood boards or wooden boards.

If you do not want the adjoining territory to be visible through the gate, then you can make the gate leaves with filling
Tools used
To create structural and decorative elements of the gate by forging and their further connection, you will need the following tools:
- forge;
- anvil;
- grinding machine with a disc for grinding and polishing metal;
- gas welding machine for spot welding;
- electric welding inverter with a set of electrodes for finishing welding;
- various vices and hammers;
- special pliers for holding hot metal;
- machine for performing figured work;
- curved yews with a long lever;
- high temperature fire source.

For forging decorative elements you need a forge
Step by step instructions for the construction and installation of swing wrought iron gates
After preparing all the required tools, materials and blanks, you can proceed directly to the forging process. It comes in two varieties: hot and cold.
Hot forging
This method involves heating the metal to softness and pliability and its subsequent processing by manual or hydromechanical stamping.
Video: manual hot forging
Cold forging
The cold forging method is easier, but just as time consuming. This method involves bending metal under high pressure. This requires special tools.
Video: cold forging
If you do not have the skills in blacksmithing or the necessary equipment, you can use ready-made sets of forged products widely available for sale. You can choose any pattern that suits your aesthetic taste and matches the overall design concept of the gate. It is quite simple to weld individual elements into a common structure.
Manufacturing of gate leaves
Before laying the elements by welding, clear the place for work on the creation of the gate leaves. Next, you need to act in stages:
- Lay several channels about 20 cm smaller than the structure itself on a flat surface that is at least 2 m larger than them.
-
Use a building level to ensure flatness.

Building level You can ensure flatness using a building level.
- To obtain a broken line or radius on the upper section of the product, cut out a rack of the required length from the profile, indicated in the drawing.
- To obtain a product of the correct geometry, measure its diagonal using a nylon thread.
- If the diagonals do not match, eliminate the defect.
-
Put the resulting part on the welding table, confirm the angles are equal and weld the joints tightly together.

Welding gate leaves The lower part of the structure must have a right angle
-
Remove weld beads using a grinder with a cleaning disc attachment.

Welding works Irregularities and sagging can be removed with a grinder
If you need to get a broken edge, then you should do the following:
-
Draw the required line on a piece of metal and cut.

Metal trimming Metal cutting is carried out using an electric jigsaw
- Align the profile with the sheet.
- Fasten the sheet and components together using a semi-automatic welding machine.
-
Connect the remaining parts with clamps, weld and wait for the workpiece to cool.

Welding gate leaves Gate parts should be welded with a welding machine
- Perform stripping with a grinder.

The shape of the gate can be with a broken top edge
If you want to get the radius:
- Prepare several blanks of sash.
- Lay the sash on a sheet of metal and grab it with a welding machine.
- Measure the top bar by adding 30 percent and cut the workpiece.
-
Grab one side with a hard vise and bend to create the desired radius (the diameter should be slightly larger than the profile itself).

Making an element with a radius The element diameter must be larger than the profile itself
- Repeat these steps with the second workpiece.
-
Place the radius on the top of the sash, cut around the edges and weld.

Fastening the forged element to the gate leaf Before attaching the element, you need to check the correctness of the fastening and cut off the excess
- Wait for it to cool and clean it from the sag using a grinder.

For the manufacture of the radius, a template is taken with a 30 percent surcharge
Making spiral rods and lances
Spiral bars and lances are perhaps the main elements of wrought iron gates, as they determine their design.

Spiral rods and lances are the most common elements of wrought iron gates.
Spiral rods
A twisted rod is made from a steel section of a square shape. To create it, you need to do the following:
- Heat the metal square piece in a furnace.
-
Clamp the product in a vice and turn it several times until the required number of turns is obtained.

Forged rods Bars are made by twisting a heated metal piece
- Finish the process with straightening.
Peaks
Peak production begins with the creation of blanks. Qualitative peaks should have a volumetric configuration. To forge a pike, you need to act in stages:
- Cut the steel sheet into squares and adjust the shape using a sander.
- Using high heat, bring the workpiece to a white boil.
-
Using a hammer, flatten the clarified template on the anvil and shape.

Making a lance The desired shape must be given with a hammer
- Temper the pike by cooling it outside or pouring cold water over it.
-
Sharpen parts if necessary to remove unevenness.

Forged peaks Pica is one of the most common forged elements
After all bars and lances have been forged, check the blanks for identity and weld together.
Manufacturing of forged gate leaves by welding finished elements
Before starting work, you should prepare all the components of the future design and the required tools. Next, you need to follow the instructions:
- Weld the frame from steel sheet up to 15 mm thick. The more complex the design, the thicker the material should be. If you plan to fix an iron sheet on one side, then it is recommended to use thickened metal.
- Cut the profile pipe, turning it periodically in the process and observing the geometry of the corners, along which the weld will then pass.
-
Pre-weld all the elements pointwise on a flat surface so that the structure does not twist.

Welding gate elements Weld the gate leaf elements on a flat surface
- Check the frame for distortions.
- Weld the seams with a welding inverter.
-
Using a welding machine, attach the lock and handles to the finished frame, and then process with a grinder.

Handles on wrought iron gates Gate handles can be bought ready-made or forged by yourself
- Check for irregularities in the manufactured structure. If sagging is present, eliminate these defects with a grinder.
-
If the gate structure provides for a blind filling with metal sheets, insert them inside the frame and secure with welded joints.

Wrought iron gates with metal filling The filling metal elements are fixed with a welding machine
- Using a welding inverter, weld the finished decorative metal elements on the front side of the frame, ensuring their symmetry on both leaves.
-
Grind the welded elements with a grinder with a special grinding wheel.

Grinding gate leaves Irregularities on the surface of the welded elements can be sanded with a grinder, and hard-to-reach places with sandpaper
- Sand hard-to-reach places by hand with sandpaper.
Video: do-it-yourself wrought iron gates
Gate installation
Wrought iron gates are heavy, so they need strong supports. To reliably protect the constructed structure from vibrations and avoid the risk of sagging, it should be installed on strong posts made of steel pipes in combination with brick cladding. Supports are made in stages:
- Before installing the pillars, marking is carried out. It must be made taking into account the brick cover of the profile pipes. For this, the method of "throwing" the thickness of the metal is suitable.
- To install the support pillars, holes are dug with a depth of 70-100 cm (below the freezing point of the ground) and a width equal to the diameter of the steel pipe plus a maximum of 10 cm. A wider hole will increase the risk of warping the support after hanging a heavy sash on it.
-
The pillars are placed in holes strictly perpendicular to the soil surface and covered with rubble. If you do not observe the principle of perpendicularity, then after the installation of the gate, they will "lead".

Support pillar When digging in support posts, the perpendicularity of the soil surface must be observed
-
To strengthen the supports, a cement mortar is used, consisting of 1 part of a dry cement mixture and 3 parts of sand. The prepared solution is poured into pits compacted with gravel. In this case, again it is necessary to monitor the perpendicularity of the pillars.

Cement-filled support post To strengthen the support pillars, cement it
- After the cement has hardened, bars are welded to the pipes for attaching the sash 6-7 cm wide. If the structure is too heavy, 3 bars must be welded to each door.
- Then they are taken for laying out the brick by overlapping with the next seam of the previous one. The work is carried out using a trowel.

Brick cladding enhances the strength of the posts
After that, it is necessary to weld the hinges to the gate doors in accordance with the location of the fasteners on the supports. First, two hinges are welded from below in one direction, and the sashes are hung on them. The upper hinge is welded in the opposite direction from the already installed gate. If you attach the hinges in this way, then intruders cannot remove the gate. After that, the operation of the gate is checked, and the existing defects (jamming, slight distortions, etc.) are eliminated.

To avoid the risk of sagging the sashes, they should be installed on sturdy steel pipe posts in combination with brick cladding.
Video: do-it-yourself installation of forged gates
Finishing of finished forged gates
To make wrought iron gates look noble and are completely protected from rust, they can be painted. Any paint is suitable for this, but a matte finish looks better. To paint curly products, a brush or spray is used. You can also buy paint cans at a hardware store and use them.
The staining process consists of three stages:
- Sand the metal with a grinder.
-
Prime the gate with a special coating with anti-corrosion additives.

Applying a primer to forged gates To prevent metal elements from rusting, they should be coated with a special agent before painting.
- Paint the iron gates, wickets and fencing with high quality and durable paint. After it dries, the structure is ready for use.

Painting with bronze paint will add sophistication to the gate
Beautiful and stylish hand-made forged gates will give your site nobility and sophistication and will reliably protect it from unauthorized entry.
Recommended:
How To Make A Children's Swing In The Country With Your Own Hands (made Of Wood Or Metal, Drawings, Photos And Videos)
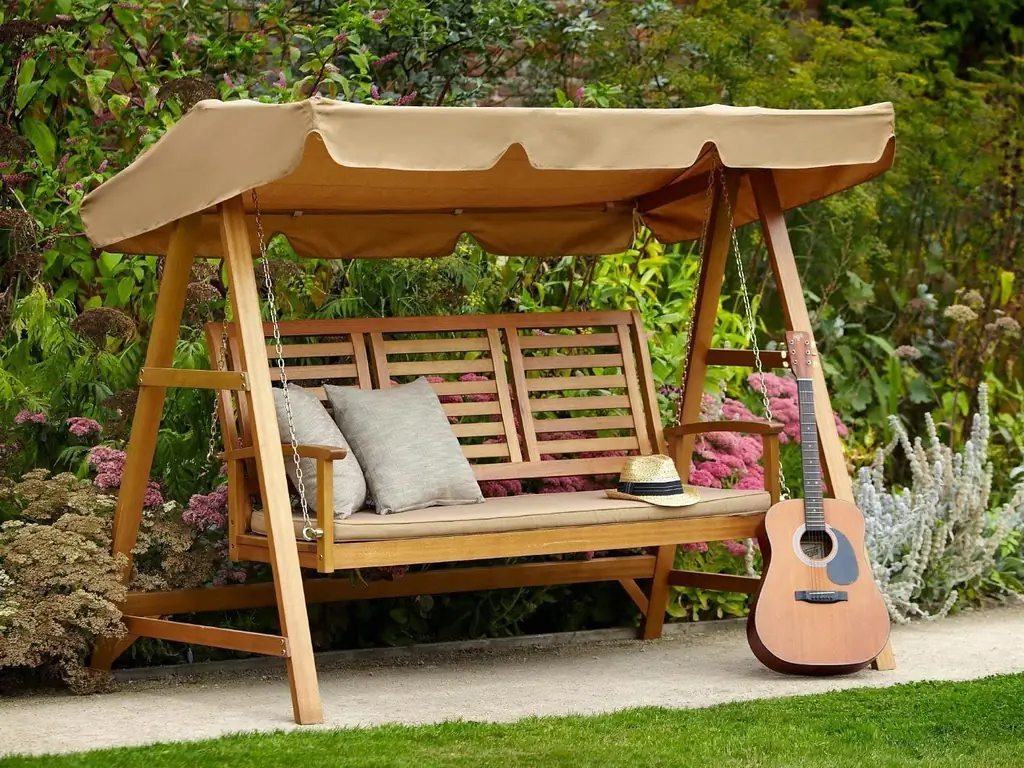
Step-by-step instructions for the construction and installation of a swing at a summer cottage. Material selection, tools, model drawings
How To Make A Bar Stool With Your Own Hands From Wood, Metal And Other Materials + Drawings, Photos And Videos
Bar stools manufacturing options. Required tools, materials used. Step-by-step description of the manufacturing process with a photo
How To Make A Veranda With Your Own Hands To The House - Instructions, Projects, Drawings, Photos And Videos

The article describes how to build a veranda close to the house with your own hands
How To Choose And Build A Foundation For A Bath With Your Own Hands - 4x6, 3x4 And Other Sizes, Tips, Instructions, Photos And Videos
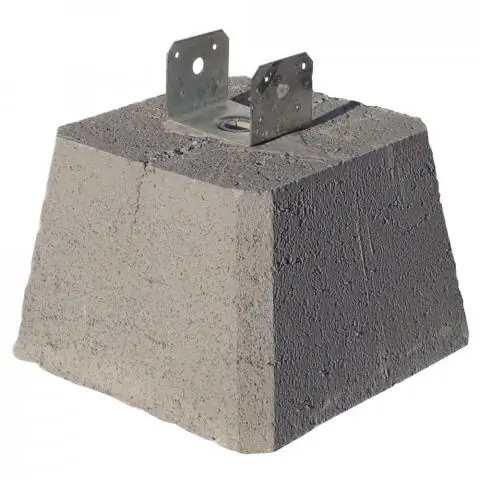
How to make a foundation for a bath with your own hands. Types and features of foundations. The choice of materials and technology, installation rules and step-by-step instructions
How To Build A Warm Chicken Coop For The Winter With Your Own Hands - Instructions With Photos And Videos
The need to insulate the chicken coop. What material can be used. How to make a winter poultry house yourself: step by step instructions. Treatment and care
