Table of contents:
- Author Bailey Albertson [email protected].
- Public 2023-12-17 12:53.
- Last modified 2025-01-23 12:41.
How to assemble and install roller shutters yourself

To ensure the safety of housing, as well as any other premises, an excellent solution is to install roller shutters on windows and doors. They have an attractive appearance, reliably protect the room from unauthorized entry, as well as from sunlight and dust. Thanks to the installation of roller shutters, noise insulation is improved in the house and it is much more comfortable to live in it. You can do it yourself with their assembly and installation.
Content
-
1 Types of roller shutters
1.1 Video: types of roller shutters
- 2 Required tools
- 3 Preparing the opening
- 4 Assembling the roller shutter frame
-
5 Installation of roller shutters
5.1 Video: Installation sequence of roller shutters
- 6 Reviews
Varieties of roller shutter designs
Modern roller shutters are an improvement over conventional shutters. Their design is a metal sheet that rolls up and hides in a box.

Roller shutters help not only protect but also decorate the house
Installation of roller shutters in the house allows you to solve the following tasks:
- Improve the protective functions of a window or doorway. Modern metal roller shutters are quite difficult to open and if they succeed, a lot of noise is created, so they scare off thieves. To further increase the safety of the house, it is recommended to install an alarm on roller shutters.
- Improve the soundproofing characteristics of the room. This is especially important for houses that are close to the roadway. With closed roller shutters, the noise level is reduced by 12-15 dB.
- Adjust the light intensity in the house. If the roller shutters are not closed completely, the desired illumination in the room can be achieved.
- To improve the thermal insulation characteristics of the house. If you install roller shutters with lamellas with insulation, then heat loss through doors and windows is reduced by 20%.
- Improve the appearance of the building. There is a large selection of colors. In addition, you can order lamellas with a pattern and thus decorate a house or any other building in an original way.
One of the main parameters that people pay attention to when buying roller shutters is the material from which they are made. There are the following classes of burglar resistance of modern roller shutters:
- Р1-Р2 - classic roller shutters. They have low strength and can only protect from wind, sun and dust;
- Р3-Р5 - steel or extruded roller shutters. This option already provides fairly good protection against penetration into the room;
- Р6-Р8 - roller shutters with high burglar resistance. They are made of extra strong materials, usually armored and bulletproof systems.
If you look at the way to control such devices, then they can be:
-
manual, in this case the roller shutters are closed / opened with a mechanical handle;

Manual roller shutters Roller shutters are operated with a mechanical handle
-
automatic, here an electric motor is used to control the system, so just press a button on the control panel or on the key fob.

Automatic roller shutters Automatic roller shutters are controlled from a remote control or key fob
For the manufacture of lamellas, steel or aluminum is usually used. Steel structures have good heat and sound insulation performance, but they are heavier and more prone to corrosion. Aluminum lamellas are much lighter, but they will also have lower burglar resistance. Their advantage is their low weight and high corrosion resistance.
By type of construction, roller shutters are:
-
Outdoor. This is a simpler and therefore more common option. The box is installed over a window or doorway. Such a solution can be installed both during the construction of the house and at any other time.

Outdoor roller shutters Outdoor roller shutters can be installed both during the construction of the house and at any other time
-
Built-in. In this case, the box is hidden in a previously prepared niche. Such roller shutters, when they are raised, are practically invisible, but their installation is possible only at the stage of building construction.

Built-in roller shutters Built-in roller shutters can only be installed during the construction phase of the building
Video: types of roller shutters
Required tools
If you decide to assemble and install roller shutters with your own hands, then there is nothing difficult. For work, you will need the usual tools that almost every home master has:
- hammer drill or powerful impact drill;
- drill bits for concrete;
- screwdriver with a set of bits;
- pliers;
- scissors for metal;
- nippers;
- keys set;
- Screwdriver Set;
- building level;
- plumb lines or laser level;
- measuring instruments;
- marker;
- a multimeter, it is needed if the roller shutters have an automatic drive;
- ladder;
-
assembly gun and sealant.

Roller shutter installation tools Installation of roller shutters will require simple and affordable tools.
Opening preparation
When carrying out preparatory work, there is no difference in whether the roller shutters are installed in a window or doorway. The principle and order of work will be the same in any case:
- Measurements. In order to purchase roller shutters, you first need to measure the opening in which they are planned to be installed.
-
Checking the evenness of the opening. Using measuring tools, the diagonals of the opening are measured, they can differ by no more than 5 mm. If this condition is not met, then it will not be possible to achieve the required tightness and safety when installing roller shutters.

Checking the evenness of the opening The diagonals of the opening may differ by no more than 5 mm
- Checking the horizontal and vertical slopes. For this, use the building level and plumb lines. Deviations should not exceed 1.5 mm per linear meter.
- Elimination of irregularities, cracks and chips. To do this, use plaster or special linings, with their help they achieve a flat surface of the opening.
Roller shutter frame assembly
The width of the guide entry channel will depend on which control method is used. If it is a cord or electric drive, then a channel width of more than 12 mm is sufficient. If control is carried out using a cardan drive, then the channel must be at least 20 mm wide.
The frame of this design includes guides and a box. The sequence of its assembly and installation will be as follows:
-
Preparing the guides.
- Marking guides. Mark the places for the mounting holes on the guides. They cannot be closer than 10-15 cm from the top and bottom edges and the step should be 40-45 cm.
-
Creation of mounting holes. With a drill with a diameter of 8 mm, through holes are made in the tires.

Drilling through holes in tires Through holes are made in tires
-
Expansion of places for stubs. A hole is made on the outside of the guide bar, the diameter of which corresponds to the diameter of the plugs.

Expansion of the hole for the plug Openings for plugs are widened on the outside of the bus
-
Preparing the box.
-
Preparing the mounting holes on the front cover. They are made on both sides of the front panel, with one 4.2 mm hole on each side.

Creating a hole in the front cover On each side, make one hole with a diameter of 4.2 mm
-
Create mounting holes on the rear panel. Holes are made here for attaching the box to the wall. If the box is large, then two holes with a diameter of 8 mm are made on each side, for small boxes one is enough.

Creating a hole in the back cover Create holes for attaching the box to the wall
-
Creates a hole for outputting controls. It is made on the side of the box where the roller shutter control is located.

Create a hole for the control output Make a hole in the box body for the output of the controls
-
-
Assembly and installation of the frame.
-
Check the presence of flanges on the guides. If they are not there, then with the help of scissors they make grooves so that the tire and the box are normally connected.

Checking the presence of flanges on tires If the tires do not have "flanges", then they are made so that the tire and the box are normally connected
- Connect the box and guide rails.
-
Insert the frame into the prepared opening. The finished frame is tightly pressed against the prepared opening, they are set symmetrically and in accordance with the central axes. A difference of no more than 2 mm is allowed between the extreme points of the diagonals.

Installation of the frame in the opening Between the extreme points of the diagonals, a difference of no more than 2 mm is allowed
-
Mark a place on the wall for displaying controls. After that, the frame is removed and a through hole is made with a puncher. The controls will be displayed through it, and it will be possible to open / close the shutters from inside the house.

Creating a hole for mounting controls Using a punch, make a through hole for installing controls
- Mount the frame. The frame is installed again in the prepared opening. Places in the wall are drilled through the ready-made holes, dowels are inserted and the frame is securely fastened. Before the final fixation of the frame, they once again check the correctness of its installation, do this using a building level.
- All external holes on the guides are closed with special plugs.
-
Installation of roller shutters
After the roller shutter frame has been securely fixed, you can proceed to the installation of control elements and the installation of the roller shutter curtain:
- A drive is passed through a hole in the wall and connected to the shaft inside the box.
-
End crossbars are mounted.

Installation of end ledgers Install end crossbars
-
Install the canvas. To do this, it is carried out under the shaft, and then inserted into the guide rails. In order not to damage the surface of the blade during installation, it is best to wrap the shaft with a soft cloth.

Installation of canvas The web is passed under the shaft and inserted into the guide elements
-
Traction springs are fixed at the ends of the web, after which they are inserted into the perforations located on the shaft.

Installation of traction springs Traction springs are inserted into the perforations of the shaft
- The blade is lowered to the lowest position, after which the traction elements of the drive are fixed.
-
Mount the protective cover and fix it to the body with rivets.

Close the box lid The box is closed with a protective cover
- The gaps between the box, guide rails and the wall are sealed with polyurethane foam; sealant can be used instead.
-
It remains to remove the protective film from the canvas, close the guide rails with decorative overlays and fix the lift limiters on the canvas.

Installation of lift limiters The lift limiters are fixed on the canvas
This completes the installation of the roller shutters. It remains to check the quality of work once again and you can operate new roller shutters.
In order for the roller shutters to serve for a long time and reliably, the curtain and guiding elements must be periodically wiped from dust and dirt. To do this, use a soft cloth and regular soap solution. Periodic preventive inspection, as well as timely troubleshooting, significantly increases the service life of such devices.

To care for roller shutters, use a soft cloth and ordinary soap solution
Video: Roller shutter installation sequence
Reviews
If you decide to save family money and do not want to invite specialists to install roller shutters, then you can cope with this task yourself. This will require basic skills and available tools. It is best to extinguish the assistant, since the weight of the roller shutters is impressive and it will be difficult to cope alone. If you carefully and correctly carry out all the stages of work, then you will be able to install roller shutters yourself, which will serve you for a long time and reliably.
Recommended:
DIY Installation And Intercom: Connection Diagrams And Installation Features, Description Of The Main Stages

Types of intercoms. Sequence and basic installation diagrams. Features of mounting a wireless intercom. Connecting to a TV
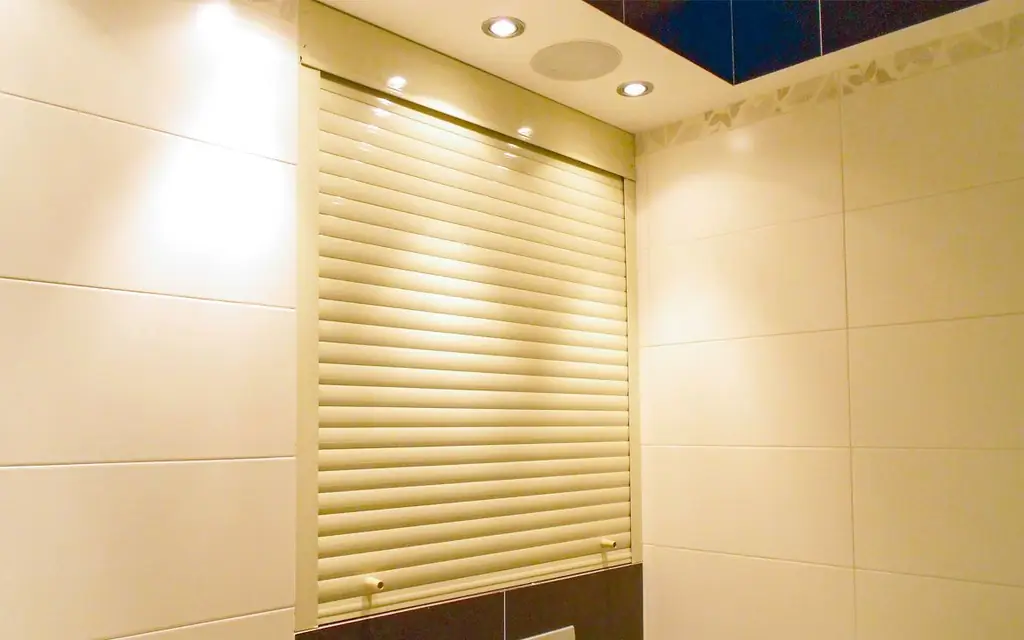
Toilet Roller Shutters: Varieties And Material, Pros And Cons, As Well As How To Properly Install And Operate

Appointment of roller shutters in the toilet. Types and dimensions of roller shutters. Assembly and installation process. Features of repair and operation of roller shutters
Repair Of Metal Roofing, Including A Description Of Its Main Stages, As Well As Material And Tools For Work

Methods and materials for the repair of metal roofing. What tool is needed and step-by-step instructions for eliminating roof breakages
Repair Of A Soft Roof, Including A Description Of Its Main Stages, As Well As Material And Tools For Work

Diagnostics of the condition of the soft roof. Repair types and their main features. A brief overview of roofing materials and recommendations for their selection
Flat Roof Repair, Including A Description Of Its Main Stages, As Well As Material And Tools For Work

A brief description of the types of flat roof repair. Recommendations for the selection of roofing materials. Technology for eliminating various defects on flat roofs
