Table of contents:
- Author Bailey Albertson albertson@usefultipsdiy.com.
- Public 2023-12-17 12:53.
- Last modified 2025-01-23 12:41.
How to equip a nursery: three step-by-step master classes

Based on the book "How to equip a nursery."
The children's room is a special space. It should be both functional and at the same time a little fabulous, so that the child would like to be there, play with friends, and be creative.
Tatyana Makurova, a well-known blogger and author of books on children's creativity, gives in the book "How to equip a nursery" visual master classes that will help you organize and decorate the space of the children's room. We present to your attention three step-by-step master classes.
Play mat "Solar system"
A rug for a young astronomer - with three-dimensional planets made of polymer clay - will help to clearly show the structure of our solar system and remember the order of the planets.

A rug for a young astronomer will help to visually show the structure of the solar system and remember the order of the planets
You will need:
- thick black cotton fabric 122 cm by 62 cm;
- white, black and yellow sewing threads;
- yellow fabric 20 cm by 20 cm;
- adhesive spider web 20 cm by 20 cm;
- self-hardening polymer clay;
- acrylic paints for fabric;
- sewing machine.
- Fold a piece of black fabric in half with the right side inward and sew along the cuts, taking into account a 1 cm seam allowance. Leave an open area for turning inside one of the seams.
- Turn the base of the rug through this area, iron it and sew the hole.
- Cut the Sun out of the yellow fabric.
- In the middle of the rug, glue the Sun with a cobweb and sew it along the contour with a small frequent zigzag. In this case, it is better to put the lower thread in the sewing machine in black, and the upper thread in yellow. This will make the seam less visible on the back of the mat.
- Mark the orbits for the planets: it is convenient to measure the radius on the pattern and draw the orbits using a cord fixed in the center of the rug.
- Sew the orbits with a triple stitch: the upper thread is white, the lower thread is black.
- Use white textile paint to paint the asteroid belt between the orbits of Mars and Jupiter. Use dark shades (brown, lilac, gray) to add volume to the asteroids. Fix the paints according to the instructions.
- Blind the planet from the self-hardening mass, observing their proportionality in relation to each other. Let them dry completely and then color in.

Planets can be made from polymer clay, papier-mâché, felt or cardboard
Decorative lampshade "Marine"
White paper lampshades are begging to be painted and decorated! In this case, you can not only paint the lampshade itself, but also make cute themed pendants for it.

You can make cute themed pendants for the lampshade
You will need:
- paper lampshade for IKEA pendant lamp;
- acrylic paints: blue, light blue, turquoise, red;
- thick watercolor paper;
- masking tape;
- 3-4 sheets of office paper;
- sponges for dishes.
- Draw a wavy line on the office paper and cut the sheet along it. This will give you two templates.
- Cut enough templates this way to form a ring just below the “equator” of the paper lampshade. Secure the templates with masking tape.
- Mix acrylics on a saucer or palette, matching the shades for the waves on a sheet of plain paper.
- When the palette is selected, paint on the lower part of the lampshade - from dark to light shades. The patterns cover part of the shade surface, creating a wavy sea edge. After staining, remove the paper and let the paint dry. Then draw the ships sailing on the sea.
- Draw fish on thick white paper. Color and cut them out, then color on the back. Hang each fish on a string under the lampshade, securing it with several stitches around the lower ring of the lampshade frame. Our lampshade is ready!

You can make any themed lampshade
Curtain holder "Kitten"
Curtain hooks are not often used in the interior, but meanwhile it is a functional and beautiful thing! Especially if you make it, for example, in the form of a kitten. The playful kitten climbed onto the curtain and let the sun into the room. Get up, it's morning!

Curtain hooks are not often used in the interior, and yet it is a functional and beautiful thing
You will need:
- red felt, 2 sheets of 20 cm by 30 cm;
- white felt, 1 sheet;
- gluey spider web;
- round elastic band 10 cm;
- floss threads and needles for embroidery;
- beads for eyes;
- synthetic winterizer;
- button.
- Cut out the torso, head, ears and tail from red felt - two parts for each element.
- Cut strips out of white felt for the face, back and tail, as well as the inside of the ears. Glue them with a glue spider web to the corresponding parts made of red felt: on the body, head and ears - on one side, and on the ponytail - on both sides. Sew the glued parts along the contour.
- Embroider the muzzle with a chain stitch and sew on beady eyes.
- Insert the ears between the two parts of the head and sew along the contour, leaving the seam open for stuffing the head.
- Sew together the body parts as follows: insert an elastic loop between the parts of one upper foot, and sew a button on the opposite foot, as in the photo. Leave an unsecured packing hole.
- Sew the tail in the same way.
Try, create, please yourself and your loved ones!
Recommended:
Living Room And Bedroom In One Room: How To Combine, Interior Design, Ideas + Photos
How to distribute space in one room: living room combined with a bedroom. Several ways of zoning a room
DIY Repair Ideas In A Children's Room, A Photo Of A Nursery Design, How To Decorate A Nursery, A Nursery Interior Design With A Video
DIY repair and decoration of a children's room. Practical advice on the choice of materials, colors, space zoning
We Decorate The House For The New Year With Our Own Hands: A Selection Of Ideas And Photos Of Decor
How to decorate a house for the New Year. DIY garlands, compositions, snowflakes and toys for the Christmas tree. Decorations for windows. New Year's table setting. Photo galleries
Recipes For New Year's Snacks With A Photo: Simple And Original Options With Different Ingredients, Including For Children

A selection of step-by-step recipes for making simple and original New Year's snacks for a festive table
Rope In Interior Decor: Some Original Ideas
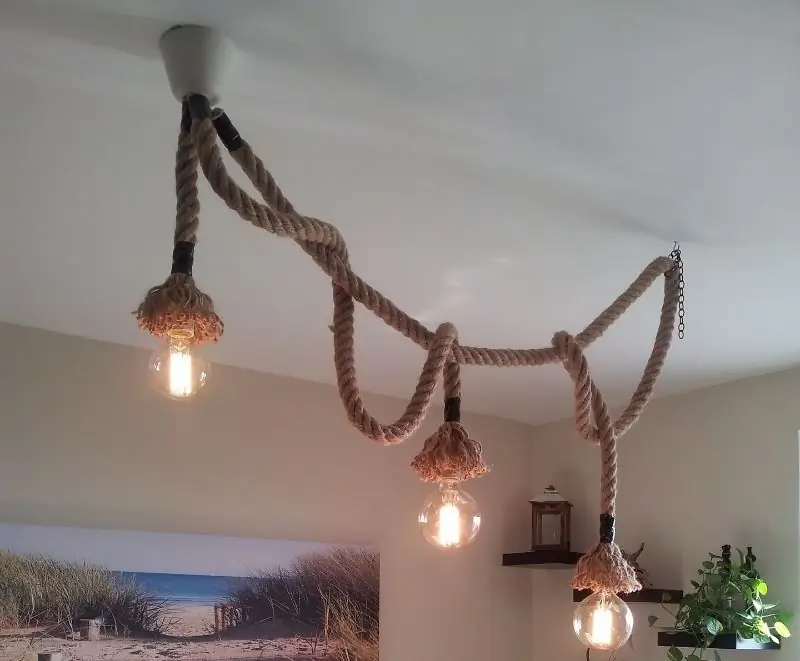
Several original decor ideas that require a regular rope
