Table of contents:
- Author Bailey Albertson [email protected].
- Public 2023-12-17 12:53.
- Last modified 2025-01-23 12:41.
How to make a winter bird feeder with your own hands from various materials?

Our garden can bring us pleasure all year round. Even in winter, frosty and snowy, we are happy to watch birds and enjoy their chirping. In addition, birds help trees to maintain health during this period, destroying insects and pests, so it is very important to attract birds to our garden area.
What is needed for this? And just a small gift - a feeder, always filled with food. After all, in winter it is difficult for birds to get food, and you can help them escape from cold and hunger.
Feeders are different and there are many ways to make them. We will consider a few simple, non-laborious options from available tools.
Content
- 1 What is important to know
- 2 Wooden feeder is the most common option
- 3 Step-by-step assembly of a plywood feeder with your own hands
- 4 Other options
- 5 More ideas: getting creative!
- 6 Video about making bird feeders with your own hands
What is important to know
A bird feeder is a structure or equipped place where feathered guests in your garden can satisfy their hunger. The range of feeders is very large, and if you have little free time, then you can buy a ready-made structure in the store. But a do-it-yourself bird feeder is a fun activity that the whole family will love.

Whatever design you choose for the future feeder, it must meet certain requirements:
- a reliable roof that protects feed from snow and rain;
- a hole of sufficient width so that the bird can freely climb in and out;
- material that is resistant to changes in temperature and humidity, so that the feeder can serve several seasons.
Feeders also differ in the principle of fixing. You can hang the finished structure on a tree or under a roof, or you can rigidly fasten it to any surface. Well, what material to choose for manufacturing, you decide for yourself, depending on the budget, free time and work skills. It can be wood, plywood or plastic. The simplest designs of plastic or glass bottles and cardboard boxes are also very popular.
Wooden feeder is the most common option
Wood is the most suitable building material, traditionally used in almost any work. A do-it-yourself feeder made of wood will serve you for many years, especially if you take responsibility for its manufacture and strictly adhere to the drawings and recommendations. All that you will need in the future is to clean up the feeder in a timely manner in order to prevent excessive clogging and rotting of the structure.
Stock up on the following materials and tools:
- sheets of moisture resistant plywood;
- plexiglass (in case you decide to install transparent walls);
- screws and self-tapping screws;
- jigsaw;
- paper, ruler and pencil for drawing.
So, first of all, you need to create a drawing, which you will be guided by during assembly. Choose the model that you like and apply a drawing on the paper, determining the dimensions by eye. With the required dimensions, you will need to consistently work and carefully calibrate them, so that in the end the feeder is beautiful and stable.
After the drawing of the product and all the component parts is ready, you can start marking and cutting the material. We will take as an example a fairly simple, average project.

The size of our feeder will be 40 X 30 X 30 cm (length / width / height). Mark out two pieces of material of the same size - for the roof and base, and two posts that connect these pieces to each other. The marking should be carried out as accurately as possible, down to the smallest detail. This will facilitate the further assembly process. Now cut the structural elements and start assembling.
Such a feeder looks like a miniature house and belongs to a variety of so-called bunker structures. It is easy to maintain and allows you to fill the space with feed in portions to make it easier to keep an eye on the birds.
Do-it-yourself phased assembly of plywood feeders
Wood, timber, plywood and plexiglass are used for feeders not only because they are quite common and easy-to-use materials. They greatly facilitate the construction.
- So, we have two parts of the feeder measuring 40 X 30 X 30 cm: wood - for the base and plywood - for the roof. You will also need 2 posts 30 cm long from a thin bar (2 X 2 cm is enough) and 2 more posts 27 cm long. This will provide a slope for the roof.
- Fix the racks on the base so that they are strictly vertical. Install them not in the corners themselves, but stepping back slightly inward from the edge. It will be easier for you if you outline another rectangle inside the board, stepping back from the edge, for example, 2 cm.
- When securing the posts, make sure that the shorter ones are in the right places, and not in opposite corners. The easiest way to attach is self-tapping screws. Pass them through the base and into the bar from the bottom of the structure.
- You can use plexiglass as the material for the side walls. This will allow the birds to protect themselves from the wind during the meal, and you can calmly watch the birds. To fix the plexiglass, make about 4 mm grooves in it on a milling machine, and use screws to fix it.
- Install a plywood roof on the posts and fasten it with self-tapping screws on four sides. This is the simplest part of our job if you have chosen a pitched roof structure. If the roof is gable, then the racks for it must be of the same size, and you also need to make a ridge. Fasten the left half of the roof to the side wall, and fasten the right and the ridge together. After that, assemble the structure and fix it with furniture hinges.

So, a simple, but at the same time, beautiful and functional do-it-yourself plywood feeder is ready. You can install it on any flat surface. And if you want to place it on a tree, make suspensions from a rope or twine that can be thrown onto a branch.
Other options
If you do not want to engage in construction work, there is no way to make a bird feeder out of wood or plywood, but the desire to help the birds is still great, available tools that will always be in your house will come to the rescue. It can be:
- plastic bottles of various capacities;
- juice bags;
- cardboard boxes for food or shoes;
- glass jars.
We present to you a selection of photos of do-it-yourself feeders, which can be made from any materials.

- The easiest option is to use a glass jar. It must be intact, with unbroken edges so that the bird does not get hurt. The jar should be suspended in a horizontal position using wire or twine loops. The stiff, dense wire will provide great stability. The main thing is to hang the jar so that it is at the required distance from hard surfaces and does not break in case of strong wind.
- It is also easy to make a do-it-yourself feeder out of the box. You can simply hang it in the right place on a string, fixing the lid at a height of 10-15 cm from the edge so that the food does not fall asleep with snow. Of course, such a design is unlikely to last you more than one season.
- Juice bags are more suitable for making feeders than cardboard boxes because they are moisture resistant. It is enough to cut a couple of holes of a suitable diameter in the walls at a height of about 7 cm from the bottom - and your trough is ready. It can be either suspended or fixed on a flat surface.
- A do-it-yourself bottle feeder is the cheapest and most common way to provide birds with food for the winter. Use large bottles - from 2 liters. Just as in the box, it is enough to make a few holes and hang the structure on a string. Well, if you show your imagination, then the design can turn out to be extraordinary and original.
A few more ideas: get creative
If you approach the matter with imagination, then you can be surprised at the variety of options and the number of their implementation! It turns out that do-it-yourself bird feeders are not only the structures we are used to or materials at hand. They can be more complex, or they can be quite simple, requiring little or no hassle.
For example, you can make garland feeders. They are not only very easy to make, but also serve as a real decoration for the entire garden. String on a fleecy hemp, like beads, bagels, crackers, dried fruits and nuts (peanuts are best), and hang them from the branches.
Likewise, small edible hanging feeders can be made. For them you will need:
- fat;
- sunflower seeds, cereals;
- nuts;
- dried fruits;
- wire;
- plastic molds, such as cups, balls;
- rope.
Melt lard over low heat in a saucepan, add cereals, seeds, nuts, dried fruits, and mix thoroughly until smooth. Now take the mold and insert the wire with the pre-fixed rope. Moreover, the end of the wire, placed inside the mold, bend the hook: this will make it easy to remove the finished product.

Place the mixture inside the mold and let it freeze. After that, take out the "pies" and hang them on the branches of garden trees. You can wrap them in large-mesh colored grids.
Even a fruit such as a pumpkin can serve as an excellent hanging feeder. Take a small pumpkin, make two large holes, take out the pulp and fix a plate inside, on which the food will be poured. Hang the pumpkin by tying a rope to the tail. The pulp remaining inside will also serve as food for birds.
DIY video about making bird feeders
To build a good, durable and beautiful bird feeder, it is not at all necessary to look for something new, and even more so to apply modern technology. We remember from childhood how such constructions were made in labor lessons or in our father's garage. All you need is imagination and some free time.
Please tell us and the readers about your experience of building feeders in the comments, and leave your questions. Good luck to you!
Recommended:
How To Make A Gazebo Out Of Wood With Your Own Hands - Step-by-step Instructions With Photos, Drawings And Video

A gazebo made of wood, who has not dreamed of having it? Now you have such an opportunity, read and get to work on making the structure yourself
How To Make A Fence With Your Own Hands From Scrap Materials: Step-by-step Instructions For Making And Decorating From Plastic Bottles, Tires And Other Things, With Photos And Vide

How to make a hedge with your own hands. Choice of material, pros and cons. Required instructions and tools. Tips for finishing. Video and photo
DIY Bird Feeder. How To Make A Bird Feeder

How to make a bird feeder from a milk bag, a plastic bottle and a tin can - even children can! Bird feeder - your help for birds in winter
How To Make A Children's Kitchen With Your Own Hands From Boxes, Old Furniture Or Wood

Step-by-step instructions on how to make a children's kitchen. DIY manufacturing features
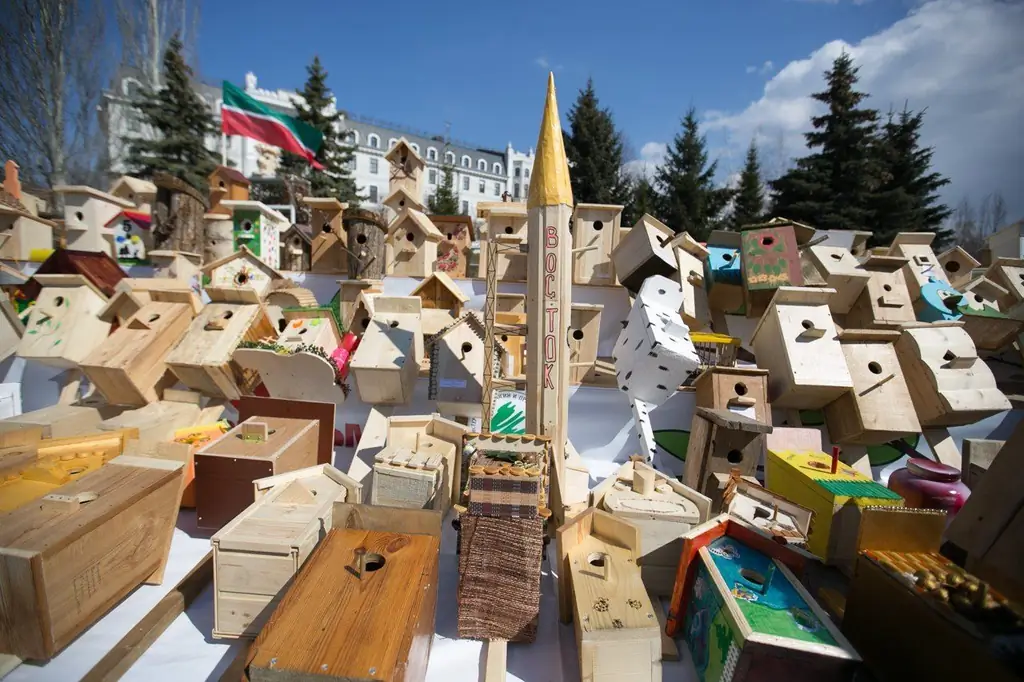
How To Make A Birdhouse Out Of Wood With Your Own Hands: Options With Drawings And Diagrams + Photos And Videos

How to make a wooden birdhouse with your own hands. The right tree, the necessary materials and tools, drawings, step-by-step manufacturing instructions. Video
