Table of contents:
- Author Bailey Albertson [email protected].
- Public 2023-12-17 12:53.
- Last modified 2025-01-23 12:41.
Roof waterproofing with liquid rubber
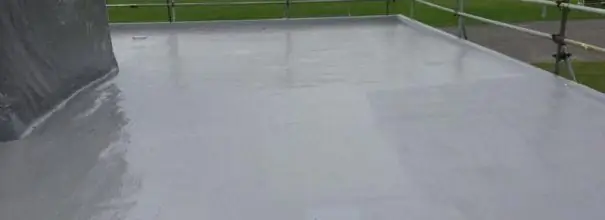
Professionals know how versatile liquid rubber is. This new generation waterproofing material has a number of significant advantages over other roofing and waterproofing materials.
Liquid rubber: properties and characteristics
Liquid rubber is a product obtained in the process of modifying a bitumen-latex emulsion, consisting of water and resinous substances. The plastic mass resembles rubber - the same black, elastic and hydrophobic, but it is not real rubber! It was named so for its ability to heal itself - the membrane is capable of returning its original integrity after minor punctures and injuries.
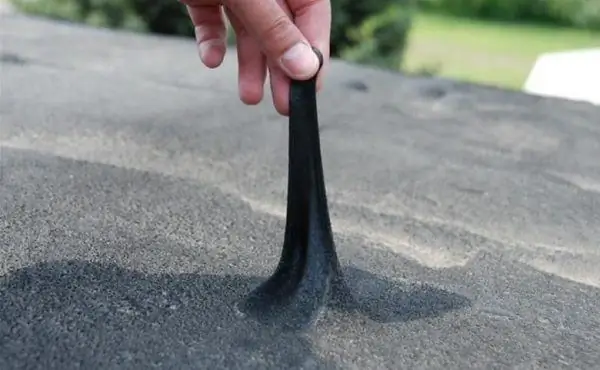
Liquid rubber has a wide range of applications
The emulsion contains:
- polymer additives that provide resistance to temperature changes;
- plasticizers that increase adhesive properties and plasticity;
- hardeners that improve curing.
The advantages of this versatile material are:
- High adhesion - liquid rubber is able to penetrate into the smallest cracks and pores of surfaces made of wood, glass, stone, slate, plastic, concrete and metal without prior priming.
- Solidity - the waterproofing spreads in such a way that no joints or seams form on the surface.
- All-weather - the material shows itself perfectly in the temperature range from -75 to +95 degrees.
- Environmental safety (in the case of cold application) and fire safety.
- Excellent durability - even a thin coating of 2 mm will not burst.
- Good resistance to shock and chemicals.
- Long service life (up to 25 years).
- Simple and quick installation - the coating can be easily applied with a roller, brush or spray gun both horizontally and vertically.
- Low weight - the mastic is suitable for very thin roofs.
Due to these properties, liquid rubber is successfully used as sprayed insulation for various surfaces. The scope is quite extensive:
-
Roof waterproofing of any type.

Liquid rubber for roofing Liquid rubber provides a seamless finish
-
Protection of foundations from groundwater; insulation of ceilings and floors from fungus or mold; various concrete or metal containers (tanks, pools), etc. The composition has bactericidal properties, therefore protects against corrosion and decay.

Waterproofing with liquid rubber The material can be used for waterproofing foundations
-
Insulation of joints.

Insulation of joints Can be used to isolate the joints of the old coating
-
Vibration isolation (ventilation openings, etc.).

Ventilation and roof insulation Roofing elements are also covered with mastic
- As a primer for the surface before applying roll or piece roofing.
- For spot repair of the roof. Liquid waterproofing can be used to seal chips, breaks, cracks or holes, and patch up leaking roofing felt roofs.
A 2 mm layer of emulsion will replace an 8 mm layer of roll materials. The main advantage of liquid rubber is that it can be applied to a previously prepared old coating. In addition, it can itself serve as a decorative coating.
The disadvantages of the material are:
- High price.
- Low UV resistance. Therefore it is recommended to cover the roof with water-based paint after waterproofing.
- Seasonality - the mastic can be applied only on a dry surface and at temperatures above 5 degrees Celsius, which makes it impossible to carry out work in a cold or rainy period.
- Unpleasant odor during application. Then he disappears.
- Immunity to negative water pressure - liquid rubber is designed exclusively for positive upper pressure, and water entering from below can form a bubble in the coating.
Despite all the disadvantages, liquid rubber is rightly considered one of the best means for waterproofing roofs.
Liquid rubber is distinguished:
- By the number of its components: a one-component mass, ready for application; two-component mass - hardener and base, which must be mixed.
- By the method of application. Coloring: the composition is applied with a roller or brush. Consumption is generally lower if a roller is used. Suitable for all horizontal surfaces. Spraying: surface treatment with cold solution using a special installation (spray gun). Suitable for vertical surfaces and provides a thin layer of waterproofing. Pouring: the mixture is prepared, poured onto the surface and leveled with a rule.
For effective hydroprotection, the treatment is carried out 2-3 times, and each subsequent layer is applied after the previous one has set - after 5-9 hours.
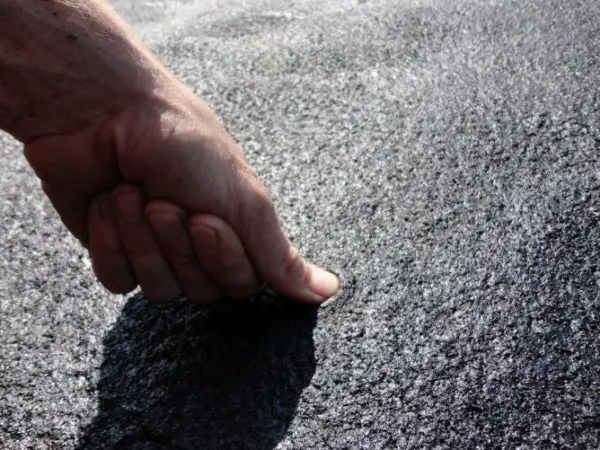
Mastic is able to restore its shape
Liquid rubber application process
Before starting work, you should choose the method of application. The choice depends on the type of roof, the availability of tools, technical capabilities and the type of material itself.
The process itself is divided into the following stages:
- Measurement of the roof area.
- Calculation and purchase of the necessary material.
- Preparatory work.
- Waterproofing application.
- Checking the tightness and uniformity of the applied layer.
- Finishing work.
Material calculation
When calculating the amount of material, the following formula is taken as a basis: for a layer of 1 millimeter on an area of 1 m 2, 1.5 liters of liquid rubber will be required. 2 mm - 3 liters. 3 mm - 4.5 liters. Usually, a layer of 3 mm is sufficient for waterproofing the roof, and from 4 mm for the foundation. A 10% allowance for work losses should also be made.
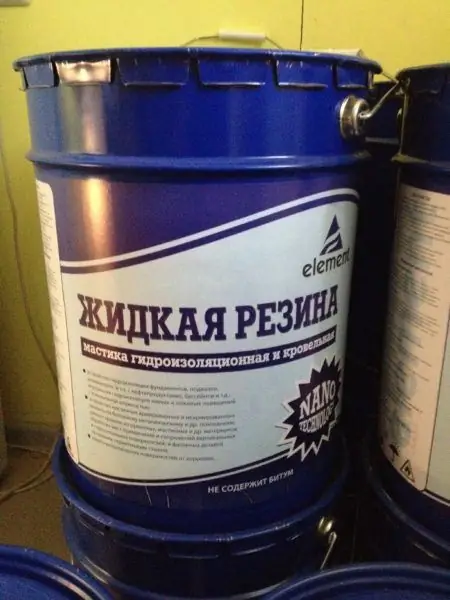
One-component composition is ready to use immediately
Step by step instructions for work
Roof waterproofing is best done on a fine, cool day at a temperature of at least 5 degrees Celsius.
- Preparation of the base. First of all, debris and all unnecessary protrusions - for example, pieces of concrete or reinforcement - are removed from the surface. The roof must be flat, as the appearance and uniformity of the coating depends on this. If there are deep cracks or depressions, they must be leveled with a cement-sand mortar and wait until it dries. Oil stains should be degreased and washed. It is important to carefully inspect the roof for stagnant rainwater. If the restoration of an old base is carried out, then the damaged waterproofing is cleaned with sandpaper, and the composition is immediately applied to it. In the case of processing glossy surfaces painted with oil or alkyd paint, they should be sanded to a matt state.
- Surface priming. This procedure is necessary for better adhesion of the material to the base, reducing its consumption and increasing the protective properties. The primer is applied in a thin layer twice.
- Insulation application. The cold solution is applied sequentially. The hot one is heated in parts up to 220 degrees, then it is slightly cooled to 150 degrees and applied immediately. Experts call this priming. Layering requires an interval of 10-15 minutes after each coat is formed for better adhesion and complete cure. Differences can be leveled with a spatula.
- After the last layer has dried, you can proceed to the finishing painting. The polymerization process is fully completed on the third day after application.
Video: waterproofing the roof with liquid rubber
Liquid rubber is a popular DIY roof waterproofing material. Its correct use will provide a monolithic surface that will regularly perform its functions for about two decades.
Recommended:
Waterproofing The Roof Of The Garage, How To Do It Right, Including With Your Own Hands, As Well As The Features Of Its Device And Installation
Materials that protect the garage roof from moisture. Waterproofing tools. Laying material on different types of roofs. Replacing the waterproofer
Liquid Rubber For Roofing: Description And Characteristics Of The Material, Reviews And Disadvantages, Features Of Use
What is liquid rubber and how did it come about. Characteristics. Equipment for application to the roof. Consumer reviews
Roof Waterproofing For Metal Tiles, How To Do It Right And Prevent Mistakes In Work
Mandatory waterproofing of a roof made of metal tiles. The choice of material to protect the roof from moisture. Laying waterproofing under metal tiles, nuances and mistakes
Installation Of Soft Roofs, Including Preparation Of The Roof For Work, As Well As Equipment For Work
Preparatory work before installing a soft roof. Layout and methods of laying. Features of the assembly of additional elements on the roof. Required tools
Installation Of Roof Vapor Barrier, How To Do It Right, Including Which Side To Put On The Roof
Why do you need a vapor barrier and what materials can be used. Rules for arranging a roof vapor barrier: how to avoid mistakes. Photo and video
