Table of contents:
- Author Bailey Albertson [email protected].
- Public 2023-12-17 12:53.
- Last modified 2025-01-23 12:41.
How to equip the vapor barrier of the roof of a private house with your own hands

Modern roofing materials are an almost absolute guarantee that moisture will not penetrate the roof, regardless of external conditions. However, from inside the premises, the roofing cake is not protected by anything from this. First of all, the heat-insulating material is exposed to danger, which loses its performance when wet. As a result, the house becomes cold and damp. A properly equipped vapor barrier will help prevent this process.
Content
- 1 Necessity of vapor barrier
- 2 Applicable materials
-
3 How to properly lay the roof vapor barrier
- 3.1 Which side to put the vapor barrier on the roof
- 3.2 How to fix the vapor barrier to the rafters
- 3.3 Video: rules for laying a vapor barrier
-
4 Installation errors
4.1 Video: the consequences of improper vapor barrier
The need for vapor barrier
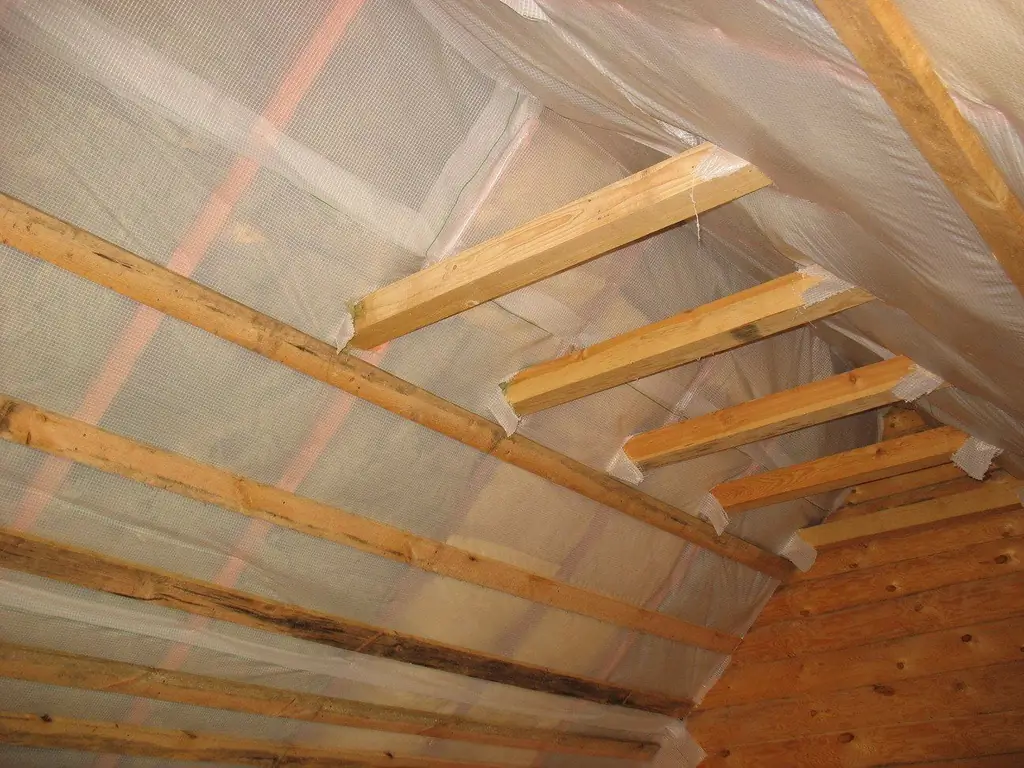
Warm air in the room is saturated with vapors and rises, trying to get out through any openings. But since in the under-roof space the air temperature and humidity are much lower, condensation forms, which can be localized on the insulation, which can lead to its destruction.

Vapor barrier material protects the insulation from the destructive action of moisture
A more difficult situation is observed in the cold season. The steam coming out into the under-roof space stops, but first turns into frost, after which it forms an ice crust, which will freeze absolutely any insulation in a short period of time.

A vapor barrier is needed to preserve the insulation
With the onset of spring, the ice begins to melt in all pores and erode the interior decoration. This becomes the reason that the insulation ceases to fulfill its functions, and the mineral wool will become unusable after a year of such operation, the foam will last a little longer.

Without arranging a vapor barrier, the insulation will last much less
That is why the arrangement of the vapor barrier layer is required. Its main task is not to let the condensate flow to the insulation. This will warn you:
- the appearance of mold;
- heat leakage from the premises of a private house;
- decay of all wooden structures.
Applicable materials
There is a wide variety of modern building materials that have vapor barrier properties. They are conventionally divided into three groups:
-
Polyethylene film. This type of material is universal, since it can perform several functions at once. The film is covered with a special reinforced fabric. There are two types of this vapor barrier material: with and without perforation. But the holes are so small that it is impossible to see them with the naked eye. For installation, it is necessary to use seals and connecting tapes, since the film is produced in rolls. The strips must be fastened as tightly as possible, otherwise the functionality of the layer will be impaired. And also there are plastic films with a foil layer that retains heat inside the room.

Vapor barrier polyethylene film Vapor barrier polyethylene film reinforced with fabric
-
Polypropylene film. It is used as a hydro and vapor barrier material. On one side, the film is covered with an anti-condensation layer consisting of viscose-cellulose fiber. The principle of operation of this material is quite simple: condensate protruding from the side of the film, which is facing the insulation, is absorbed into it and therefore does not get to the insulation. Since when arranging the roof, the presence of a ventilation gap is implied, the moisture absorbed into the vapor barrier dries out.

Polypropylene film for vapor barrier Polypropylene film has a smooth and rough side
-
Breathable film. The most modern vapor barrier material. Combines the properties of steam and water resistance. The main advantage is that there is no need to arrange a ventilation gap, and this can significantly save under-roof space. This membrane passes moisture through itself, which subsequently settles on a rough layer of material, after which it is absorbed into it and dries. This allows the insulation to stay dry. Various types of vapor barrier membrane are available, which can be single or double-sided.

Breathable vapor barrier film Single-sided membranes conduct steam in one direction only, double-sided membranes can be installed on either side
A very important stage in arranging a roof vapor barrier can be considered not only the process of its installation, but also the choice. The quality of the roof arrangement as a whole depends on this, as well as its service life. When choosing, remember that the more weight the material has, the stronger it is. It usually ranges from 60 to 270 g / m 2. As for the vapor permeability parameter, you need to choose a material with a minimum value. The recommended parameter is less than 1 g / m 2 per day.
How to properly lay the roof vapor barrier
Before installation, it is recommended to make sure once again that you have purchased the vapor barrier material. It is also worth making sure that the vapor barrier you purchased is compatible with your roofing material. Universal in this case is "Izospan B", which can be used regardless of the type of roofing cake.
Which side to put the vapor barrier on the roof
There are certain rules for laying vapor barrier material. Regardless of the type, the film has two surfaces: one smooth, the other rough. It should be laid with the smooth side on top of the insulation. At the same time, carefully make sure that the material fits as tightly as possible, the presence of gaps is not allowed.

The smooth surface of the vapor barrier must be in contact with the insulation
When laying the vapor barrier membrane, it is necessary to provide a ventilation gap between the vapor barrier and the decorative roof sheathing. It must be at least 5 cm, and the type of roofing material in this case does not matter. This ventilation gap can be provided by a counter grill, which is mounted directly on the membrane.
How to attach the vapor barrier to the rafters
It is necessary to fasten the material to the rafters from the inside of the insulation. For fastening, you can use different parts, for example, a construction stapler or galvanized nails. Try to minimize the number of punctures in the material, as this can cause condensation to penetrate through these holes during the operation of the roof.

You can use a stapler or nails to attach the vapor barrier
The option of attaching the vapor barrier material to the rough lining of the attic is also allowed.
The material can be laid in horizontal or vertical stripes, rolling out the entire covering without breaks. Additionally, you need to process the joints, both vertical and horizontal. To do this, you need to lay the vapor barrier with an overlap, the size of the overlap should be at least 15 cm. Further, the joints should be sealed with a special tape, but you can only choose the one that is designed to work with the vapor barrier film.

All joints must be sealed with wide tape
It is also necessary to seal the joints of the material with a wooden or concrete base, even if a stapler or nails were used for fastening.
Video: rules for laying a vapor barrier
Installation errors
Despite the fact that the process of installing a vapor barrier film is quite simple, sometimes mistakes cannot be avoided, but they are typical and can be prevented:
- loose adhesion of the film to the girders, valley beams and ridge, especially for complex roof structures;
- the use of a narrow connecting tape, because of this, the sealing of the seam can be violated during the operation of the roof;
- lack of deformation margin when arranging a roof with windows;
- lack of internal protection of the vapor barrier film around the skylights, which is why ultraviolet rays gain open access to this material and destroy it;
- the film bends around the rafter legs, which forms a gap through which moisture can pass and be absorbed into the insulation.
Video: the consequences of improper vapor barrier
Steam is a substance that is difficult to block the path, therefore a responsible mission is imposed on the vapor barrier of the roof of a private house. It is possible to guarantee the safety of the roofing cake and wooden structures, the long service life of the roof, only through the correct laying of the vapor-proof material.
Recommended:
Sex Barrier For Cats And Cats: Composition And Mechanism Of Action Of Antisex, Contraindications And Side Effects, Cost, Analogues, Reviews

Sex barrier against sexual hunting in cats and cats: release forms, composition, mechanism of action, use, analogs, reviews of owners and veterinarians
The Roof For The Hangar, How To Do It Right, Including With Your Own Hands, As Well As The Features Of Its Design And Installation
How the hangar roof shape depends on its function. The better to insulate the hangar roof. DIY hangar roof assembly instructions
Waterproofing The Roof With Liquid Rubber, How To Do It Right, Including Preparing The Roof For Work
Liquid rubber: properties and characteristics. Calculation of the material. Technology and methods of application. Step by step instructions for work
Roof Vapor Barrier And Its Types With Description And Characteristics, Features Of Materials And Installation
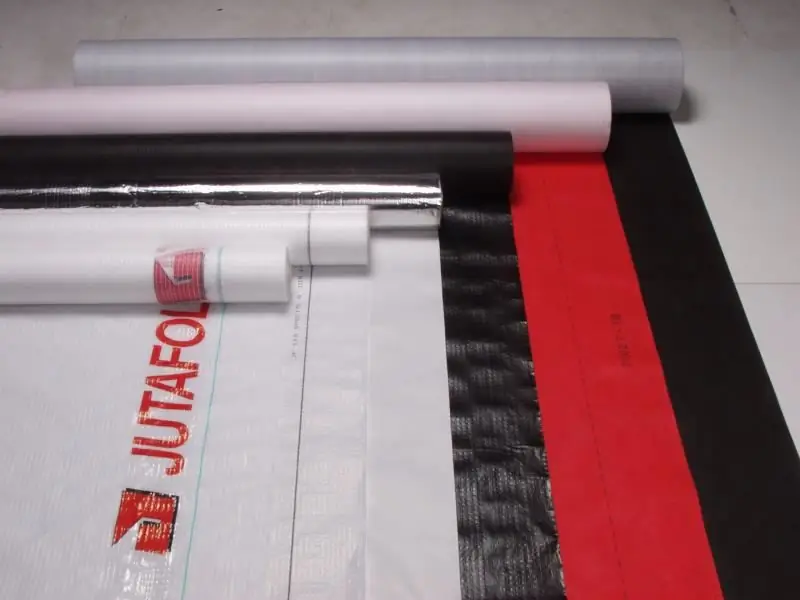
Roof vapor barrier, its types, description and characteristics. Features of materials for roof vapor barrier. Installation methods for each of the materials
Installation Of Roof Windows, Including With Your Own Hands, As Well As Installation Features In An Already Finished Roof
Step by step instructions for installing a roof window. Features of technology and nuances of installation in various types of roofing
