Table of contents:
- Author Bailey Albertson [email protected].
- Public 2023-12-17 12:53.
- Last modified 2025-06-01 07:32.
Installation of a soft roof: how to properly prepare the roof and lay a covering on it

When choosing a material for arranging a roof, many people prefer a soft roof. There are a number of good reasons for this. This lightweight and affordable material consists of bitumen, plastic or rubber, reinforced with synthetic mesh, and is distinguished by easy installation, good performance, and also can be used on all types of flat and multi-pitched roofs.
Content
-
1 Roof preparation for installation of soft roof
- 1.1 General information about soft roofing
-
1.2 Preparatory work before laying shingles
1.2.1 Video: preparing a roof for a soft roof
-
2 Features of the installation of a soft roof
- 2.1 Tool for installing soft roof
-
2.2 The main stages of laying shingles
2.2.1 Video: installation of RUFLEX shingles
-
3 Features of installation of abutment elements on a roof made of bituminous tiles
- 3.1 Installation of a soft roof at the chimney outlet
-
3.2 Installation of aerators on a soft roof
- 3.2.1 Video: what are aerators for
- 3.2.2 Video: instructions for installing the aerator on a soft roof
-
3.3 Installation of a drip on a soft roof
3.3.1 Video: installation of eaves and end strips
-
3.4 Ventilated roof ridge made of bituminous tiles
3.4.1 Video: how to install roof ventilation
-
3.5 Installation of lightning protection on a roof with a soft roof
3.5.1 Video: installation of lightning protection on the roof of a house
Roof preparation for soft roof installation
Before proceeding with the preparation of the roof for the installation of a soft roof, it is necessary to briefly familiarize yourself with the properties of materials of this class.
General information about soft roof
The material, which today is known as "soft roof", has spread since the end of the last century. Its domestic counterpart is the well-known rolled roofing material. The difference lies in the form of release - a soft roof is made in the form of small plates: up to 100 cm in length, 25-40 cm in width and from 2.5 to 4.5 mm in thickness. This shape makes it easier to install and lift the material on the roof, and also simplifies repairs in the event of damage. The weight of a standard package is 25-35 kg, depending on the number of layers in the plates. The best quality tiles are three-layer with additional bituminous impregnation.
The structure of the shingles is characterized by increased strength, since they are based on synthetic high-strength materials - fiberglass or non-woven polyester. On the inner surface there is a layer of waterproof glue, which is protected by a silicone film. Before installing on the roof, the film is removed. The outer surface is covered with fine gravel, consisting of basalt or shale. For long-term storage in cardboard boxes, sheets are sprinkled with fine sand among themselves - this prevents sticking.

Bituminous shingles consist of several layers glued together into a single whole
When planning roofing with a soft roof, the angle of inclination of the slopes is taken into account. The technology is designed for a minimum tilt angle of 12 degrees. With a lower slope, there is a high probability of water stagnation and, as a result, a violation of the tightness of the coating.
Thomas cutting tiles is very diverse:
-
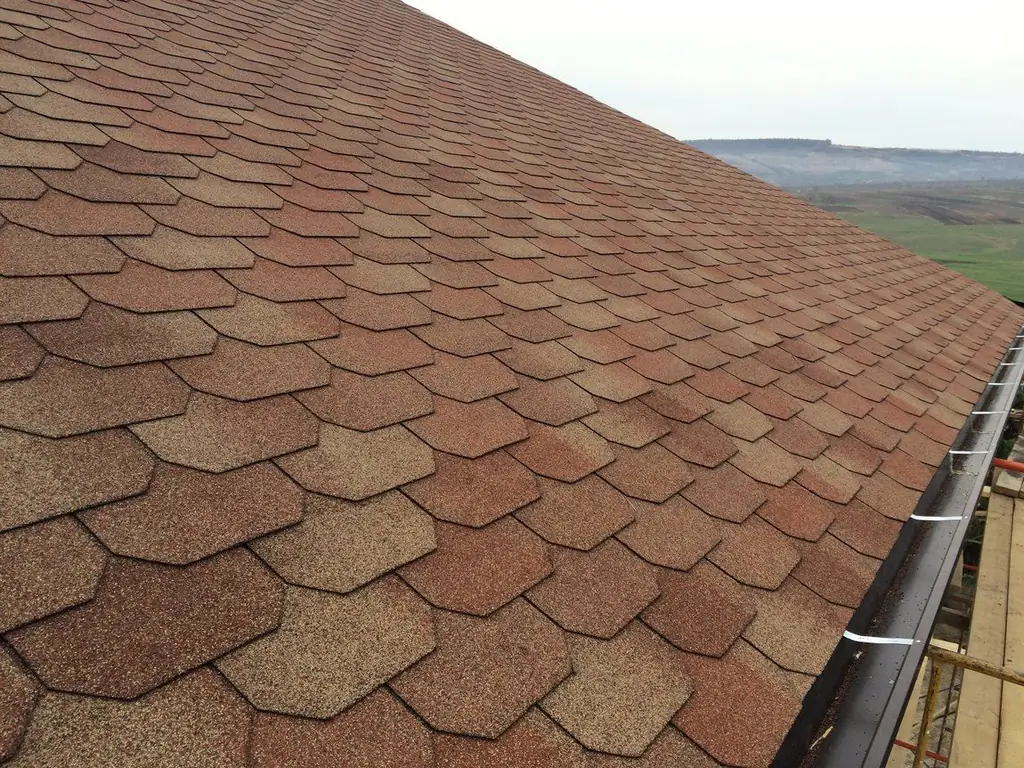
hex;

Hexagonal tile The hexagonal shape of the soft roof resembles a honeycomb of bees
-
diamond-shaped;

Diamond roof tile The diamond-shaped soft roof looks very restrained and gives the impression of a completely flat roof
-
shingles;

Shingle tile The material outwardly resembles a wooden roof covering - shingles, but it is much easier to assemble and lasts longer
-
rectangular;

Rectangular shingles When installing rectangular bituminous tiles, plates of different colors are used, so the roof from it is somewhat reminiscent of paving stones
- under a brick;
-
dragon tooth;

Dragon Tooth Roof Tile Dragon Teeth is used on steep roofs
-
beaver tail.

Beaver Tail Roof Tiles The beaver-tail shingle shape fits well with the exterior of the hip roof
The color range depends on the type of bulk crumbs, which lends itself easily to any staining. Manufacturers offer a wide range of colors - from blue and gold to fiery red.
In addition, the shape of shingles differs in the number of petals, which can be from one to five. However, inexpensive types of coatings can also be produced in the form of uncut shingles, which are cut out before immediate installation.
The service life of the material declared by manufacturers is from 50 to 60 years. If you follow the rules of operation and perform timely maintenance, the period of use can be much longer. The unique property of bituminous shingles is that, under the influence of solar radiation, the sheets are sintered together and form a durable waterproof shell.
Preparatory work before laying bituminous tiles
The main steps required when using soft roofing for roofing are as follows:
- Roof inspection and analysis. In most cases, installation is done without removing the old coating. The rafter system is inspected for mechanical damage and rot. If problem areas are found, they are changed or repaired. The focus is on maintaining the geometry of the roof.
-
Preparation of the base for the roof. To do this, a solid or lattice surface is collected, on which the shingles are subsequently attached. Use edged calibrated boards (from 25 mm thick), plywood or chipboards (at least 10 mm thick). Experienced craftsmen recommend arranging a solid base. It ensures that there is no sagging of the material and its stable adhesion over the entire surface. Strict humidity requirements are imposed on wooden lathing, the level of which should not exceed 18%. The flooring is dried in the sun, and the installation is done in dry weather.

Sheathing for a soft roof Under the soft tiles, a continuous sheathing of moisture-resistant plywood is usually laid
- Laying waterproofing. Before installing the coating, a waterproofing film is spread on the wooden base. Particular attention should be paid to the installation of a lining carpet in valleys, slope joints and around other external elements of the roof - ventilation and chimney pipes, lightning rods, etc.
Video: preparing a roof for a soft roof
Features of installing a soft roof
Due to the ease of installation, the soft roof has gained great popularity among those who are engaged in construction on their own. High-quality installation does not require special skills and high professionalism. Accuracy in cutting and adherence to technological standards are sufficient conditions for the correct installation of this roofing.
Tool for installing soft roofs
Installation of a soft roof is carried out using conventional locksmith tools. For work you need:
- hammer for hammering in nails;
- screwdriver for tightening self-tapping screws;
- long-bristled paint brush for applying bituminous glue;
- spatula for spreading mastic;
- construction gun for applying glue;
- roofing knife, with the help of which the cutting and trimming of ordinary tiles is carried out;
-
scissors for metal for cutting tin elements (for example, a drip).

Set of tools for the installation of a soft roof For the installation of a soft roof, a standard set of carpentry tools is used
If the roof decking takes place in the cold season (temperature below 5 of C), you must use a hair dryer to heat the building adhesive.

The construction hair dryer is used to heat the bitumen layer at a low air temperature
Of course, as in any construction, the master needs measuring tools - a tape measure, a construction thread (cord), a pencil or a marker.
Consumables you will need:
- flat-headed roofing nails;
- screws with a wide thread pitch;
- bituminous mastic.
The main stages of laying shingles
Shingles are installed in three stages.
-
Removing the silicone protection from the inside of the shingle.

Preparing shingles for installation Before laying, the protective silicone film is removed from each shingle
- Installation of ordinary tiles on the base of the roof.
-
Additional fastening of the upper part with nails. The fixation is carried out in such a way that the next row hides the nail heads.

Fixing shingles with nails The nails are driven in so that the next row of shingles hides their installation sites.
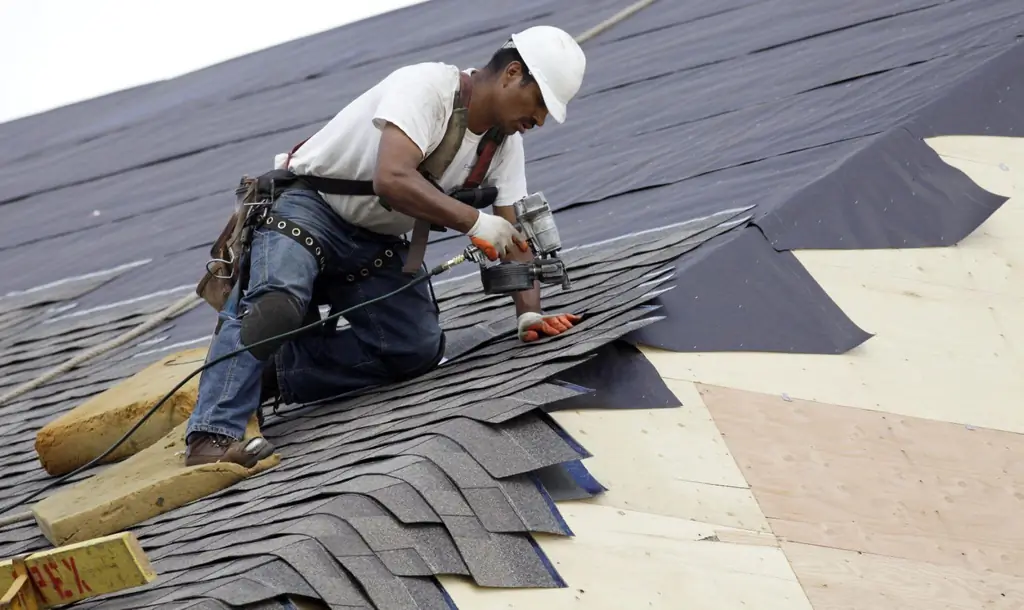
The layout starts from the line of the cornice and is carried out parallel to its horizontal axis. Sheets are glued into the joints of the ends. At the end of one row, they begin to lay the next one, forming a given overlap in width. Its size is determined by the design of the shingles. The decorated part, treated with mineral chips, should remain open, and everything that is above is hidden by the next row. The details of the installation method are detailed in the technical documents accompanying the shingles. Since there are a great many varieties and manufacturers, there are no general rules other than those listed above.

The use of an automatic nailer when covering large areas of roofing with shingles significantly speeds up the work
Video: installation of RUFLEX shingles
Separately, we note that roofing material and roofing felt formally also belong to the class of soft roofs, therefore, by and large, they can be used not only as waterproofing, but also as an independent roof. However, in recent decades, this method has been practiced exclusively in the construction of utility rooms in the private sector. This is due to the fact that the service life of rolled roofing material as a topcoat is limited to five to seven years. After that, it becomes necessary to replace it. But for those who intend to use this material for household needs, let's say that:
- on pitched roofs with a slope of more than 10 o, roofing material is laid in several layers perpendicular to the cornice with an overlap between the canvases of 10 cm;
- on shallower roofs, it is laid parallel to the cornice with an overlap of 5 cm. In this case, the canvases are arranged so that the upper element overlaps the lower one, but in no case vice versa;
- with any method of installation, a continuous crate is assembled under roofing material and the material is glued to it using bituminous mastic.

Depending on the angle of inclination of the roof, roofing material is laid along or across the slope
Features of the installation of abutment elements on the roof of bituminous tiles
When covering the roof with a waterproofing carpet and gluing the tiles, it is necessary to properly process the places where the roof elements protruding from the common plane of the slopes are located. First of all, this applies to pipes - chimney and ventilation. To create a harmonious connection, special technologies have been developed.
Installation of a soft roof at the exit of the chimney
If there is a chimney on the roof slope, special preparatory work is carried out. The aim is to create conditions for reliable sealing of the installation site of ordinary tiles on the pipe surface. For this, plywood or OSB is used, from which the casing frame is mounted. Its configuration copies the shape of the pipe, but is 2-3 cm away from the brickwork. Plywood serves as the basis for fixing the backing layer, on top of which the tiles are glued or a metal casing is put on.

At the junction of the soft roof to the chimney, a casing made of plywood is arranged, on top of which a metal apron is then mounted
Installation of aerators on a soft roof
One of the ventilation elements of the roof space is an aerator. The device is made of durable plastic resistant to temperature extremes and UV radiation. According to the design features and the principle of operation, two types of aerators are distinguished:
-
The continuous element in the roof is designed to provide ventilation along the ridge space of the roof. The air coming from the eaves is discharged into an open space in the area of the ridge girder.

Continuous aerator Connecting several aerator segments creates a continuous ventilated ridge.
-
The point aerator can be located anywhere on the roof where an active outflow of humid air is required. Such devices are more often found on roofs with a small angle of inclination and on flat floors.

Point aerator Point aerators remove moist air in certain areas of the roof
Filters and grooves are provided in the upper part of the device to prevent the penetration of insects, dust and atmospheric precipitation from the outside. The number of aerators on a slope or ridge is determined by the size of the space under the roof and the performance of the ventilation ducts used. Depending on the power, one aerator is able to provide air circulation over an area of 10 to 90 m 2.
The higher the aerator is, the more traction it creates. The length of the pipe ranges from 0.3 to 0.6 m. The accepted distance from the roof ridge is 0.6-0.9 m. Often, in addition to the standard equipment, a deflector is used, which is located at the top of the aerator. This combination accelerates air currents and prevents snow from entering during storms and squall winds.
Video: what are aerators for
The aerators are installed before the installation of the bituminous tiles.
-
In the designated place, using an electric jigsaw, an oval hole is cut out in the shape of the aerator pipe. An additional waterproofing layer is mounted on the crate around the hole.

Installing the hole for the aerator The place of the device for the passage of the aerator through the roof is additionally insulated with a layer of lining carpet
-
Next, a passage element is mounted on the roof, which is pre-coated with bituminous mastic.

Installation of the passage element of the aerator The passage element of the aerator is installed on bituminous mastic and additionally secured with roofing nails
- Finally, the device is completely assembled by passing a ventilation pipe into the passage element.
Video: instructions for installing an aerator on a soft roof
Installation of a drip on a soft roof
The cornice strip, or drip, serves to compensate for the surface tension of water and the associated wetting of the end elements of the cornice. It is a plate of galvanized sheet metal (less often of plastic), bent at an angle. Some craftsmen neglect this element, believing that it is enough to install drainpipes. But practice shows the opposite. The service life of a wooden roof structure with the use of a drip is significantly extended.

The drip bar protects the frontal board from getting wet and helps to remove condensate from the under-roof space
Installation is carried out at the end of the waterproofing carpet flooring. The drip tip is nailed and additionally secured with flat head screws. At the joints of two plates (the length of which is usually 2 m), the joint angle is cut off. The size of the overlap is about 5 cm. The location of the lower part of the drip is the receiver of the drainage system. With a total apron length of 35-40 cm, ¼ remains straight, and ¾ bends in the form of the letters U or V. The fold angle is from 100 to 130 degrees.

The shape of the drip is selected based on the configuration of the cornice or overhang
Several types of eaves are available. This is due to the fact that there are various soft roofing systems, including materials such as roofing felt, roofing felt and PVC membranes.
Video: installation of eaves and end strips
Vented roof ridge made of bituminous tiles
The problem of ventilation of the roof space is solved in two ways. The first is the installation of ready-made aerators, and the second is the independent manufacture of a ventilated ridge for a soft roof.

When installing a ventilated ridge in the contact points of the ridge strip and the roofing, it is necessary to lay a special seal that allows air to pass through and traps snow, dirt and foreign objects
The ventilated ridge performs the following functions:
- ensuring the necessary air circulation under the roof;
- removal of vaporous moisture;
- prevention of water condensation.
With well-organized ventilation, the negative phenomena associated with seasonal climate changes are minimized:
- ice build-up on eaves and eaves in winter;
- accumulation of hot air masses in the attic in summer.
When manufacturing and installing a ventilated ridge, the procedure is as follows.
Preliminarily, an indent of 150-200 mm is made from the edge of the ridge, and along the entire length of the ridge run at the base of the tile, a gap of 25-50 mm is cut out.
- The surface layer of the soft roof is cut off by 10-15 cm to both sides of the ridge axis and a gap is made through the entire roofing pie.
- A galvanized metal grating (with a cell up to 2 cm) is stretched over the entire length of the roof. The strip is nailed or fixed with self-tapping screws.
- A counter-lattice made of bars with a cross section of 45x45 mm is attached along the slopes in a position perpendicular to the cut hole.
- A board of OSB or moisture-resistant plywood is attached to the timber, which will serve as the basis for fixing the bituminous tiles.
- The lower part of the ventilated ridge is battened down with a fine plastic mesh (like a mosquito net). This is necessary to protect against dust, small debris and insects.
-
Lining material is laid on the base, and then row shingles.

Ventilated ridge on a soft roof The ventilated ridge provides the necessary air circulation in the under-roof space due to the gap in the area of the joints and the sealing element allowing air to pass through at the ends of the ridge element
Thus, the ventilated ridge is an additional small "roof" above the junction of the roof slopes.
Video: how to install roof ventilation
Installation of lightning protection on a roof with a soft roof
Every house, especially a wooden one, needs lightning protection. Various types of lightning protection have been developed for different types of roofing. A soft roof is no exception, for a bituminous coating, either a mesh of metal wires (located after 6 or 12 meters) is used, passing along the ridge, or masts are mounted with a tensioned cable.
Strictly speaking, lightning protection consists of three parts:
-
a lightning rod located on the roof;

Lightning rod The lightning rod is a vertical metal rod with installed current leads at its base
-
ground loop laid deep in the earth;

Ground loop The ground loop is usually a system of three recessed metal rods connected to each other by metal corners
-
the down conductor connecting the system together.

Lightning protection down conductor When laying the down conductor, bending of the bus is not allowed by more than 90 degrees
In turn, lightning rods are divided into passive (pin, wire and mesh) and active (with a remote mast equipped with an ion generator). The number and density of the location of lightning rod antennas depends on the dimensions and area of the roof.
It is better to entrust the installation of lightning rods to professionals who are licensed to install such systems. The calculation of the height of the receivers, the cross-sectional area of the down conductor and the grounding depth is carried out depending on the specific situation. The composition of the soil and the average annual value of air humidity are taken into account.
After installation, the system is tested without fail. To do this, use a megohmmeter. It makes no sense for a private person to purchase such a device for a one-time measurement. The electrical resistance of grounding is measured, as well as the resistance of spreading, for which electrodes are lowered into the ground at a distance of 12-15 meters from the house. In this case, the distance between the measuring points must be at least 1.5 m. If the readings of the device do not exceed 4 ohms, the system is mounted correctly. A measurement protocol is drawn up with the signature of the responsible person.

Using a megohmmeter, measurements are made of the specific resistance of the grounding area, as well as the resistance of the spreading of an electric charge
Video: installation of lightning protection on the roof of a house
Taking into account the features listed above, installation of a soft roof is not very difficult. Labor costs and the number of working hands are minimal. However, do not forget about personal safety measures when assembling the roofing. It is extremely dangerous to perform high-altitude work without safety equipment and a partner. You need special shoes with non-slip soles. Installation is recommended during the summer season in clear weather.
Recommended:
Repair Of A Soft Roof, Including A Description Of Its Main Stages, As Well As Material And Tools For Work
Diagnostics of the condition of the soft roof. Repair types and their main features. A brief overview of roofing materials and recommendations for their selection
Do-it-yourself Membrane Roof Installation And Repair, Equipment For Work + Video
The choice of membrane for the roof. Installation technology depending on the selected membrane. Tool for work
Roofing Cake For A Soft Roof, As Well As The Features Of Its Structure And Installation, Depending On The Type Of Roof And The Purpose Of The Room
What is a cake under a soft roof. Features of its device and installation. How to arrange a roofing cake from roll and piece materials
Installation Of Flexible Tiles, Including Their Elements, As Well As Equipment For Work

Rules for the preparation of the roof and methods of laying shingles. Features of creating a lathing and roofing cake. Arrangement of abutments and passages
Installation Of Roof Windows, Including With Your Own Hands, As Well As Installation Features In An Already Finished Roof
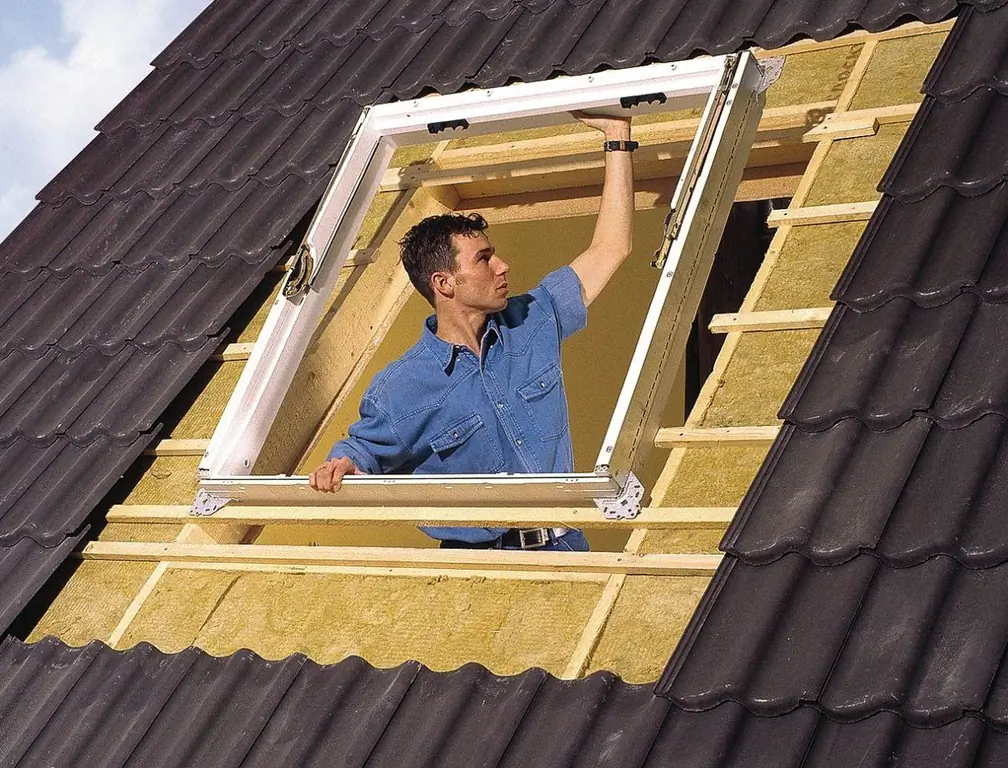
Step by step instructions for installing a roof window. Features of technology and nuances of installation in various types of roofing
