Table of contents:
- Author Bailey Albertson [email protected].
- Public 2023-12-17 12:53.
- Last modified 2025-01-23 12:41.
Error 633 when connecting to the Internet via a modem: why it appears and how to quickly remove it

When connecting to the network, Internet users are faced with various problems - errors, which, as a rule, are accompanied by special codes. It is they that allow you to narrow the range of reasons why a failure could occur. This, in turn, allows you to solve the problem as quickly as possible. What can cause error 633? What should a user who encountered it do?
Content
- 1 Causes of error 633
-
2 How to fix this problem in the top ten
- 2.1 Reboot the modem
- 2.2 Automatic network troubleshooter
- 2.3 Deactivation of components that are incompatible with the hardware OS
-
2.4 Checking the system for viruses
2.4.1 Video: how to use Windows Defender
- 2.5 Updating or changing the router driver through "Safe Mode"
- 2.6 Changing the COM port number
- 2.7 Correction of registry entries "Windows"
Causes of Error 633
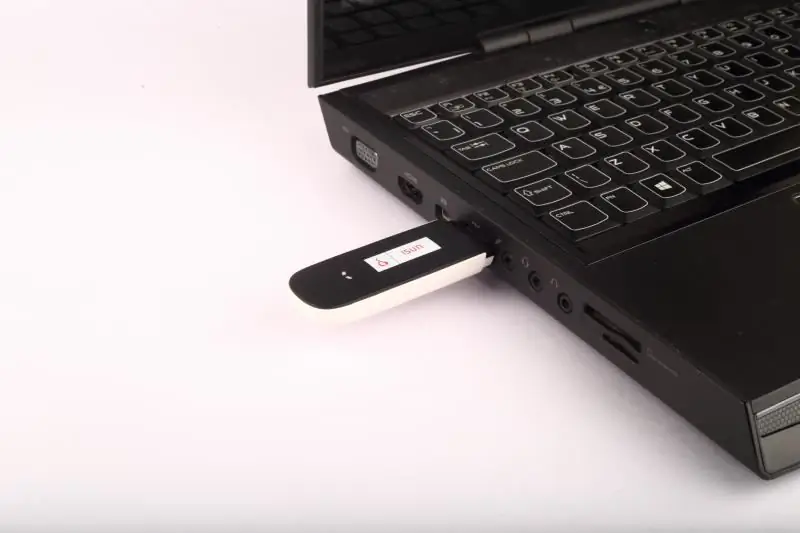
Problem code 633 is usually accompanied by text indicating that the modem is already in use or not configured. It usually occurs when you connect to the network via a USB modem from Megafon, MTS, Intertelecom and other providers that offer 3G or 4G mobile Internet on a PC. However, it is possible that the error may appear with a wired connection via an ADSL modem.

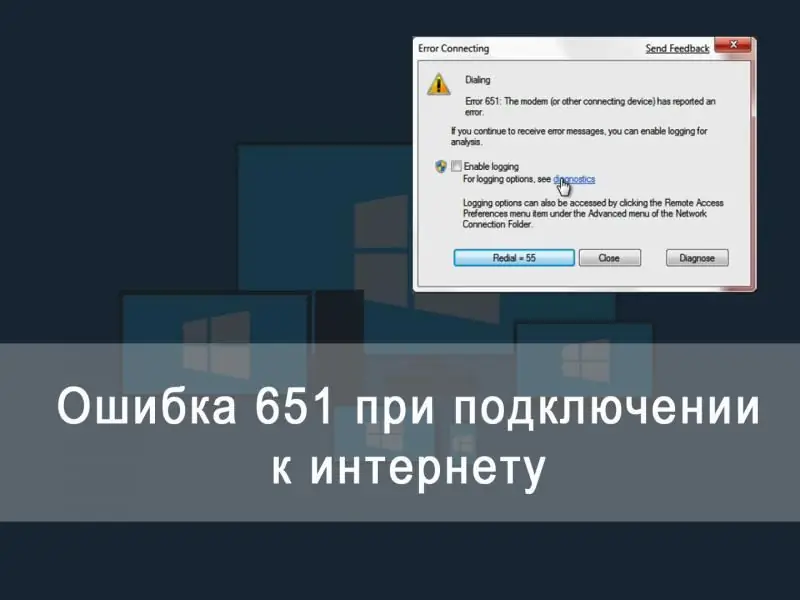
Connection error 633 is accompanied by a message that the communication device is already in use or not configured
There are several ways to explain this failure when connecting to the network:
- Single failure of the modem. This often happens when the modem is in the PC connector for a long time - it must be removed from time to time, since it can accumulate errors during operation. The solution is to remove the modem from the slot to reboot it.
- Blocking the operation of a network device from some Windows components. Here you just need to disable them in a specific system window.
-
Creators Update. After installing this update, many Windows users, especially those who use network USB-devices, encountered error 633. Correcting some entries in the registry can help here.

Windows Creators Update Creators Update users are more likely to encounter error 633
-
Problems with network device drivers. They can be simply not updated or damaged for one reason or another. One of them is PC viruses. They are able to gradually "eat" the files of the network driver while "surfing" the Internet. If you often get error 633, check your computer for malicious files on hard drives using an updated antivirus. Then you can reinstall the drivers.

Viruses on PC Viruses on a PC can damage drivers, including those that are necessary for the operation of a network device
- A previously started PPPoE connection. In this case, it turns out that the desired port is already occupied. You need to delete the previously created connection. The port can also be occupied by the "Connect Manager" - a proprietary utility for the modem through which the user can gain access to the network. This conflict can be resolved by removing the specified program and manually starting the connection. Or just do not start the connection yourself in "Network Connections" - the program will do it for you.
- Wrong COM port selected. One value can be set in the modem settings, and another value in the "Device Manager". Try to reboot the "operating system". If it doesn't solve the problem, manually change the number.
How to fix this problem in the top ten
What specific actions should you take to quickly get rid of this error and get access to the network again? For each reason, you need to apply a different method, as we found out above. We will describe all the effective ways.
Reboot the modem
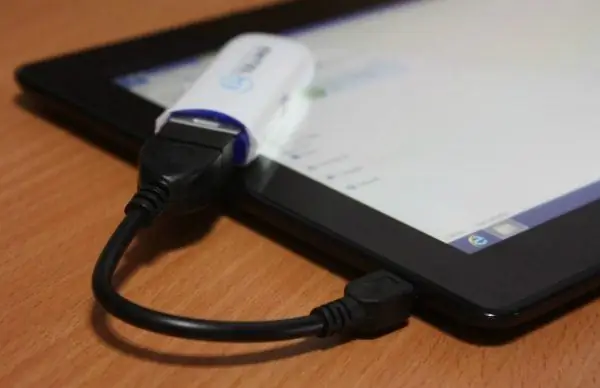
The very first action you need to take when a 633 error occurs is to restart the USB modem itself. Unplug this device from the computer for at least 15 seconds to eliminate static electricity. Restart the PC itself (via the "Start" menu), and when the "operating system" is fully loaded again, reconnect the modem - it is advisable to use a different USB output. If you are using a cord, try plugging in a different adapter if available.

If you are using a USB tethering adapter, try another
Automatic network troubleshooter
If the reboot of all equipment is unsuccessful, the built-in "operating system" tool can immediately go into action to solve various kinds of network problems. Of course, the tool may not fix the problem, but it can at least point out the cause:
-
Bring up the context menu of the network icon next to the date and time - just right-click on it. Run the Diagnostic Tool - the first menu item.

Run troubleshooting Click on "Troubleshooting"
-
Wait while the wizard that opens searches for problems.

Detecting problems Wait for the system to finish searching for network problems on the PC
-
If the built-in tool can find the cause of the problem and also suggest a solution right away, click Apply. If this button is not available, the diagnostic tool may simply describe an instruction for action. Execute it.

Instructions for action If there are any problems with the connection, the tool will try to fix them on its own or provide you with instructions
-
If the tool initially fails to identify the problem and shows that there is a network connection, click on the phrase "I have another problem."

Choosing a different problem Click on the link "I have another problem"
-
Follow the last link "Using a specific adapter".

Using a specific adapter Click on the last item "Using a specific adapter"
-
Highlight the item with all adapters and click on "Next". The tool will try again to find the cause of the failure and fix any problems. After that, you will be provided with a report with the results. If this automatic solution doesn't work, try the following methods.

Adapter List Select all adapters and click on "Next"
Deactivation of components that are incompatible with the hardware OS
Try to deactivate the operating system components (Internet Information Services) that may be interfering with the modem. This must be done in "Safe Mode" - the state of the OS when only the main system files and drivers are loaded. In the top ten, you can enable this mode as follows:
-
We will restart the computer through the system window "Options". Open it on the display using a simple key combination Win + I (hold down at the same time and wait for the window to appear). If nothing opens, click on the "Start" button in the lower left corner, and then on the gear icon.

Start Menu Click on the gear icon above the button to turn off the PC in the Start menu
-
Go directly to the block to update Windows.

Windows settings Go to the "Updates and Security" tile
-
Select the "Recovery" section on the left, and in it, click on the "Restart now" button in the block with special boot options.

Recovery tab Click on the gray "Restart Now" button
-
When the computer is turned back on, you will see the Select Option display. Click first on the second option "Diagnostics", and then on the item with additional parameters.

Select Action Screen First select the "Diagnostics" section, and then "Advanced options"
- In the boot options for your computer, select restart. After the second restart, you will see a list with parameters. Press the F5 key on your keyboard to activate Safe Mode along with loading network drivers.
After that, you can proceed to deactivate certain OS components:
-
Run the "Control Panel" on the screen through the "Start" menu or by simultaneously pressing the Win and R keys - in the window type the English word control and click on the OK button.

Run window In the Run window, type control and press Enter
-
On the panel, carefully look for the link "Programs and Features" (its other possible name is "Add or Remove Programs"). Open the found section.

Control Panel In the "Control Panel" find and run the section "Programs and Features"
-
A window will open with a list of all the utilities currently installed. We are not interested in it - just pay attention to the left column with different clickable section names. Left-click on the third link "Enable and Disable".

Programs and Features Window We do not touch the list with utilities - we immediately go to the section "Enabling and disabling components"
-
Another window will appear on the screen, but in a smaller one - in it open the line "IIS". It will be near the end of the list.

Window "Enabling and disabling components" In the list, find the folder "IIS", and in it disable the FTP server
-
Uncheck the FTP Server folder immediately. Click OK to save your changes. Then try connecting to the network again. Then don't forget to boot normally.

Disabled FTP server Click on OK to save all changes
Checking the system for viruses
Make sure your 633 error is not caused by viruses - check your system with antivirus, built-in Windows Defender, or third-party software. Let's analyze the procedure for starting a check using the example of a standard OS defender:
-
Open the Windows tray - left-click on the up arrow next to the network icon. In the small menu, find the white shield - immediately click on this icon to launch the defender panel.

Trey Windows In the Windows tray, click on the white shield to launch Windows Defender
-
In the window go to the "Virus protection" directory.

Defender Home Page On the main page of the defender, click on "Protection against viruses and threats"
-
You can start with a quick scan. Click on the corresponding gray button. If she doesn't reveal anything, go to serious measures. Follow the link below the key to start a full test.

Quick check To get started, you can run a quick scan, and if it does not work, go to the advanced scan
-
On a new page, you will see three scan options. Choose either the first or the third. The downside of full verification is that it takes a lot of time, but in this situation you can work on a computer. The offline scan will take about 15 minutes, but you will not be able to use your PC - it will restart. Select the option that suits you best and click on the button below the list to start scanning.

Selecting the type of extended check Place a circular mark next to full or offline scan
-
Wait until the end of the procedure. If the standard utility finds any malicious files, select delete from the list of actions that the antivirus will offer. Then skip ahead to reinstalling the modem driver, which is described in the next section of this article.

Scanning process Wait for the end of the Windows Defender scan
Video: how to use Windows Defender
Updating or changing the router driver through "Safe Mode"
If you have not updated the modem drivers for a long time, and you have been working with it on the Internet for quite some time, use the special system update wizard:
-
Boot your PC again in "Safe Mode" - follow the instructions detailed in the "Removing components" section of this article. Now we need the "Device Manager" system window. You can quickly launch it through the "Start" button - just right-click on it, and select a dispatcher in the list on a dark background.

Start context menu In the context menu "Start" select "Device Manager"
-
If the context menu does not appear, right-click on the "This PC" system icon on the "Desktop". If the dispatcher is not there, click on the "Control" option.

Item "Management" From the shortcut menu "This PC" select "Manage"
-
In the window, go to the dispatcher section in the left column.

Section "Device Manager" You can open Device Manager both in a separate window and in Computer Management
-
In the list, find and open immediately the block with network adapters. Find the adapter for your modem in the small list (the name should contain the name of the manufacturer of the device or at least part of it). Call its context menu with the right key - in it, left-click on an option to start the update.

Driver update Click on "Update Driver" in the context menu
-
In the wizard, select immediately automatic search for an upgrade available on the network.

Automatic driver search Follow the link "Search automatically for updated drivers"
-
The system will try to find updates for your modem drivers. If it finds it, it will immediately download and install them. This will take some time - wait for the end of the procedure.

The process of finding an update Wait while the system finds an upgrade for the driver on the official resource
-
If there is no update, you will see a message about it in the wizard. In this case, you can try to find updates on the official website of the manufacturer of your modem (be careful when searching - you must find the exact model of the device).

Latest update Driver updates may not be available online - you will see a message about this
-
If you do not want to search for an update manually or you have previously found that there were malicious files on your PC and successfully cured the system, you need to reinstall (change) the drivers. First, delete them correctly - in the same manager again find the adapter corresponding to your modem, right-click on it, and in the menu itself, click on the "Delete" option.

Removing a device Click on the "Remove device" option
- Now reconnect the modem to the PC - the device will immediately install the necessary drivers. If the network device has its own software, reinstall this utility - uninstall it using an effective uninstaller, for example, Revo Uninstaller, and then download the installer from the official website of the device again and install the software. After that, restart your PC and try to connect to the network again.
Changing the COM port number
Error 633 can be resolved by following these steps:
-
Call the "Control Panel" on the display using any method convenient for you, for example, through the "Run" window and the control code. You can expand "Search" and enter the same command there or the word "panel".

Windows Search In the Search pane, type "pane" and open the corresponding desktop app
-
For the "View" parameter, immediately set the "Categories" value. After that, click on the link "View network status and tasks" under the name of the main directory "Network and Internet". You will immediately go to the "Network and Sharing Center" block.

Categories on the "Control Panel" Follow the link "View status and network" on the "Control Panel"
-
In the top ten, this block can be called differently - click on the network icon on the "Taskbar" next to the clock with the right mouse button and click on "Network and Internet settings" in the small menu.

Network and Internet settings Open "Network and Internet Settings" through the context menu of the network icon
-
In the first or second tab, there will be a link to the center on the right - just click on it.

Wi-Fi tab In the Wi-Fi tab, go to another window called "Network and Sharing Center"
-
In the running center on the left side of the window, click the "Change adapter settings" link. A new window "Network connections" will open, in which you can enable, disable, delete connections, and change their parameters.

Change adapter settings Go to the section "Change adapter settings"
-
We need to delete all existing connections. Right-click on the item and select the appropriate task.

Removing connections Delete connections using the corresponding option in the context menu
-
Now start the "Device Manager" - the instructions are described in the previous section of the article. Right-click on the modem's network adapter - select the "Properties" option. You can also just double-click on the line.

Adapter properties Go to the properties of your network adapter
-
Go to the "Advanced" section, and then click on the "Advanced Settings" button.

Advanced tab In the Advanced tab, click on the Advanced Port Settings button
-
Change the port number in the drop-down list at the bottom of the new window. If the first was installed, put the third, and if the second - the fourth.

Changing the COM port number In the drop-down menu, select the desired COM port number
-
Reboot your computer. After that, in the "Device Manager" call the properties of the modem again, go to the "Diagnostics" tab. Click on the "Poll the modem" button. After that, the system will automatically fill in the table and window with commands. Now check if the problem has been resolved: re-create the VPN connection through the "Network and Sharing Center" and try to access the network.

"Poll the modem" button Click on the "Poll the modem" button for all commands to be set automatically
Correction of registry entries "Windows"
If you have Windows Creators Update, you need to make some changes in the registry. Editing this important database must be carried out strictly according to the instructions, otherwise there may be consequences for the system:
-
To open the "Registry Editor" window, press on the keyboard two keys at once - Win and R, and then just type in the only "Open" column the short word regedit. Click OK immediately to execute the entered command.

Regedit command In the "Open" line, type the regedit command and click on OK
-
There is another way to launch - enter the same query, but in the "Search" panel. You can open it by clicking on the magnifying glass icon next to the "Start" button in the lower left corner of the display.

regedit in Windows Search In the "Search" query line you can also enter the regedit code
-
In the dialog system window, allow the editor to change something in your "operating system".

Permission to make changes Click on "Yes" to give permission to make changes to the OS
-
In the editor, double-click the third main directory, HKEY_LOCAL_MACHINE.

HKEY_LOCAL_MACHINE section Open the HKEY_LOCAL_MACHINE section on the left side of the window
-
Now open in the same way folder by folder (they will be nested inside each other): SYSTEM - CurrentControlSet - Services - RasMan. In the final list of the RasMan directory, find the RequiredPrivileges entry - double click on it.

RasMan folder In the RasMan list, find and open the RequiredPrivileges parameter
-
To change it in the dialog box, add the SeLoadDriverPrivilege line at the end of the list of parameters. Click OK to save your changes.

Changing the value for RequiredPrivileges Add the SeLoadDriverPrivilege line to the RequiredPrivileges value
-
If the system shows a warning message on the display, just click on OK.

Warning If a small warning window appears, click OK
- Restart the "operating system" immediately and see if the error now appears.
If this editing procedure does not work, try another method:
-
In the same editor, open in the Services directory not RasMan, but the Tcpip section, and already in it - a folder called Parameters.

Parameters folder In the Services folder, run the Tcpip section and then Parameters
-
Right in the directory tree, right-click on the Parameters folder - move the cursor to the "Create" task, and then click on the penultimate object "Multi-string parameter".

Creating a multi-string parameter Create a multi-string parameter using the context menu of the Parameters section
-
Name it ReservedPorts and double-click its gray box.

ReservedPorts Name the new entry ReservedPorts
-
Type or paste 1723-1723 in the blank. Remember to save the change with the OK button.

ReservedPorts value In the value of the new parameter, insert the combination 1723-1723
- Restart your device again and check your internet connection - the error should no longer appear.
The connection problem with the 633 network usually occurs with a 3G or 4G mobile connection with a USB tethering. The solution must be chosen based on the reason. If you cannot immediately determine it, you need to act sequentially - from method to method.
Recommended:
The Network Cable Is Not Connected: Possible Causes Of The Error And How To Solve It

Checking the network cable, the main causes of connection problems and their solution: hardware problems, driver and settings of the network card
Error While Allowing Internet Connection Sharing (null): Causes And Solutions

Because of which, "Error while allowing Internet Connection Sharing (null)" may occur. How to solve the problem: Turn on Windows Firewall
Error 651 When Connecting To The Internet: Causes And Solutions

What causes error 651 and how to fix it. PPPoE Network Recovery Instructions for Different Windows Versions
Error 691 When Connecting To The Internet: Causes And Solutions

Why can I get error 691 while connecting to the Internet. How to fix the situation: we apply effective methods
What To Do If Google Chrome Does Not Work - Reasons And Solutions For Problems With The Browser, Including When It Does Not Start

The reasons why Google Chrome does not work: does not start, pages do not open, a gray screen is displayed, and so on. Solutions with photos and videos
