Table of contents:
- How to make apple wine yourself?
- We select raw materials, necessary tools and materials
- The number of products required for wine
- Variety of apple wines
- Fruit preparation: selection of varieties, juicing
- Cooking the wort and setting the wine to ferment
- The process of quiet fermentation of apple wine, maturation, pouring
- Homemade apple wine video
- Author Bailey Albertson albertson@usefultipsdiy.com.
- Public 2023-12-17 12:53.
- Last modified 2025-01-23 12:41.
How to make apple wine yourself?

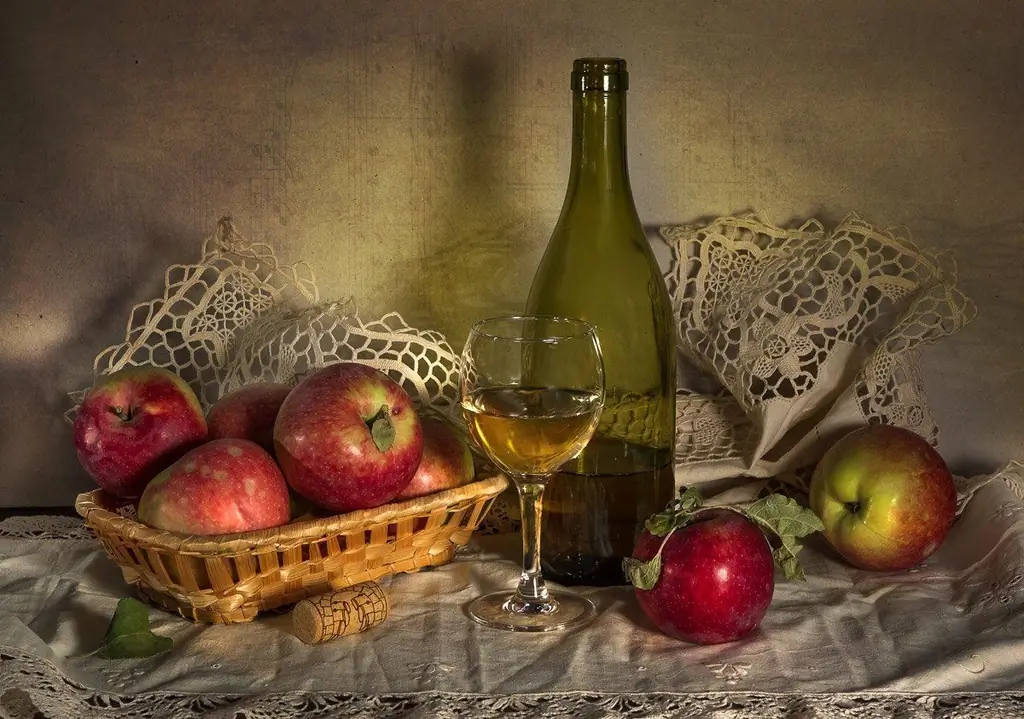
Apple wine is famous for its taste, benefits, ease of making with your own hands. It is practically in no way inferior to grape wine, and in our latitudes it is much more accessible. In addition, it is not at all necessary to worry about the raw materials: apples of any kind are suitable for such a wine. A little work and patience, a good recipe for apple wine - and you can always please your family and friends with a wonderful drink. We will tell you how to make apple wine correctly and avoid mistakes in the preparation process.
Content
- 1 Choosing raw materials, necessary tools and materials
- 2 Amount of products required for wine
- 3 Variety of apple wines
- 4 Fruit preparation: selection of varieties, juicing
- 5 Prepare the wort and set the wine to ferment
- 6 The process of quiet fermentation of apple wine, maturation, bottling
- 7 Video about making apple wine at home
We select raw materials, necessary tools and materials
Making apple wine is easy enough. The process is almost inexpensive, and whatever it takes is grown in your garden, purchased from the store, and made by hand. You need:
- apples proper, of any kind, and even a mixture of varieties;
- sugar;
- press for squeezing juice;
- a water seal (we will make it ourselves);
- two volumetric containers in which the liquid will ferment and settle.
Apples, like grapes, are optimal for making wine straight from juice, because they contain the right amount of sugar, unlike berries and many other fruits

Making homemade apple wine
We will present you several recipes for wines of any category: dessert, light, strong, table, liqueur. If you do not already have the skills to make wine, then start with stronger varieties, as they are easier to make and not capricious in storage. This way, you can avoid some common mistakes.
So, the sequence of stages of making apple wine at home is as follows:
- We prepare the fruits - wash the apples, clean the rotten and spoiled areas, grind them into gruel.
- We squeeze out the juice, check its quality. In some cases, it can be drained.
- Cooking the wort. We set the resulting liquid to ferment. At a certain stage, yeast is added to the wort and a vigorous fermentation process begins.
- The liquid is first filtered and poured into another container. Fermentation continues at a quieter level. The wort needs care during this period.
- A few more pouring of wine into another container. After that, the wine ripens and its aging begins.
- The wine is refined, clarified if necessary, bottled and stored. At this stage, treatment of the beverage's illnesses may be required.
Let's consider these stages in more detail and in detail, since each of them has its own characteristics and secrets.
The number of products required for wine
There are several types of wine, and each of them requires different varieties of apples and different amounts of sugar. Use our tips to get a quality product.
We present data based on 100 liters of wort, in order to make 80 liters of wine.
If you are using wild or unripe apples, the acidity of which is 1.5%, and the sugar content is 6.0%, then you will need:
- to obtain light table wine - 62 kg of fruits, from which 46.7 liters of juice will be obtained, plus 46.6 liters of water, 11.2 kg of sugar;
- to obtain strong table wine - 71 kg of fruits, from which 53.3 liters of juice will be obtained, plus 35.75 liters of water, 18.3 kg of sugar;
- to obtain strong wine - 107 kg of fruit, from which 80 liters of juice will be obtained, plus 1.9 liters of water, 30.2 kg of sugar;
- to obtain dessert wine - 89 kg of fruits, from which 66.67 liters of juice will be obtained, plus 12 liters of water, 35.5 kg of sugar;
- to obtain liqueur wine - 104 kg of fruit, of which 78 liters of juice will be obtained, plus 51.3 kg of sugar.

Stick to the right amount of sugar in making wine
When using sweet and sour apples with an acidity of 0.7% and a sugar content of 15%, in some cases it will be necessary to add tannic acid and tartaric acid. The ratio of products will be as follows:
- to obtain light table wine - 124 kg of fruits, from which 92.8 liters of juice will be obtained, plus 7.15 liters of water, 0.80 kg of sugar;
- to obtain strong table wine - 127 kg of fruits, from which 95 liters of juice will be obtained, plus 7.25 kg of sugar, 150 g of tartaric acid, 105 g of tannic acid;
- to obtain strong wine - 115 kg of fruit, of which 86 liters of juice will be obtained, plus 22.1 kg of sugar, 484 g of tartaric acid, 114 g of tannic acid;
- to obtain dessert wine - 112 kg of fruit, from which 84 liters of juice will be obtained, plus 26.9 kg of sugar, 296 g of tartaric acid, 116 g of tannic acid;
- to obtain liqueur wine - 88 kg of fruit, which will make 66 liters of juice, plus 56.1 kg of sugar, 804 g of tartaric acid, 234 g of tannic acid.
By sticking to these proportions, you will get a good, properly aged wine.
Variety of apple wines


Fruit preparation: selection of varieties, juicing
There is no single variety of apples designed specifically for making wine. The best option is to use a mixture of sweet, sour and tart varieties. Experts identify the most common ratios:
- sweet, tart and sour apples - 3/3/2 parts, respectively;
- sweet, tart, sour - 2/2/1;
- sweet, tart, sour - 1/1/2;
- sweet, tart - 1/3;
- sweet, tart - 2/1;
- bitter, sweet - 2/1.
Summer, well-ripened varieties are sent for pressing immediately. Apples of autumn varieties need several days after harvest to ripen. Winter, late varieties will take almost a month to ripen in a cool, dark place, such as a basement.

For homemade wine, combine apples of different varieties. Sometimes you can add other fruits and berries
The apples are crushed into a gruel called pulp. For this, you can use any suitable device: meat grinder, grater, household juicer. The main thing. So that the consistency of the pulp is as fine as possible.
To squeeze juice out of the pulp, use cheesecloth (time consuming process) or a special press (easier production). The pulp remaining in the juice is only on hand in this production.
Cooking the wort and setting the wine to ferment
Wort preparation is necessary in order to obtain pure juice, which will ferment to obtain wine later. The squeezed apple juice is poured into a container with a wide mouth - a can or a large saucepan, and covered with a layer of gauze. Initial fermentation takes place the next day, and the wort is split into two fractions. The pulp rises up, and the clarified juice remains below.
The wort must be kept in this state for 3 days, stirring regularly so that the cap of the pulp does not sour, otherwise the wine will be spoiled.
- During mating, sugar is added to the juice to nourish the yeast. It should be remembered that 2% of the sugar in the wort will give about 1% alcohol. With each kilogram of sugar, the wort volume increases by 0.5-0.96 liters.
- You can add sugar to the primary wort in a ratio of 1.5 kg to 7.5 liters of juice, add the remaining sand later. Same. For ease of production, sugar is added before quiet fermentation.
- After three days of primary fermentation, the pulp is removed from the surface so that the cap layer remains no higher than 5 mm. Sugar is added and, if necessary, water.
- Since we are considering a recipe in which fermentation occurs due to natural yeast remaining on the fruit, the strength of our wine will not be more than 13.5%, so it is better to add sugar right away - it is a necessary feed for the yeast.
- The resulting juice is mixed until the sugar is completely dissolved and poured into a dry clean glass dish. When using plastic utensils, make sure they are food-safe so as not to spoil the wine with the chemical flavor.

A container with a water seal made independently from available tools
The container is not filled to the top, but about 4/5 of its volume, so that there is enough room for the formation of foam on the wort during fermentation. The dishes should not be tightly clogged; the evolved carbon dioxide should be evacuated, and at the same time the access of oxygen should be blocked. To do this, insert a long plastic tube into the lid of the vessel, the opposite end of which can be dipped into a bottle of water. You can use a tightly lapped wooden cork or a plastic lid to seal the wort container. Cover the remaining holes with plasticine or dough. The odor trap is ready.
The process of quiet fermentation of apple wine, maturation, pouring
Dishes with wort, closed with a water seal, should be placed in a warm, shaded place with a temperature of 20-22 degrees - this is an ideal climate for fermentation. It is advisable to control the temperature regime at the same level, otherwise the process can either slow down significantly or speed up, which will affect the quality of the product. Therefore, it is necessary to exclude drafts in the room.
The fermentation period for apple wine is about 45 days. If there are no more bubbles in the water bottle that provides a water seal, then the fermentation process is over.
It will take a few more days for the fermented wine to stand in the container. The main thing is not to overdo it for more than two weeks, otherwise the decay of the dead yeast that has precipitated will begin. After that, the wine is poured into clean bottles.

Be sure to add sugar to the wort during fermentation.
You can already drink the resulting wine, but because it is not yet ripe, its taste and aroma will not be full. Therefore, prepare a clean and dry dish and drain the liquid into it through a tube so that the sediment remains at the bottom of the first container. The bottle is filled to the brim, sealed tightly and placed in a dark, cold room for 2-4 months. This time is enough for the wine to acquire its real taste.
Usually apple wines, made with your own hands at home, independently take on the desired transparency, color and shade from light golden to caramel brown. To achieve this effect, it is sufficient that the production technology is consistent and not violated in the process.
When pouring wine into bottles after maturation, make sure that the container is filled to the neck and tightly sealed to avoid oxidation of the wine. You can start tasting right away, treating relatives, friends and relatives, especially if your goal was to get light table wine. This product can be drunk 10 days after filtration. But if you are planning long-term storage, it is better to remove the wine from the lees again before bottling.
Homemade apple wine video
Homemade apple wine is to the taste of many, and some like it more than grape wine. It will become a real decoration of your table and a favorite of the whole company! We hope that our tips will help you in winemaking, and you will truly enjoy this process. Share your secrets with us if you have been doing winemaking at home for a long time. We wish you easy work and comfort in your home!
Recommended:
Hot Drink Recipes For Autumn: Ginger, Honey And Chocolate, Mulled Wine And Tea + Video
Tips for preparing hot drinks. necessary products, the sequence of preparation of mulled wine, chocolate, coffee and tea with the addition of spices
How To Make A Garden Fountain With Your Own Hands In The Country: Photo, Video, Step By Step Instructions
A step-by-step description of the process of building and installing a fountain from improvised means in the country with your own hands Required materials and tools
How To Make A Swan Out Of A Tire With Your Own Hands: Video, Photo, Diagram And Step-by-step Instructions

Step-by-step instructions for making different shapes of swans from old tires. Necessary materials and tools, possibilities of use
How To Make Molds For Paving Slabs With Your Own Hands: Instructions With Photos + Video
Materials from which you can make forms for paving slabs with your own hands, their comparison. The process of making molds from different materials with photos and videos
How To Make A Gazebo Out Of Wood With Your Own Hands - Step-by-step Instructions With Photos, Drawings And Video
A gazebo made of wood, who has not dreamed of having it? Now you have such an opportunity, read and get to work on making the structure yourself
