
Table of contents:
- Author Bailey Albertson [email protected].
- Public 2023-12-17 12:53.
- Last modified 2025-01-23 12:41.
How to properly clean the keyboard on a laptop
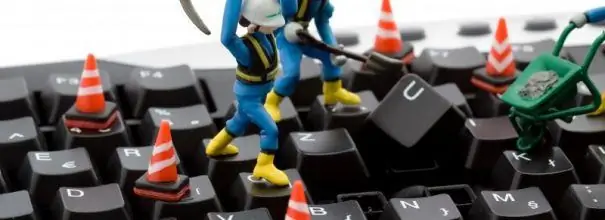
If you spill any liquid on the keyboard and it refused to function, do not despair, it is not very difficult to clean it. The main thing is to be patient and take the time. Does the keyboard work again after drying? You still need to clean it, otherwise a small problem will affect the important elements of the laptop. And then you won't get away with cleaning up the dirt.
Content
- 1 Why you need to clean
-
2 We disassemble the laptop keyboard
2.1 Video: How to Remove Large and Small Buttons on a Laptop Keyboard
-
3 Different Ways to Clean Your Keyboard at Home
- 3.1 Surface or standard
- 3.2 Deep cleaning
- 3.3 Using a gel
- 3.4 Cleaning with compressed air
- 4 How to care for your keyboard
-
5 Reviews
- 5.1 Slime for cleaning the keyboard
- 5.2 Vacuum cleaner
- 5.3 Wet wipes
Why you need to clean
The user is constantly in contact with the keyboard while working at the laptop. But many people don't think about cleaning it. After all, the trash is almost invisible outside. With active use, you can wipe the device after 10-15 days, then it will look like new. But after a year, a general cleaning should be carried out. During this period, not only dust accumulates under the buttons, but also hair and crumbs. And along with them, harmful microbes.
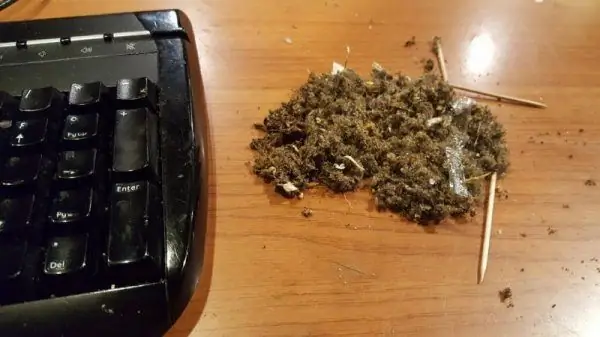
A lot of debris accumulates under the keys
Tea, coffee and other drinks on the keyboard are dangerous for the entire laptop. If now the computer works normally without cleaning, then after some time, for example, a couple of months, it can be thrown away. Why? Liquid seeps through the keyboard and into the case, onto the motherboard and contacts, which will short-circuit or oxidize. As a result, not only the board will suffer, but also the hard drive, processor and other components. The accumulation of dust on conductive elements also leads to a short circuit. From excess dirt and sugary drinks, the keys begin to stick.
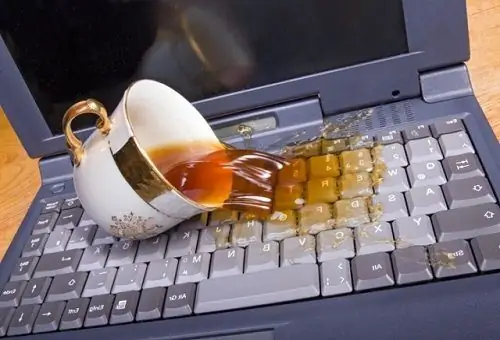
Liquid seeps between the keys and can damage the electronics in the case
We disassemble the laptop keyboard
The most effective way to clean the keyboard is to remove it from the laptop, disassemble and process every detail. This method is effective but takes a lot of time and attention. And if it is also wrong to assemble the device, then you have to carry the laptop to the service center. Therefore, this option is not suitable for everyone, and it is often irrational to use it. Only in emergencies, after a long period of time or when the keys are sticky. If you have not spilled liquid on the keyboard, then there is no point in disconnecting it from the laptop case. It is enough to remove the buttons.
Cleaning the keyboard is the same for different laptop models. But the methods of removing the device from the case are different.
- Unplug your laptop. Remove the battery.
-
ASUS Laptops:
-
There are five latches on the far side of the keyboard. Take a flathead screwdriver or a plastic card. Pry up the keyboard and pull up. Do this for all bindings.

ASUS Mounts The keyboard is attached with a plastic card
-
Disconnect the ribbon cable from the motherboard.

Flex cable ASUS A ribbon cable connects the keyboard to the board
-
-
ACER:
-
On these models, the fastening latches are movable and press like buttons. Therefore, they must be pressed into the housing with a screwdriver.

Latches ACER ACER latches slide into the body
-
To disconnect the ribbon, take a pair of tweezers and slide out the black clip.

Disconnecting the ribbon cable with tweezers The clamp is pushed back with tweezers
-
-
HP:
-
Place the laptop upside down. Remove the cover.

HP base cover The cover must be removed
-
Remove the two screws marked with the kbd keyboard icon.

HP keyboard retaining bolts You need to unscrew two bolts
-
Turn the laptop over. Use a flat object, such as a spatula, to scoop out the corner of the keyboard next to the latch. Walk like this along all the anchorages.

Removing the HP keyboard Need to tweak the keyboard
-
To disconnect the cable with a spatula, lift the black clip up.

Separating the loop with a spatula The latch must be raised
- When installing the keyboard, insert the ribbon cable with the latch fully raised.
-
-
Lenovo:
-
Remove the cover under the laptop. Remove the three screws that hold the keyboard.

Lenovo Keyboard Bolts Lenovo has three screws holding the keyboard
- The keyboard and flex cable can be removed in the same way as in HP notebooks.
-
-
Samsung:
-
Without removing the bottom cover, unscrew the two bolts.

Samsung Keyboard Bolts Samsung has two bolts holding the keyboard
-
The keyboard latches are on the near side. Slide in one at a time and lift the keyboard.

Removing the Samsung keyboard The latches slide in and the keyboard rises
- The ribbon cable is disconnected after lifting the black catch up.
-
-
Toshiba:
-
There is a strip on the far side of the keyboard. Pry it off with a flat screwdriver and remove.

Bracket on the Toshiba keyboard Under the strip are the keyboard mounting bolts
- There are screws under it that must be unscrewed. There are no latches here.
- Then the keyboard can be easily removed.
-
The buttons for all models are removed in the same way.
-
Pry the key from the bottom in the center and drag the screwdriver along the edge to the left and right. If the key does not come off, do the same with the opposite edge.

Extracting a small key The key is removed from the front face
-
To remove the space bar, first detach the side edges, then the front.

Big space bar device Side and front mounts
Video: how to remove the large and small buttons on a laptop keyboard
Different ways to clean your keyboard at home
The keyboard can be cleaned superficially and deeply. The more often you carry out the first method, the less often you will need the second. Just dust can be removed with a dry cloth at least every day.
Surface or standard
Routine keyboard cleaning is a preventative option. Performed often: after two to three weeks. Depending on the intensity of work.
- Use a brush to move between the keys.
-
Remove debris with a vacuum cleaner. There are special vacuum cleaners with a USB connector.

A special vacuum cleaner will help clean the keyboard Vacuum cleaner sucks out dust between keys
-
Wipe the keys with a damp cloth or cloth.

Wipe dust off with a napkin The cloth is used for surface cleaning
Deep cleaning
Before you start, take a picture of the keyboard to put the keys in place.
- Remove the buttons.
-
Clean the mounts. To do this, use a rubber blower or hair dryer. The air must be cold. If there is a lot of debris, then it is better to vacuum. Wipe the joints with a damp cloth or special tissue.

Keypad without buttons It is better to vacuum a large amount of debris
-
Put the removed keys in a container and fill with water and detergent.

Key wash The removed keys are placed in a container with soapy water.
- Rinse the keys with clean water.
- Spread the parts on a towel to dry. You can use a hairdryer to speed up the process. But don't forget the cold air.
- Assemble the keys according to the photo. For convenience, secure the large buttons first.
With gel
When the brush does not help remove dust from the buttons, the Slime cleaner can come to the rescue. It is sticky and gooey, and creeps well over and between keys. Slime can remove not only dust, but also large crumbs. It needs to be kneaded well and distributed over the keyboard. Then grab the edge and remove.
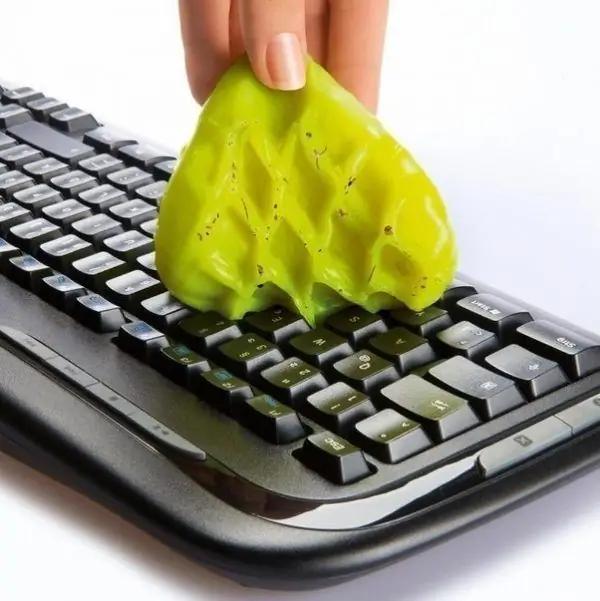
The slime takes the shape of the keys and penetrates deep between them
Compressed air cleaning
Highly compressed air cans are sold. They are very convenient to blow through narrow spaces under the buttons, because they have a tube-shaped nozzle.
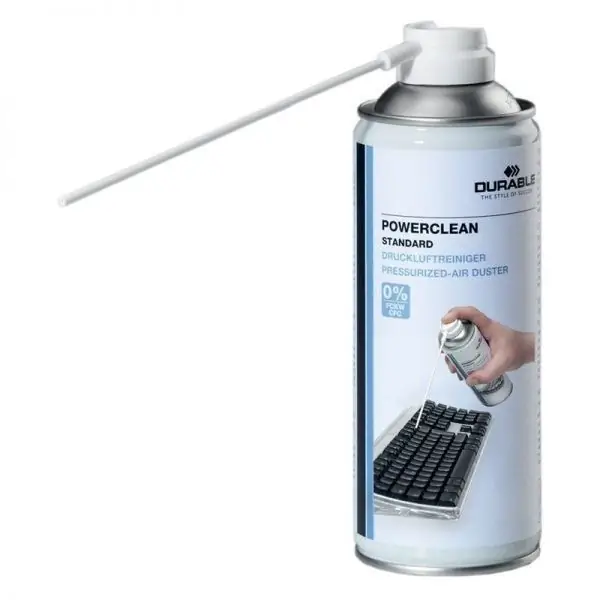
Long, slim tube nozzle blows dust out from under the keys
How to care for your keyboard
For the device to work well, and preventive cleaning to be effective, you need to follow not only the care tips, but also follow some rules of conduct when working with a laptop:
- do not eat or drink near the laptop - the trajectory of the splashed drink is unpredictable;
- do not place containers with water, such as a vase of flowers, near the device;
- wash your hands with soap before work so that the buttons do not get dirty;
- do not hit the keys - pressing the buttons hard will not affect the typing speed, and the keyboard may be damaged.
Now about the rules for caring for the keyboard:
-
do a preventive cleaning every two weeks:
- moisten a cloth with diluted isopropyl alcohol and wipe the keyboard. Alcohol will remove not only dust from the surface of the buttons, but also grease. You can use special napkins;
- vacuum the keyboard with a special or conventional vacuum cleaner. The second pulls out debris more powerfully;
- if crumbs, seeds or other objects get between the buttons, immediately remove them with a cotton swab or spatula;
- if the keys start to stick, carefully remove and clean them.
Reviews
Slime for cleaning the keyboard
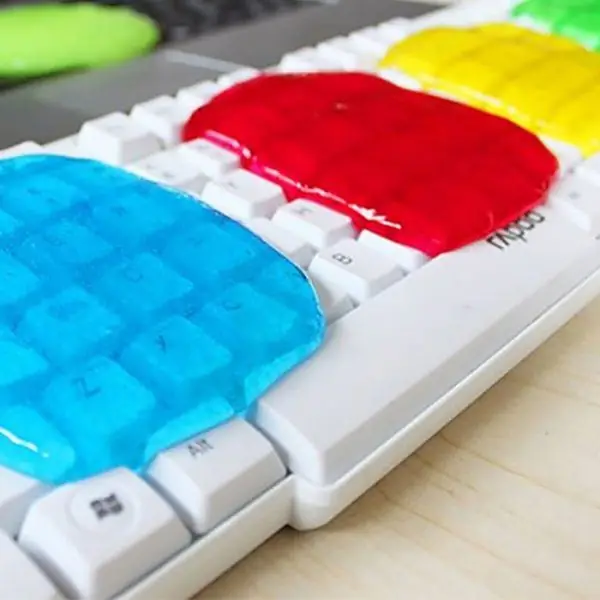
Slime spreads well over the keyboard
Vacuum cleaner
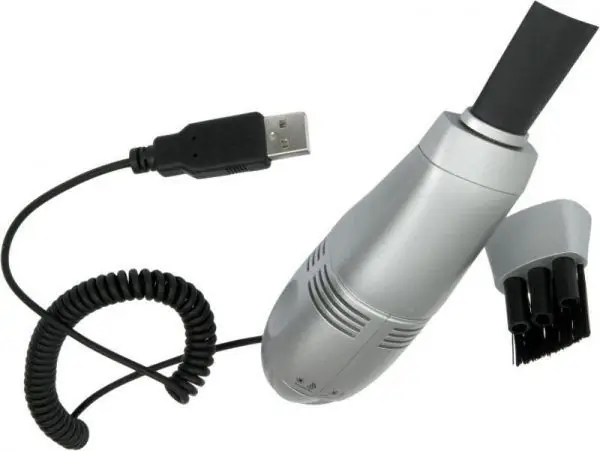
The vacuum cleaner connects to the usb connector
Wet wipes
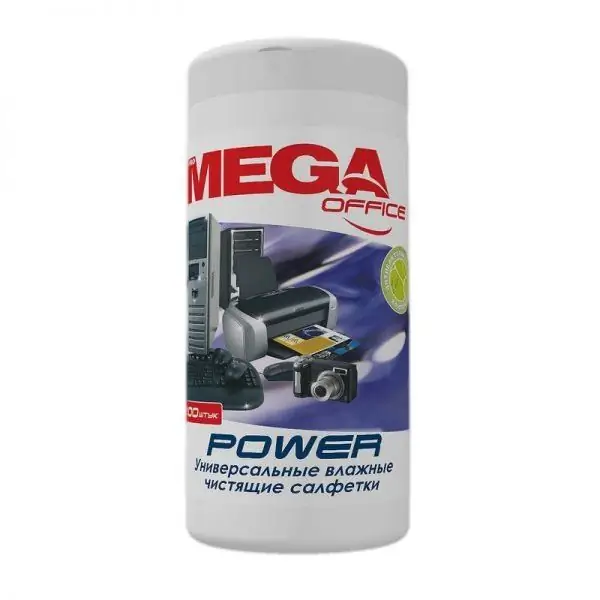
Remove streak-free dust
A dirty keyboard can permanently paralyze your laptop. Therefore, carry out preventive maintenance in a timely manner. And if liquid gets inside, do a deep cleaning.
Recommended:
How To Clean Silver At Home From Blackness Quickly And Efficiently, Than To Properly Clean Silver Jewelry + Photos And Videos

How to quickly clean silver from blackness at home. Effective cleanser recipes. Methods for cleaning products with gilding and stones
How To Clean Gold At Home Quickly And Efficiently, How To Clean Gold Jewelry To Make It Shine + Photos And Videos

Methods for cleaning gold at home. How to quickly and effectively clean and remove dirt from different types of gold jewelry
How To Clean The Toilet At Home, How To Clean The Cistern And Lid, And Also Wash The Brush
Folk and professional remedies to clean the toilet, practical advice and prevention of various contaminants
How Many Teeth An Adult Cat And A Cat Have, How To Clean Them At Home, Including How To Clean Them From Tartar Formation

Milk and molar teeth in cats, how many there are. How to brush your cat's teeth. Brushes and toothpastes for cats. Causes of tartar. Cleaning the oral cavity from the stone
Cystitis In Cats And Cats: Symptoms (blood In Urine And Others) And Treatment At Home, Medications (pills And Others), Veterinarian Advice

What causes cystitis, its symptoms, course forms, diagnosis, treatment. Caring for a sick cat, prevention of cystitis
