Table of contents:
- Author Bailey Albertson [email protected].
- Public 2023-12-17 12:53.
- Last modified 2025-06-01 07:32.
No pipes: we hide communications in the kitchen

If you are not a loft connoisseur, the pipes in the kitchen are often an eyesore to you. It is completely impossible to get rid of them, but everyone can change their attitude. It is enough to use one of three approaches: hide unsightly structures, make them a decorative element of the interior, or add functionality. Which method to choose in the case of gas, sewer and ventilation pipes, we will consider in this article.
Content
-
1 Fighting pipes: exploiting weaknesses
-
1.1 Plasterboard box
- 1.1.1 How to make a drywall box
- 1.1.2 Video: how to hide pipes using drywall
-
1.2 Kitchen set
- 1.2.1 How to implement
- 1.2.2 Video: original cabinet for a gas meter with your own hands
-
1.3 Dummy apron panel
- 1.3.1 Do it yourself
- 1.3.2 Video: tricks of making a false panel for the kitchen
-
1.4 Pipe as part of the rail system
1.4.1 What you need
-
1.5 Painting and decorative painting
- 1.5.1 What you need
- 1.5.2 Video: Patinating a Battery
-
1.6 Decoupage
1.6.1 Video: a detailed master class on decoupage batteries
- 1.7 Organizer for magnets
- 1.8 Decorative textiles
-
1.9 Stained glass
1.9.1 Video: master class on making a flooded glass window
-
Fighting pipes: exploiting the weaknesses of the enemy
To begin with, let's define what exactly we are going to fight. So, the kitchen has pipes for:
-
hot and cold water. They always go to the bottom of the sink, so they hide behind the lower cabinets. Even in especially exotic headsets with a floating table top (without lower pedestals), they can be placed in the thickness of the wall or the table top itself. When making custom-made headsets, specialists always take into account the placement of pipes and make recesses for them. In finished furniture, it is also easy to make a few cuts with a jigsaw, or move the curbstone slightly away from the wall and select a table top 10-15 cm wider. Therefore, we will not consider them further;

Water pipes under the sink In old houses, water supply pipes take up a lot of space, in new houses only short hoses come out of the wall
-
gas, suitable for stoves and gas water heaters. These are the most problematic elements, since their placement is clearly regulated by the rules, and movement is almost impossible. The main disadvantage is that a part of the pipe always runs across the apron;

Open gas pipes in the kitchen If you plan to install a gas water heater, choose a model that fits in a cabinet, otherwise masking the pipes will not help
-
ventilation. Typically these are ducts from the hood to the outer wall that run along the top. They are easy to change or hide with your own hands;

Aluminum corrugated kitchen ventilation pipe Even the most ill-conceived option for installing a hood can be saved with competent decor
-
heating. In new buildings, most communications are laid on the floor, so the problem of open pipes simply does not exist. But in older houses, two parallel pipes below the windowsill can draw a lot of attention;

Heating pipes in the kitchen Even the heating pipes painted in the colors of the walls can hardly be called invisible.
-
common risers. Such pipes are often outrageously thick and quite far from the wall, so making them invisible is the most difficult thing. It must be borne in mind that if there are valves on the riser, it is imperative to leave access to them.

Disguised risers in the kitchen A well-designed headset easily hides any communications
I live in a private house with a gravity heating system, so pipes have become the main enemy of my interior. In three out of five rooms, thick sausages pass simultaneously under the ceiling and above the baseboard along two walls at once, in several places they are also supplemented with jumpers and outlets to cast-iron radiators. But for all its monstrosity, this system is extremely energy efficient, so it cannot be dismantled or tightly closed. As a result, I had to try all the available methods on myself, which will be described in this article. Furniture saws and paint are my favorites.
Drywall box
The construction of drywall structures is a dirty work that can only be done during the arrangement of a new room or during a major overhaul. The box is used in several variations:
-
imitation of a ceiling beam to mask the ventilation pipe from the hood. It looks best when it occupies the entire space from the upper cabinets to the ceiling, since it visually merges with the wall. If there are no upper cabinets in the kitchen and the hood is located in the middle of the wall or above the island, it is better to make the box in full length, so it will attract less attention;

Plasterboard box for pipes under the ceiling of the kitchen A small ventilation grill will improve convection and will not interfere with reliably hiding the pipes behind the box
-
increasing the thickness of the outer wall in order to remove the heating pipes and build a niche for the battery. The creation of such a box is more difficult to work with due to the large size and the expediency of simultaneous wall insulation. But this is the most inconspicuous structure, which in the end will not differ in any way from an ordinary wall. It also allows you to hide not only the pipes, but also the battery itself (behind the screen, flush with the wall);

False wall from plasterboard in the kitchen Very little space is lost due to the construction of a false wall
-
a column that hides the risers. Such a structure is more noticeable than others, therefore it is used only if increasing the thickness of the wall is impossible or impractical (the pipe is very thick or runs far from the wall). Since the risers are usually located in the corner, the most competent solution is considered to be the arrangement of the box, which will occupy the entire space from the walls of the headset to the wall. If you buy ready-made furniture, this technique will not only hide the extra pipes, but also create the impression that the headset was made exactly for your room.

Plasterboard column in the kitchen Patterned inserts on the plasterboard column not only provide ventilation, but also facilitate access to valves
How to make a drywall box
To make the box, you will need the following materials and tools:
- sheets of moisture resistant plasterboard. The amount depends on the size of the planned structure;
- rack metal profile for drywall. Minimum - 3 segments;
- thinner profile for cross members;
- scissors for metal or a grinder for cutting a profile;
- durable knife with a retractable blade for cutting sheets and chamfering;
- screwdriver with a cross bat;
- self-tapping screws for metal 3.5x35 mm or 3.5x25 mm;
- metal corners with mesh for corner reinforcement. Minimum - 3 pieces (one for the outer corner, two for the inner);
- thin damper tape for gluing the abutments of the rack profiles to the walls;
- starting putty for masking seams and screws;
- mesh or perforated tape to strengthen the seams;
- emery cloth of medium and fine grain for leveling the surface of the putty;
- finishing material for drywall (wallpaper, paint, etc.).
Stages of work:
-
Take measurements of the room and create a sketch of the future design in a computer editor or just on a piece of paper. If the box must be flush with the headset, or there are other factors limiting the size, be sure to consider the thickness of the drywall and finishing layer. Do not make the structure too small, there must be free space around the pipe. If there are meters or valves on the pipes, be sure to provide a hatch to access them.

Wall marking under the box If you don't have a laser level, measurements are easy with a filament and ruler / tape measure
-
Cut metal profile strips and drywall sheets according to the developed scheme. Spread the pieces out on the floor if necessary to ensure they fit properly.

Profile fitting It is easiest to try on a profile for a horizontal box
-
Mark the walls and connect the frame with self-tapping screws. Sheathe it with drywall with pre-cut bevels. Do not forget that the caps of the screws should be recessed by 1-2 mm.

Sheathing the frame with plasterboard The sheathing of the horizontal box can be done independently, and to work with the vertical box you will need an assistant
-
Fill the joints and grooves with putty, fix metal corners with a mesh on it in the corners.

Perforated corners for corners If the store does not have corners with a mesh, perforated are also suitable
-
Smooth out the putty layer with sandpaper. To obtain a good result, it may be necessary to repeat the filling and sanding process several times.

Sanding putty To grout the putty on a large box, you will need a block or clamp with a handle, and a small one can be handled by hand
After that, the plasterboard box is ready for finishing with the material of your choice.
Video: how to hide pipes using drywall
Kitchen set
In most kitchens, it is work surfaces and storage cabinets that take up the lion's share of the space. Therefore, they can be used to combat unwanted pipes.

A small coordinated change in the pipeline, a few sheets of drywall and jewelry design of the kitchen set can turn even such a masterpiece of developers into a cozy kitchen
As already mentioned, the lower pedestals reliably mask the outlets of cold and hot water, and if desired, they can also close the heating pipes. At the same time, it is not necessary to hide the battery, you can leave an open space in front of it and thus organize a small place for relaxing with tea.

A pair of pedestals hid the pipes, and the legs of the chairs disguised the battery
The gas pipe that runs across the apron can actually be hidden behind the newfangled seasoning shelf, which completely covers the space between the upper and lower cabinets. This solution is suitable for headsets with a deep worktop, but in narrower models it leaves too little space for cooking.

Both recessed and overhead shelves help to hide the pipe in the apron area.
The gas water heater is allowed to be placed in lockers with lattice or mesh doors, while the pipes remaining in sight are covered with a special wardrobe trunk. The main condition is to provide ventilation from the top and bottom of the cabinet.

A properly placed microwave will be a good disguise for pipes that are not hidden by the cabinet.
Vertical risers are also capable of completely dissolving behind furniture columns or just behind a refrigerator. If the riser and the headset are on different walls, you can hide the pipes behind an additional shallow display cabinet. It won't take up much space, but it will expand storage space.
In my kitchen, the gas pipe, or rather, its vertical part, is reliably hidden behind the column. The horizontal section of the pipe from the entrance to the room to the descent is as close as possible to the upper cabinets, therefore it is invisible from below. Slots are made in the vertical cabinet for the pipe, and an open shelf with a microwave is located at the level of the tap. Since the column is deep, the yellow pipe is completely invisible there, and if necessary, the device can be moved and reached the valve. The outlet to the gas stove runs completely under the table top; cuts are also made for it in the lower pedestals. If there are no problems with gas and often you do not need to use the tap, this outlet is very convenient. But for a built-in microwave, of course, it will not work.
The ventilation pipes can also be hidden at the top of the headset. If you do not like cabinets up to the ceiling, it is worth making a wide border or a backlit visor. Then everything that is in the corner above him will be invisible. For the best effect, it is worth replacing the standard shiny corrugation with a matte plastic ventilation duct with a rectangular section.

Even behind a narrow strip, the flat ventilation duct was hidden securely, but the vertical part should have been pasted over with wallpaper
How to implement
The easiest way is to indicate the need to hide pipes to furniture manufacturers so that your cabinets are immediately provided with the necessary cuts. When the headset is already ready and you only need one locker / shelf for camouflage, it is worth ordering the cutting of chipboard in a construction hypermarket and assemble the product yourself. You only need a screwdriver with a drill for confirmations, the fasteners themselves and decorative plugs. The finished design of the locker is easy to find on the network or, after making measurements, draw by hand. If necessary, a consultant in the store will help you clarify the size and shape of the cuts.

It is not necessary to remove the entire back of the cabinet, a narrow strip is enough for the pipe
If you decide to hide the gas water heater in a ready-made cabinet, but are not confident in your abilities, just make a dozen holes in the top and bottom panels with a punch with a small crown on wood and paint over the cut points. This will provide the device with the necessary ventilation, and you will not need to disassemble the cabinets.
Video: original cabinet for a gas meter with your own hands
False panel for apron
Previously, the arrangement of a kitchen apron meant attaching finishing materials directly to the wall, but now more and more often the wall between cabinets is covered with a solid panel. In TV programs about repairs, when installing countertops made of artificial stone, they almost always complement it with the same apron. In the gap between the wall and the false panel, you can easily hide not only pipes, but also wires for additional sockets and switches.

Exclusive false panel designs are easy to create with well-finished and stained planks
This solution will narrow the work surface by the thickness of the pipe and the selected material, but it can be applied on an already used headset and there is no need to start repairs. If artificial stone is too expensive for you or you don't like it, you can repeat this technique with chipboard, MDF, laminated plywood, tempered glass and even a wooden panel. The main thing is to securely fix the panel at the desired distance from the wall.
Do it yourself
Required materials and tools:
- sheet material for false panels;
- puncher for drilling holes in the wall;
- screwdriver for fastening;
- hammer for driving dowels;
- silicone sealant;
- dowels (length = thickness of the false panel + distance to the wall + 1 cm);
- protective gloves and foil / cardboard for the table top.
Stages of work:
-
Measure the width and height of the apron and order or cut a panel to the appropriate size. Make mounting holes in it at a distance of 5-10 cm from each corner. Take care of the holes for sockets and switches if necessary.

We cut a hole in the MDF panel MDF boards are easily sawn with a regular jigsaw
-
Cover the countertop with protective material. Drill holes in the wall and drive in the dowels so that the mounting holes line up with them.

Drilling holes for dowels Walls with a ceramic coating are drilled faster and better with a special drill
-
Select short blocks that are thick enough for the required wall to panel distance (pipe diameter + pipe to wall distance + 1-2 mm). Glue the pieces of wood to the silicone next to the mounting holes at a short distance from the pipes and at the top and bottom of the apron. After the silicone has cured, apply the sealant to the exposed parts of the bars.

Lathing for a false apron panel If the kitchen unit has not yet been installed, the false panel is easier to attach to the frame made of plasterboard profiles
-
Secure the panel with nail dowels. Cover the mounting holes with special plugs or decorative elements made of wood, glass or plastic. Reinstall the covers for sockets and switches.

Installation of a false panel from MDF The kitchen panel is always long, so install it with an assistant
Video: tricks for making a false panel for the kitchen
Pipe as part of the rail system
Most of the problems are caused by gas pipes that branch out at the level of the apron and are often located at a distance from the wall. It won't be easier to take care of them, but you can supplement this gift of fate with hooks for kitchen utensils, hanging baskets or magnets. Such a system will look even better in combination with purchased rails.

For successful camouflage, select the support pipes of the roof rails of the same diameter as the gas pipe

You can also approach the design of roof rails in a non-standard way.
If you didn't get a pipe, but a thin vertical hose, you can put it in a chrome tube and decorate the joints with special overhead rings. This technique looks good if such pipes are used in the bar counter, table legs, additional shelves and other elements of the kitchen.

If you make 3-4 decorative chrome supports, no one will guess about the gas hoses passing inside
What is needed
The result will look harmonious if the unnecessary pipes are as similar as possible to the railing system. The easiest way is to order black tubes with suspensions and paint problem communications in the same tone. But if such a solution is not suitable for your kitchen, you can sand the pipe and tint it from a spray can in the color of chrome, aluminum or gold.
Painting and decorative painting
The paint is used in two cases: either to mask pipes, or to highlight them. Painting the pipe to match the wall color is the easiest way to hide it. This method works most effectively on dark surfaces (this is how not only the pipe is hidden, but also its shadow) or on walls with stripes.

Even if at first color masking does not seem very effective, over time you will completely stop noticing such a pipe.
Practice shows that the exact coincidence of the shades of the wall and pipes is important only if they are at eye level and above, and below the level of the windowsill, a discrepancy is quite possible. In my son's room, I painted the battery and the pipes that fit it black, and the space around them chocolate brown. Now there is a table along this wall, so communications are almost invisible. But even as long as this section remained "without cover", they also did not strike the eye. It seems to me that this method can be safely used next to the kitchen table: paint the lower part of the wall to the level of the countertop with a dark color or to match the headset, and the upper part in a light color. Even a vertical pipe with this approach will become less noticeable, since it will visually break into pieces.

The black battery helped the pipes dissolve against the white wall
If you can't mask everything with one color, use the trick of magicians - a distraction. To do this, it is enough to paint the pipes to match the walls, and highlight the battery with a bright color or painting. As long as the gaze is fixed on a bright spot, the pipes seem completely invisible. A painting, a thematic panel, kitchen textiles, a tall potted plant, and even a beautiful view outside the window can also serve as a distraction.

Not only professionals, but also beginners are capable of giving an unusual look to pipes
The decorative painting of pipes works similarly. When there are many of them, only one or two should be distinguished. If only one chimney is visible, choose colors and patterns that blend in with the rest of the room. Those who do not have artistic skills should choose simple drawings: stripes (masking tape will help), spots (can be made with a stamp from a sponge), imitation of wood (the texture appears due to traces from a hard brush).
What do you need
If you are decorating heating pipes, you should choose a radiator paint that does not suffer from high temperatures. Otherwise, any paint for metal will do. Plastic pipes are well painted with specialized aerosols.
Remember that pigments from the hardware store are usually incompatible with enamels. Therefore, buy the desired shade immediately or make sure that the pigment matches the selected base. Artistic oil paints are often used for toning enamels. If you are planning to paint a pipe, and not just paint it, you should buy them.
Depending on your idea, pick up a few easy-to-use brushes (there is a special one for radiators), take care of a suitable solvent and degreaser, comfortable clothing, gloves and protective film / cardboard for nearby surfaces. If the paint on your pipes is peeling, be sure to clean the area with a spatula and sand with a medium grit sandpaper.
The staining procedure itself is no more complicated than painting with gouache, you only need accuracy and patience.
Video: battery patina
Decoupage
When painting is too much on the shoulder, but you really want to make the pipes beautiful, application skills come to the rescue. The classical decoupage technique involves the use of special decoupage cards with drawings, specially designed varnish and glue. But when decorating batteries, needlewomen give preference to heat-resistant building materials. Pictures can be cut from table napkins or simply printed on a printer.

Contrast decoupage looks very cute, but larger patterns would hide the pipes better.
The main thing is to qualitatively thin the edges of the picture so that there is no sharp transition from the image to the background. It can be glued on PVA and covered with acrylic varnish. To make the picture look brighter, the base underneath should be white. Therefore, to get a colored tube with pictures, first whiten it, then fix the picture and only then tint in the desired color.
The design of the image, its dimensions and colors are only up to your imagination. But try not to get carried away and make sure that the result of your efforts goes well with the textiles, walls and facades of the kitchen.
Video: a detailed master class on decoupage battery
Magnet organizer
Usually, designers actively protest against fridge magnets, but they offer to organize a special board for them. A pipe passing in a conspicuous place can also serve as a stand for souvenirs dear to your heart. You can also pin new recipe cards, grocery lists, reminders, and notes to other family members.

If you use a magnetic knife holder, you should place a similar one next to the pipe and attach 2-3 unobtrusive souvenirs to it
Decorative textiles
The idea to hide an unsightly riser behind a curtain came to our grandmothers, since then this method has firmly taken root in kitchens. But now more and more housewives are abandoning tulle and curtains in the cooking area, replacing them with blinds, Roman blinds or roller shutters. How can you combine the love of practicality and the unwillingness to look at bare pipes? There are several approaches:
-
install vertical blinds from ceiling to floor, rather than horizontal blinds in the window opening. Access to the windowsill will be more convenient than with curtains and tulle, and the pipes will be reliably hidden;

Vertical blinds to the floor in the interior of the kitchen Simple laconic blinds look good even in classic kitchens
-
complement the roller shutter or rimka with cotton curtains in a contrasting color. Bright thin verticals will reliably distract attention from the wall and communications. If you actively use the windowsill, the threads can be cut with a bang, wave or arch;

Curtains-threads in the kitchen Even juicy curtains-threads do not make the interior overloaded, but they reliably distract from any pipes
-
use Japanese curtains in addition to blinds / roller shutters. They are more practical than curtains, look original and can visually merge with the wallpaper, as they do not gather in folds.

Japanese curtains in the interior of the kitchen Japanese curtains can be used either by themselves or as a set with roller shutters or pleated
Textiles are the simplest material for decorating pipes. It is enough to fix the cornice and arrange the curtains beautifully, so no one will have any problems with the implementation of such an idea.
Stained glass
Fans of transparent pictures will love the idea of installing a stained glass window in front of unsightly pipes. To do this, you will need to build a column cabinet with a window for glass and equip a backlight there.

Even a very small stained glass window can turn an unsightly corner into a highlight of the kitchen
It is advisable that the cabinet fits the kitchen set, and the picture repeats the plot on the front door, display cabinets, or at least dishes. You can draw a stained glass window yourself with special paints (aspic), assemble a plot from colored self-adhesive (film), order photo printing on glass, or buy a real masterpiece using the Tiffany technique. If you have experience in the manufacture of furniture, you can make such a decorative element yourself, otherwise it is better to trust the specialists.
Video: master class on making a flooded stained glass window
In addition to the described decoration methods, pipes are pasted over with mosaics, tiles, glass pebbles, decorative threads, beads, artificial plants, bamboo tubes, giving them the appearance of a tree trunk or a column, etc. But the result of such creativity is often difficult or even impossible to fit into the interior, therefore we advise you to go on such experiments only if there is an opportunity to "roll back". For example, decorate not the pipe itself, but a decorative overlay on it.
Have you decided how you will mask the pipes in your kitchen? So it's time to get to work and transform the interior.
Recommended:
Blockage In Pipes: Elimination At Home, How To Clean The Sewer, The Use Of Folk Remedies
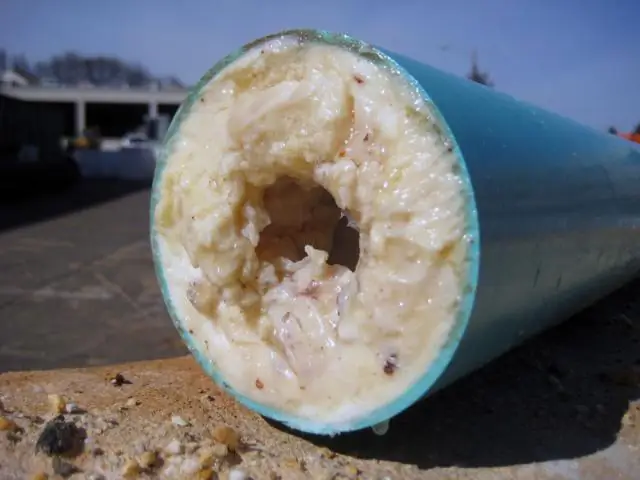
Causes of blockage in pipes, ways to eliminate it, prevention tips and a video with a test of the effectiveness of ways to clean the sewer at home
How To Choose A Hood For The Kitchen - In Terms Of Power And Other Parameters, What To Look For When Buying A Built-in And Built-in, For A Gas And Electric Stove, Professional Advi

What parameters should you pay attention to when choosing a cooker hood for the kitchen: types of devices, how much the prices differ. Model overview and manufacturer information
Joining Of Plastic Pipes By Welding - Installation Of Plastic Pipes Using A Welding Machine
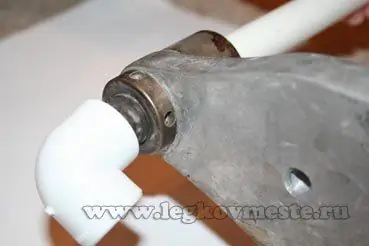
Welding plastic pipes with your own hands. Replacing the plumbing in the bathroom and kitchen with your own hands using a plastic pipe welding machine
How To Hide The Refrigerator In The Kitchen: Photos, Original Options, Useful Tips
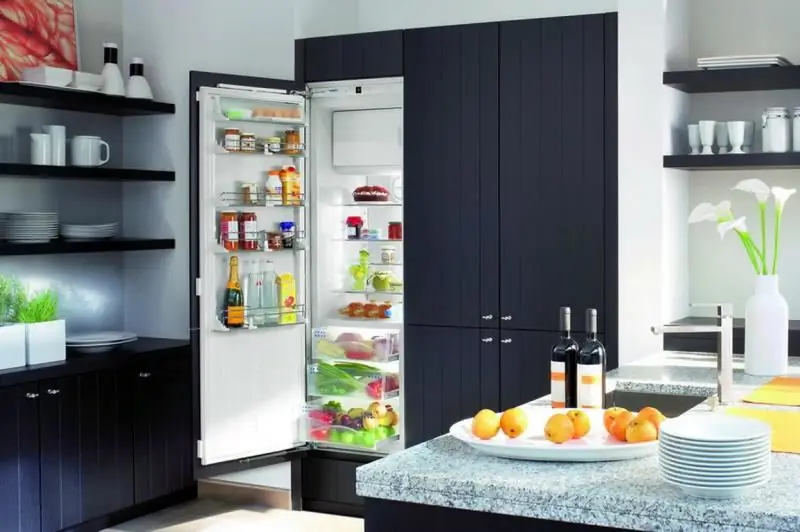
When is it advisable to hide the refrigerator. Simple and unusual ways to make it less visible, their pros and cons
How To Hide A Hole On A Toe If It Was Found During A Visit
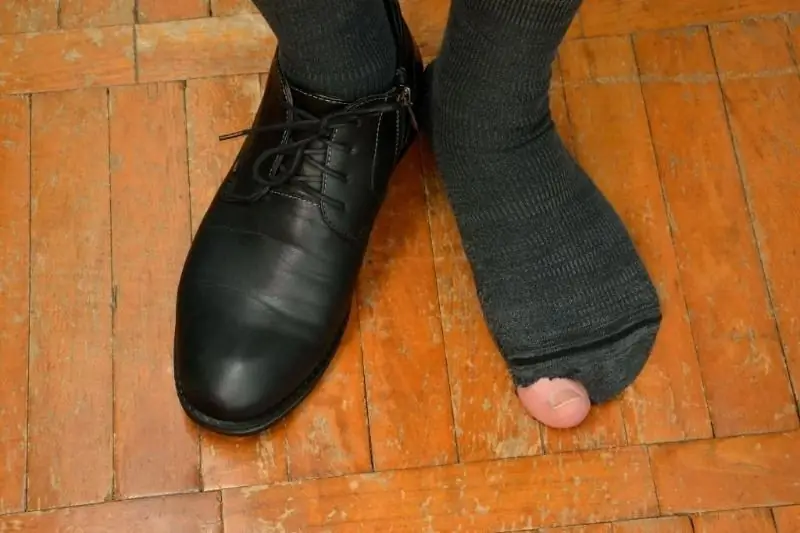
If you come to visit and find that there is a hole on the toe, then here are 5 ways to avoid an incidental situation
