Table of contents:
- Author Bailey Albertson albertson@usefultipsdiy.com.
- Public 2023-12-17 12:53.
- Last modified 2025-06-01 07:32.
Installation of a profiled sheet on the roof: step by step instructions

Profiled sheet is one of the leaders among roofing materials. In another way, it is called corrugated board - construction raw materials from galvanized steel with a simple installation technology. However, no matter how basic the laying of this material is, it is carried out according to strict rules.
Content
-
1 Features of installation of roofing profiled sheet
-
1.1 Roofing cake for profiled sheets
1.1.1 Video: the stages of creating a roof from a profiled sheet
- 1.2 Transportation of corrugated board
- 1.3 Suitable fasteners
- 1.4 Laying according to roof slope
-
-
2 Installation of profiled sheets on the roof
- 2.1 Tools for installation work
- 2.2 Material and accessories
-
2.3 Step by step instructions
2.3.1 Video: how to avoid mistakes when installing profiled sheets
-
3 Roof repair
- 3.1 Repairing roof leaks
- 3.2 Recovering slightly damaged sheets
- 3.3 Overhaul
- 3.4 Video: how to make roof repair yourself
Features of installation of roofing profiled sheet
Profiled sheet is a special material that is made by passing a metal sheet through a special machine that forms a profile with a height of 8 mm to 7.5 cm.

The profiled sheet can withstand significant loads, therefore it is used as a roofing material
Since the material is specific, the technology for laying it is not as simple as it seems at first. The most difficult moments in the installation of a roofing profiled sheet are considered to be its delivery to the roof, the search for suitable tools and fasteners, as well as the construction of the lathing.
Roofing cake for profiled sheets
When assembling a roofing cake for corrugated board, the following steps must be taken:
- the creation of lathing from boards with a section of 3 × 10 cm, if the rafters are located at a small distance from each other (about 1 m), or from thicker raw materials, when gaps of 1-1.5 m wide are left between the legs of the roof supporting structure;
-
laying lathing elements every 30 cm, and to complete this task, you can take both edged and unedged boards;

Sheathing for corrugated board The lathing is arranged, as a rule, from edged boards, mounted in rows at a distance of 30 cm
- treatment of all wooden elements with fire retardants and anti-rotting compounds;
- construction in the places of attachment of the valley lathing without gaps;
- arrangement of ventilation by laying a waterproofing film, and on top of it - a counter lattice, which creates a gap for free air circulation between the cladding and the rest of the roof layers;
- installation of insulation only in the cells between the rafters using a roll of vapor-proof material, spread over the layer of thermal insulation from the side of the room.

When laying the roofing cake, it is important to adhere to the recommended layering scheme with the obligatory arrangement of ventilation gaps
Video: stages of creating a roof from a profiled sheet
Transportation of corrugated board
To deliver the corrugated board to the roof construction site, you should be extremely careful. Therefore, profiled sheets are strongly recommended to be carried one piece at a time, and in four hands.
Lifting the corrugated board to the roof is also a responsible task performed according to strict rules:
- the material must not be delivered to the roof while there is a strong wind outside, which can damage the sheets;
- sheets are supposed to be lifted onto the roof, extending special logs from it to the ground;
- it is allowed to send only one sheet at a time;
-
the installation of profiled sheets must be carried out in shoes with soft soles, which will not leave scratches or dents on the material and will not slide on the smooth surface of the sheets.

Lifting the profiled sheet to the roof The profiled sheet is moved to the roof along special guides so as not to accidentally drop or deform it
Suitable fasteners
Only galvanized self-tapping screws with a drill at the end can provide reliable adhesion of profiled sheets to the crate. The size of these fasteners is strictly regulated: the length is 3.5 cm and the diameter is 4.8 mm. To block the access of moisture to the inside of the roofing cake, self-tapping screws must be equipped with a neoprene gasket.

Self-tapping screws are fixed at the bottom of the wave, achieving a strong connection with the battens of the crate
The place of fastening the screws on the profiled sheet is the lower part of the wave in contact with the crate
If it is decided to cover the roof with corrugated board with a polymer coating, then one must be prepared for careful control of the process of immersion of self-tapping screws into the material. The chips coming out from under the screwed-in fastener must not be allowed to scratch the protective layer of the profiled sheet.
The resulting chips must be carefully removed at the same time. Left in the zone where the self-tapping screw passes through the material, it will become covered with rust and spread the "disease" to neighboring areas. In addition, the shavings will prevent blockage of the attachment point with a special gasket.

The self-tapping screw must be screwed into the material strictly perpendicular
Laying depending on the roof slope
The roof slope is at least 12 degrees. And it depends on the degree of slope of the roof exactly how you need to put the profiled sheets on the roof:
- roof slope up to 15 ° requires covering the roof in such a way that the adjacent sheets are joined by the edges by 20 cm;
- a steeper roof - with a slope at a slope of up to 30 ° - is closed with pieces of material in contact by 15-20 cm;
- the roof, inclined by more than 30 °, is usually overlapped with an overlap of 10-15 cm.
The slope of the roof is reflected in the sheathing step. With a small slope of the roof slopes, the base for the roofing material is constructed, leaving between its rows from 30 to 40 cm. When the roof is tilted by more than 15 °, they act differently: the sheathing boards are laid out at a distance of 50 or even 60 cm from each other.
Installation of profiled sheets on the roof
Roofing work begins with a thorough preparation - the search for tools, materials and additional elements.
Installation tools
To fix the corrugated board to the roof, the following tools are required:
- screwdriver;
- scissors for metal (for steel up to 0.6 mm thick);
- a hacksaw for metal with small teeth;
- electric jigsaw;
- electric saw;
- marker;
- knife;
- level;
- yardstick;
- sealant gun.

You can cut the profiled sheet with scissors for metal or a hand hacksaw, but in no case with a grinder
When installing profiled sheets, it is forbidden to work with electric or gas welding. The use of this equipment will lead to disastrous consequences - damage to the protective layer of the material.
Material and accessories
It is preferable to cover a light roof with a small slope with C35 or C44 profiled sheets. The shape of this material can be trapezoidal or sinusoidal. And the length of such sheets fluctuates between two and six meters, although some manufacturers, if they have received an individual order, make corrugated board sizes from 50 cm to 12 m.
The masters strongly advise covering the roof with steep slopes with HC35 profiled sheets

Profiled sheet HC35 belongs to the group of bearing profiles and has increased rigidity and corrosion resistance
In addition to the corrugated board, you will need to stock up on a semicircular or rectangular ridge, which is necessary to protect the joints of the profiled sheets. In addition to the half-circle ridge, special end caps must be purchased.

The ridge serves to protect and decorate the junction of two roof slopes
Another necessary detail is the wind bar. Without it, raindrops will fall on the walls of the house, and the roof will not be able to look like a structure brought to the final stage of construction.

The wind bar acts as a protective and decorative element of the roof
Based on the roof configuration, some other additional elements may be needed:
- the lower and upper planks of the valleys (the first blocks the moisture path into the space under the roof, and the second makes the roof a well-designed object);
- outer and inner corners connecting sheets in the corner area.
Step-by-step instruction
The direction of installation of the corrugated board is from the bottom up, because in this situation, rain or melt water will not seep into the area between the sheets.

Installation of profiled sheets is carried out in the upwind direction and from the bottom up.
When the profiled sheet is so long that it covers the entire slope, installation is started from the end of the roof. The roofing sheet is aligned along the cornice, keeping in mind that 4 cm is left in stock (overhang of the cornice). It is strictly forbidden to level the roofing material along the edge of the end.
The profiled sheets are laid on the roof in the following sequence:
-
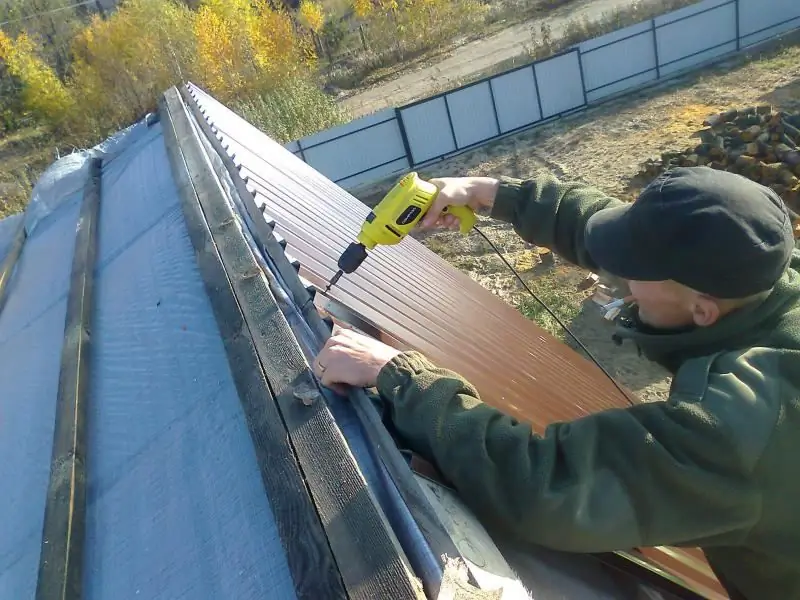
The first profile is installed on the crate and fixed in the middle with one self-tapping screw. The next sheet is placed next to it, the edge of which should overlap the edge of the previous one. The second profile is also fixed in the central part.

Pre-fastening of the profiled sheet The first sheets of material are fixed with one self-tapping screw
- Having laid out a line of sheets from one edge to the other of the roof, the row is horizontally aligned. In this case, they are guided by the cornice.
-
The profiled sheets are bonded to each other. Fastening is performed in the area near the ridge and in every third deflection of the ridge of the material.

Corrugated board fastening scheme In the area of the ridge, the sheet is attached through one deflection, in the area of the joint with the lower sheet - in each deflection, and in the middle - after two spans
- The corrugated board is finally attached to the base. Self-tapping screws are screwed in at the location of the crate where the third deflection is located for all profiled sheets. From the end part of the roof, the profiles are fixed in the areas of contact with the lathing after one deflection. The upper edge of the sheet located near the ridge is pressed against the base also through the deflection of the wave.
- Excess material is disposed of by using a hacksaw. This task must be performed from the ends of the house and on the second roof slope.
-
The roof is equipped with an end strip, fixed in the wave of the corrugated board by means of self-tapping screws. The element is fixed from below, moving towards the roof ridge. If necessary, the joining of two planks is made with a large overlap - more than 5 cm. In this case, fastening is performed every 60-100 cm.

Fastening the end plate The end strips are installed with a large overlap and are attached to the crate with self-tapping screws
- A seal is hidden between the ridge of the roof and the profiled sheets, which independently adheres to the installation site. The ridge strips are built up, connecting their edges by 10 cm. Fasteners are inserted in 30 cm increments.
Video: how to avoid mistakes when installing profiled sheets
Roof repair
One of the following troubles can happen to a roof made of corrugated board: leakage with subsequent damage by corrosion, damage in the form of holes only in some places of the roofing and global damage to the sheets.
Removing roof leaks
Having found that the roof, covered with profiled sheets, leaks, you need to conduct a thorough inspection of the fasteners. Perhaps they were not firmly inserted into the material, so the special gasket on them could not prevent water from seeping into the layers of the roofing cake.
If the problem of roof leakage has become apparent a few months after the construction of the roof, then the solutions are quite simple. You just need to climb to the roof and tighten the screws harder.

Sometimes the reason for the roof leaks is the poor tightening of the screws.
When the adjustment of the fasteners turned out to be useless, they look for another way out of the situation. It happens that to prevent roof leakage, you have to resort to such work as:
- replacement of some sections of the roofing;
- reconstruction of the roof screed or installation of a new one;
- dismantling of old aprons on cornices and abutments to roof structures.
Having found small cracks and scratches on the roofing, be sure to take a means to block them. To eliminate deep wrinkles on the material, mastic is used.

Mastic is able to get rid of small cracks on the roof
Rust on the roofing profiled sheets also needs to be fought, because it indicates damage to the protective layer of the material. Areas with corrosion spots must be cleaned and then treated with a primer. The final stage of this procedure is the application of bituminous varnish or aluminum powder, which can form a new protective film on the corrugated board.
Recovery of slightly damaged sheets
An assistant in solving the issue of repairing the roof will be a composition of red lead, if only minor damage is revealed on the corrugated board. And if holes are found, profiled sheets will have to be rescued with tow, previously treated with heated bitumen. Bituminous mastic is poured into the area where the gap has just been sealed with the mentioned agent.
Large holes are eliminated with pieces of roofing material or burlap. The patch is cut 25 cm wider than the hole found. First of all, dirt is removed from the damaged area with a brush with metal bristles, then the surface is treated with heated bitumen mastic and dried for several hours.

Small leaks can be eliminated with a piece of burlap glued to the mastic.
The patch can be laid in two layers if the hole in the profiled sheet looks large. A piece of material laid on the hole is smeared with heated mastic.
When the holes in the corrugated board are even larger, the patches are made of sheet iron, which does not have to be new. The metal piece is attached with nails to the crate, thereby protecting it from sagging.
Overhaul
In some cases, you should not count on the help of special compounds and patches. It happens that a damaged sheet must be completely replaced.
Dismantling a damaged roofing sheeting is a task that will require a lot of effort. Still, together with the leaking sheets, you will have to replace the old thermal insulation material.

Overhaul of a roof made of corrugated board involves the dismantling of old sheets and a thorough examination of the layers of the roof
The waterproofing film is removed, and a new one is laid in its place if holes are also found in it. When wooden elements with rot are detected in the roof, the "diseased" areas are cut and lubricated with an antiseptic compound.
Noticing that the elimination of damp wood has greatly reduced the thickness of the rafter or any other wooden part, they resort to building up or installing a new element.
Video: how to make roof repair yourself
Installation of roofing sheeting and its repair will require mastering many subtleties of construction work. However, this does not mean at all that the task is difficult to accomplish. For the most part, she's just responsible.
Recommended:
How To Make A Garden Fountain With Your Own Hands In The Country: Photo, Video, Step By Step Instructions
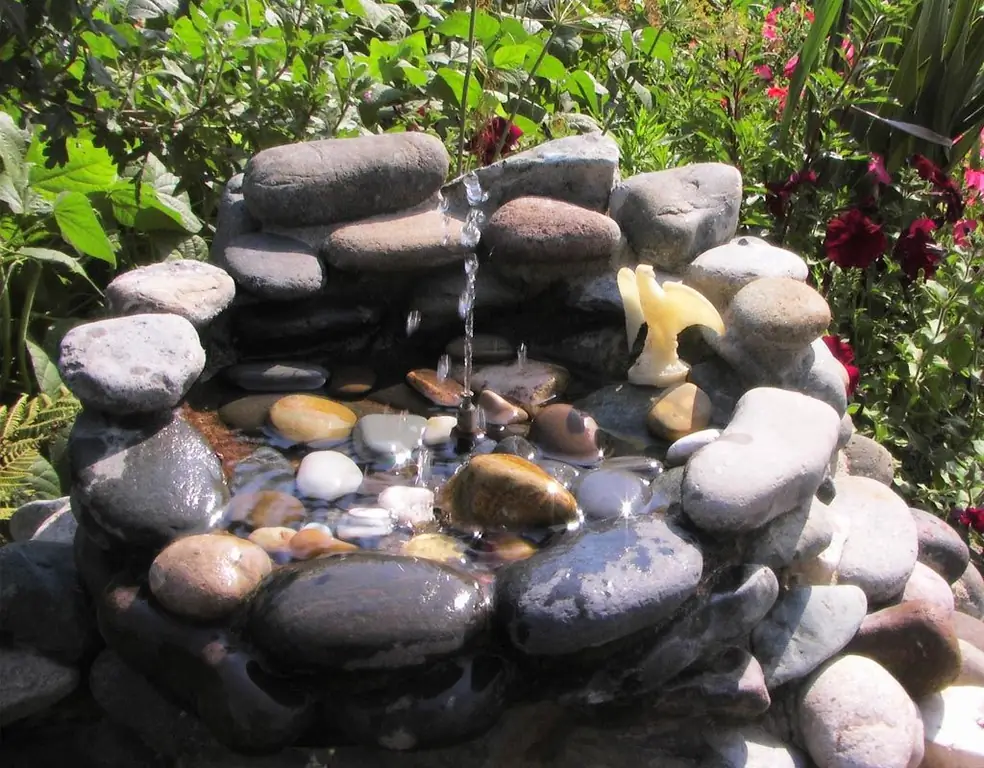
A step-by-step description of the process of building and installing a fountain from improvised means in the country with your own hands Required materials and tools
How To Make A Swan Out Of A Tire With Your Own Hands: Video, Photo, Diagram And Step-by-step Instructions
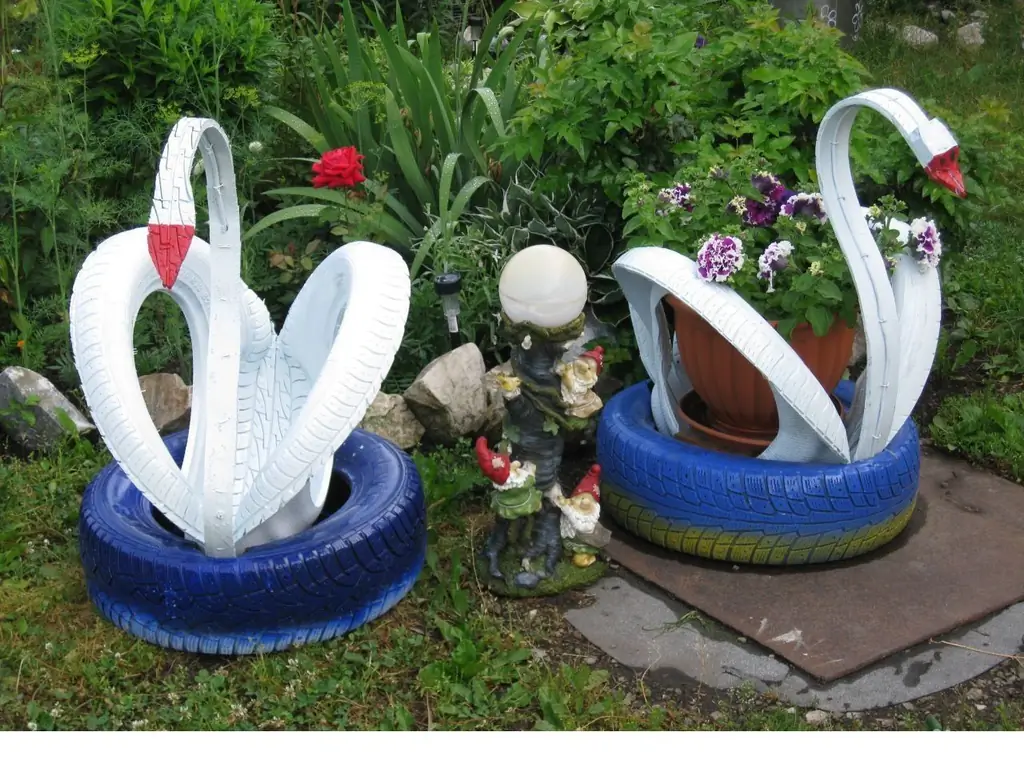
Step-by-step instructions for making different shapes of swans from old tires. Necessary materials and tools, possibilities of use
How To Make Molds For Paving Slabs With Your Own Hands: Instructions With Photos + Video
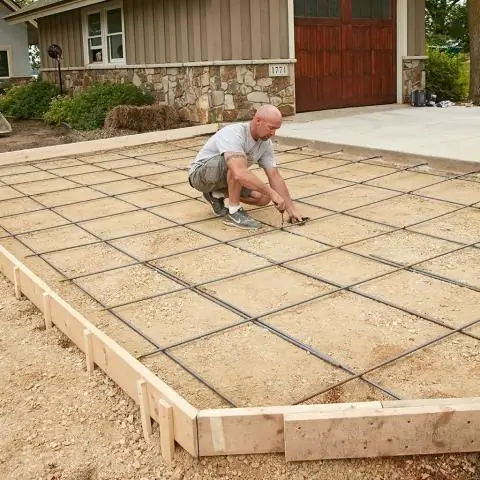
Materials from which you can make forms for paving slabs with your own hands, their comparison. The process of making molds from different materials with photos and videos
Wooden Toilet For A Summer Residence With Your Own Hands - Step By Step Instructions With Photos, Drawings And Video

Why is wood a suitable material for building a toilet in the country? What is needed to create such a latrine, and how do you proceed? Let's figure it out
Making A Buleryan (breneran) Stove With Your Own Hands: Advantages And Disadvantages Of The Design, A Device With Drawings, Instructions With A Video, Etc
Design and principle of operation of the "Buleryan" furnace (breran). DIY recommendations with instructions and drawings. Maintenance and operation
