Table of contents:
- Author Bailey Albertson albertson@usefultipsdiy.com.
- Public 2023-12-17 12:53.
- Last modified 2025-01-23 12:41.
Arrangement of the junction of the roof covering to the vertical surface

On roofs, the roof-to-wall connection line is extremely important. Snow, rain, small debris, fallen leaves accumulate there. This causes damage to the insulation and the penetration of moisture under the roof, and sometimes inside the room, which entails repairing the roof. Therefore, in order to avoid such problems, a reliable abutment node is equipped along the docking line.
Content
-
1 Correct roof abutment
- 1.1 Materials used
-
1.2 Installation of the junction box
- 1.2.1 Single apron
- 1.2.2 Aluminum adhesive strip
- 1.2.3 Adjacent soft roof
- 1.2.4 Video: device of the junction of a flat roof to vertical structures
-
1.3 Sealing the junction
- 1.3.1 Flashing
- 1.3.2 Sealing joints
-
2 Nuances of abutting various types of roofs to the wall
- 2.1 Brick or concrete wall
-
2.2 Embossed roofs
2.2.1 Video: device for joining the roof from the profiled sheet to the wall under the visor
-
2.3 Metal tiles
2.3.1 Video: how to organize a pipe bypass on a metal roof
-
2.4 Pipe
2.4.1 Video: adjoining the chimney to the roof made of cement-sand tiles
- 2.5 Parapet
- 3 Reviews
Correct roof abutment
The main function of roofing is to protect premises from external influences. The microclimate inside the building and the safety of the roof itself depend on how competently the adjoining of the roofing material to all vertical surfaces is made.
Materials used
Over the course of its service life, the roof covering expands and contracts due to temperature differences, is exposed to various atmospheric influences, as well as other physical and chemical influences. Therefore, it is important not only to choose the material for roofing, but also to mount it correctly. The most suitable for sealing the joint between the roof and the wall are:
- silicone sealants and seals on an organo-silicon base - elastic, have good adhesion to surfaces, are durable, their service life reaches 10 years;
-
corrugated aluminum and copper tapes - have a reserve of mobility, withstand high temperatures. Stretch, repeating the relief of the roof, which allows you to reliably seal the abutment to the corrugated board, tiles, slate;

Aluminum corrugated tape With the help of corrugated tape, it is easy to adjoin a relief roof
- polyurethane and bituminous mastics - durable, make the connection strong. They are used to treat soft roofing and geotextile tapes;
- polymer and rubber seals - in some cases they are indispensable for waterproofing strips and aprons at the junction. Not too durable, as they do not tolerate temperature changes and exposure to solar radiation.
Installation of the junction unit
Each coating has its own method and material for joining the roof to the wall. But for any option, the rule applies: the junction must be solid, solid, made of high-quality materials. Most often, during construction, the following methods are used:
-
installation of butt strips PS-1, PS-2, aprons with wide overlapping fields;

Joint strip for the place where the roof meets the wall Clearance joints have different configurations
- installation of a tape made of corrugated aluminum or copper with subsequent sealing of the edges;
-
installation in the corner between the roof and the wall of a wooden triangular beam, which is then covered with a soft roll material with an approach to the wall (waterproofing pad);

Installation of a soft roof and waterproofing at the junction to the wall Waterproofing at the junction of the roof to the wall is always performed, starting from the lower layers, and then the upper layers are laid, overlapping the lower joints
- multi-layer mastic treatment with geotextile strip laying.
The main difficulty in arranging such a junction is to achieve structural strength. Indeed, due to the difference in temperature deformations of the materials of the roof and walls, this unit collapses over time.
Single apron
Step-by-step technology for installing and fixing a metal apron-ebb:
- Attach the apron to the wall and draw a line along the top edge.
- Along the line, make a groove 2.5-3 cm deep (in some cases up to 5 cm).
- Clean the cavity from dust, moisten with water.
-
Insert the top shelf of the apron into the groove, fill the gap with sealant.

Installing a single apron in a strobe The upper shelf of the ebb plank is mounted in the gutter, and then filled with sealant
- Fix the apron to the wall with dowels.
- Attach the lower edge of the ebb to the roofing with self-tapping screws with neoprene or rubber seals.
Installation is also possible without flashing. But then a double apron is applied. Or the junction of the roofing material with the wall is strengthened with a metal clamping strip, which is shot with dowels from a construction gun.
Aluminum adhesive strip
Such a strip is easily stretched due to the corrugated structure and tightly fits embossed surfaces.

Particular difficulty is the lateral abutment of the roof
Method of sticking aluminum corrugated strip:
-
The tape is equipped with an adhesive layer: the upper edge is glued to the vertical part (wall or duct pipe), and the lower edge is stretched and laid on the waves of the roof.

Applying a waterproofing corrugated strip to the vertical part of the pipe Gluing the waterproofing corrugated strip to the vertical part requires careful execution, otherwise you will have to redo the abutment seam again
- The seam is treated with hot bitumen sealant. After hardening, it provides reliable waterproofing of the joint.
- For greater strength, a clamping bar is attached along the upper edge.
The advantage of the method is its relative simplicity. This does not require special knowledge, you can handle this work yourself.
Other modern tape materials are also convenient to use. For example, when working with piece roofing materials (tiles, roofing tiles, etc.), self-adhesive lead tape is suitable, which ensures the sealing of joints. It is made one-sided from painted lead and rolled into rolls.

Lead adhesive tape for sealing the joints of the roof with the wall is also necessarily closed along the upper edge with a pressure strip
Adjacent soft roof
For the installation of the junction of the soft roof, rolled materials of increased strength are used. The vertical surface should be flat, without cracks or chips, in order to exclude moisture penetration under the roofing carpet. The technology of overlapping the abutment of the soft roof to the wall:
- Plaster the vertical junction surface to a height of at least 30 cm, wait until it is completely dry.
- Along the line of connection of the roof with the wall along the entire perimeter, fix a 5 × 5 cm timber with a triangular section. It is necessary to avoid material rupture and to ensure water drainage. But you can make a cement-sand screed instead of a bar with the same angle of inclination.
-
The roof covering should go into the junction and slightly rise above the horizontal plane. Clean the part of the roofing to which the reinforcement will be glued, remove granite chips from it for better adhesion of the material. The width of this part on the horizontal surface of the roof is arbitrary, but not less than 15 cm from the line of the beginning of the rise.

Highlights of the installation of the reinforcement of the soft roof at the junction with the wall The simplest version of reinforcing a soft roof at the junction with the wall includes only one layer glued on top of the main roofing material
- Treat the junction with a primer.
- Lay a piece of roll coating on the timber, placing it on a vertical surface along the height of the plaster.
- Smooth out and glue to the wall with bitumen mastic or sealant.
- Glue the lower part to the roof with mastic or weld it (depending on the selected material).
-
Fix the upper edge with a metal abutment strip, fixing it to the wall with dowels.

Scheme of a simplified version of the abutment of the soft roof to the wall A triangular bar is installed along the line of connection between the roof and the plastered wall
- Treat the joint with sealant.
This method is suitable for strengthening the abutment on pitched roofs. And on a flat roof, several layers are stacked.

Two layers of roofing carpet alternately interspersed with two additional layers of reinforcement, extending to different levels of the wall
The second layer on the wall should overlap the first layer by at least 5 cm. This will help to avoid water leakage under the roofing material. This design is considered the most durable for roll roofing and soft tiles.
Video: device for the junction of a flat roof to vertical structures
Sealing the junction
A modern way of connecting the roof to the wall, which provides reliable sealing of the joint, is flashing. It is based on the use of geotextiles and flash mastic with waterproofing properties.
Flashing
This method is used only on dry surfaces. If it is not possible to dry the base, then it is pre-treated with a primer. The method can be used for any roll coverings and walls made of any material.

Flashing method ensures reliable waterproofing of the roof junction
The sequence of applying the flash method:
- Thoroughly clean the vertical and horizontal surfaces at the junction.
- Apply mastic with a brush or roller: the layer width should not be less than 25 cm.
- Glue a strip of geotextile: evenly, without folds.
- Let the mastic dry - it will take from 3 to 24 hours.
- Cover with a second layer - overlapping the first one by at least 5 cm to seal the edges of the geotextile.
After the second layer has dried, you will get a durable, strong and reliable waterproofing connection.
Sealing joints
To prevent water from leaking under the visors, fit strips and roll material, it is necessary to seal along the line of their joining with the wall. It consists of the following steps:
- The waterproofing layer is glued to the wall with silicone or bitumen sealant, the upper edge is closed with a clamping bar.
- Junction strips can be overlapped or fastened at a distance of 10 cm from each other.
-
All gaps between the wall and the clamping strips (and aprons-ebb) along the upper edge are filled with sealant.

Sealing seams The upper edge of the abutment pressure strips is glued with a sealant to eliminate gaps
- The top edge of the aluminum foil assembly is covered with a Vaka bar. After that, the strip and the places where the foil adheres to the roof are also treated with a sealant.
- The tightness of fastening the slats to the roof is also achieved by using rubber gaskets under the self-tapping screws.
The nuances of the abutment of various types of roofs to the wall
The method of installation should be thought about when designing a building. Since often in the construction project it is necessary to include special laying of bricks in the upper part of the walls with the implementation of small recesses.
Brick or concrete wall
When erecting a brick wall, it is worthwhile to provide for a visor protruding above the surface in a half-brick. In the future, it will serve as a cornice protecting the junction. The same role is played by the "otter" - a recess, a quarter of a brick deep. The material of the soft roof is inserted into it, then the bar is installed. The junctions of roofs covered with other types of roofing are closed with metal sheets and fixed in the wall recess.

Visor or otter in masonry provides a secure seal fit
Brick and concrete walls are leveled with a layer of plaster before installing the junction. If the canopy or notch was not made during construction, then the furrow under the bar is channeled with a jackhammer or cut out with a grinder.
Embossed roofs
The abutment of the roof, made of rigid embossed materials, is carried out using special strips, aluminum tape or aprons with a wavy bottom edge.

The abutment of the embossed roof is carried out using a metal strip with a certain angle of inclination
Video: device for joining the roof from the profiled sheet to the wall under the visor
Metal tile
When laying sheets of metal, a small gap is left between the wall and the roof for ventilation of the roof space. In this case, the abutment is made with a metal strip, the lower edge of which is attached to the tile with self-tapping screws.

A ventilation gap is left between the wall and the roof
Video: how to organize a pipe bypass on a metal roof
Trumpet
The connection to the pipe is made double: the first under the roof, the second on top of it

One of the ways to seal the junction to the pipe over the roof is to use aluminum corrugated strip
Before fastening the pressure strips, a thermal insulation belt made of asbestos is installed on the pipe. The strips are first attached to the bottom of the pipe, then to the two side ones, and at the end to the top.

Around the pipe, a double abutment is first made, and then clamping strips are attached
An additional tie is mounted to the lower plank under the roof for water drainage, which is led out into the valley or into the drain on the cornice. The lower apron is attached to the lathing, the upper one to the roof. The joints are sealed with a heat-resistant sealant.

A tie is attached to the wall profile to drain water
Video: adjoining the chimney to the roof made of cement-sand tiles
Parapet
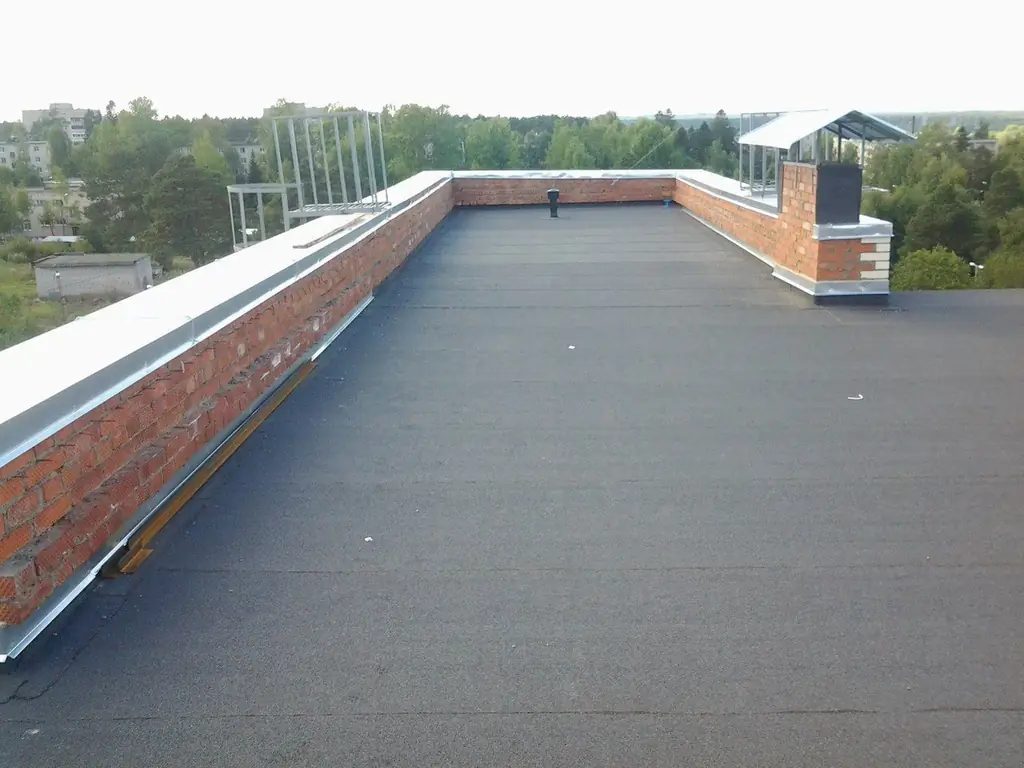
Before the assembly of the node, the parapet is insulated with mineral wool and closed with particle-cement plates or flat slate. The adjoining of the roof to the parapet above 70 cm is carried out in the same way as to the wall.

Laying a soft roof with the introduction of material on the parapet will allow the roof to serve for many years without problems
Reviews
The abutment of the roof covering to the wall is the most vulnerable spot on the roof. Carelessness in installation leads to water leakage and the appearance of fungus in the under-roof space. Work at such joints must be carried out according to the rules and not save on materials. The reliability and durability of the structure depends on this.
Recommended:
How To Cover The Roof Of The Garage, Including What Material To Choose Depending On The Roofing Device
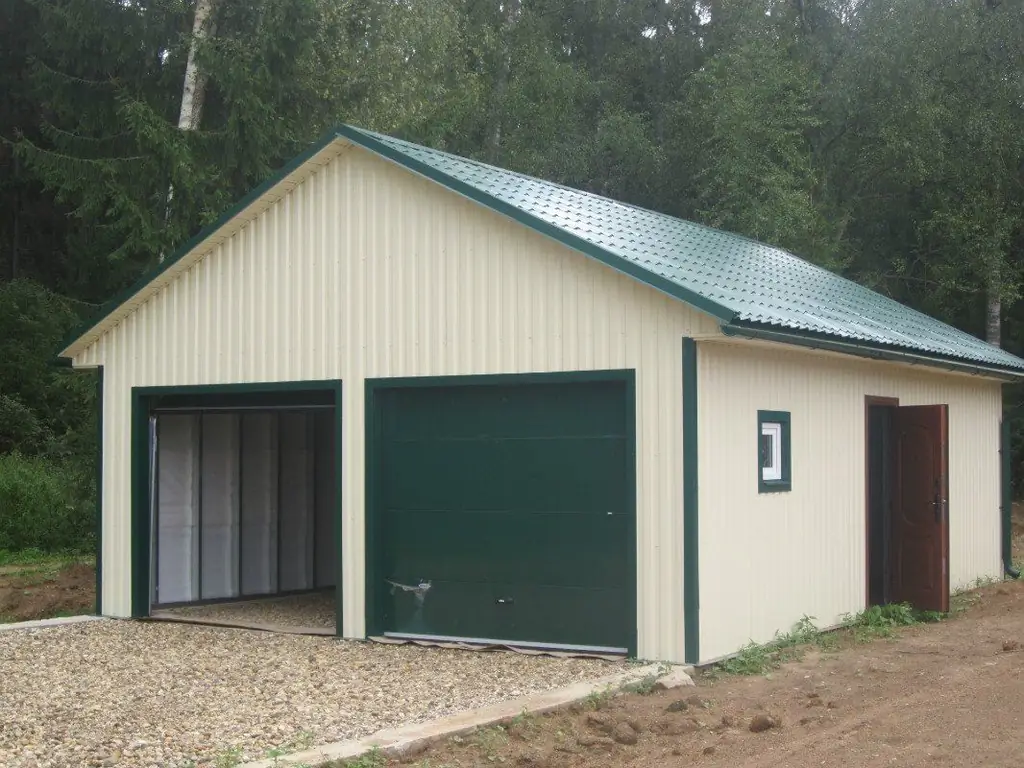
What materials are used for roofing a garage. What to look for when choosing them. Dependence of the material on the design features of the roof
Metal Roofing Device, Including A Description Of The Roof Left, Depending On The Purpose Of The Roof Space
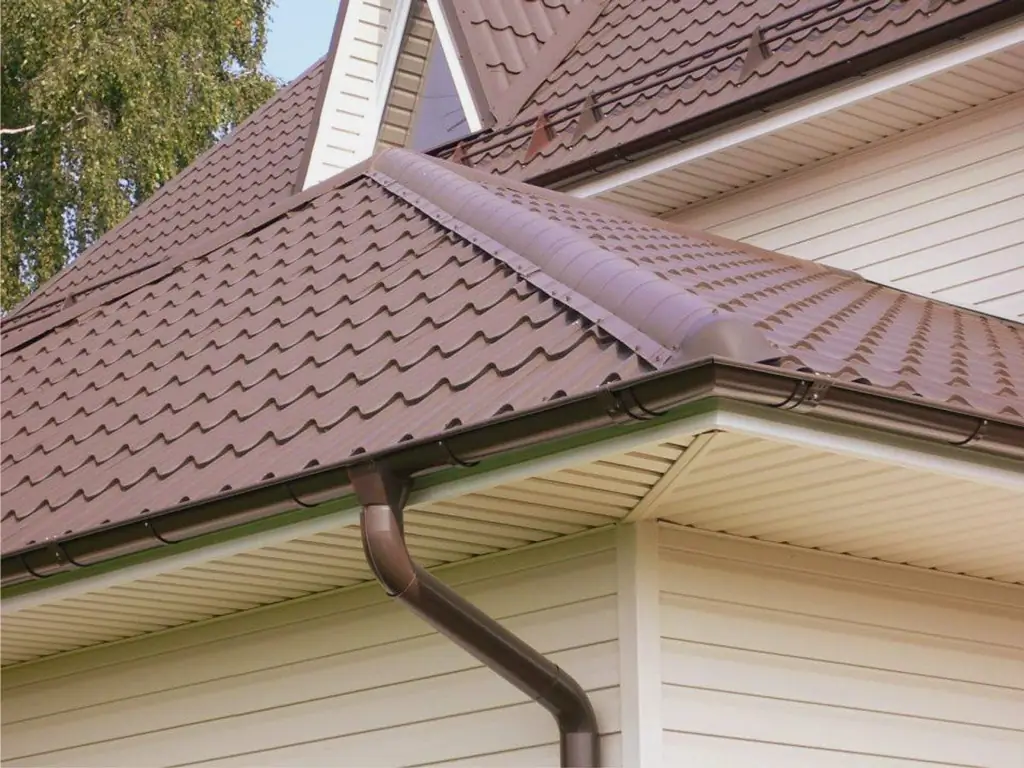
How is a metal roofing structure arranged? Differences between cold and warm roofs. List of layers in a roofing cake
The Slope Of The Roofing From The Profiled Sheet, Including How To Choose The Right Brand Of This Roofing Material, Depending On The Angle Of The Roof
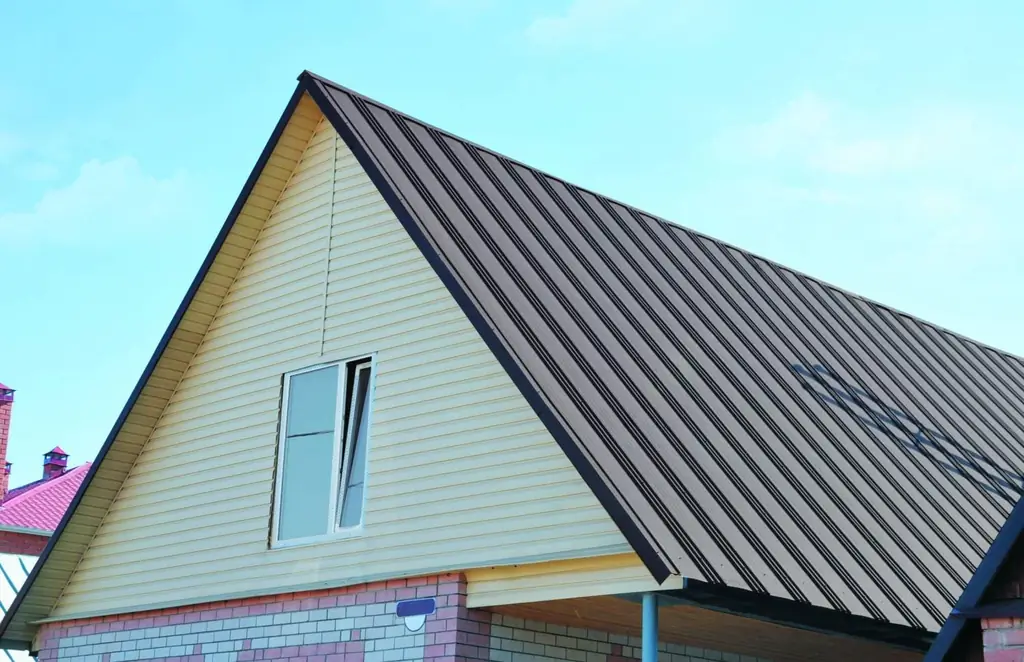
What is the slope of the roof. The angle of inclination of the roof from the profiled sheet: minimum and permissible. The choice of the brand of corrugated board according to the degree of roof slope
Roofing Cake For A Soft Roof, As Well As The Features Of Its Structure And Installation, Depending On The Type Of Roof And The Purpose Of The Room
What is a cake under a soft roof. Features of its device and installation. How to arrange a roofing cake from roll and piece materials
What Is A Roof Valley, Its Purpose, Structure And Characteristics, As Well As Installation Features Depending On The Type Of Roof

What is endova. Types of valleys. Features of installing the valley, depending on the roofing material. What material to make the valley from. Photo and video
